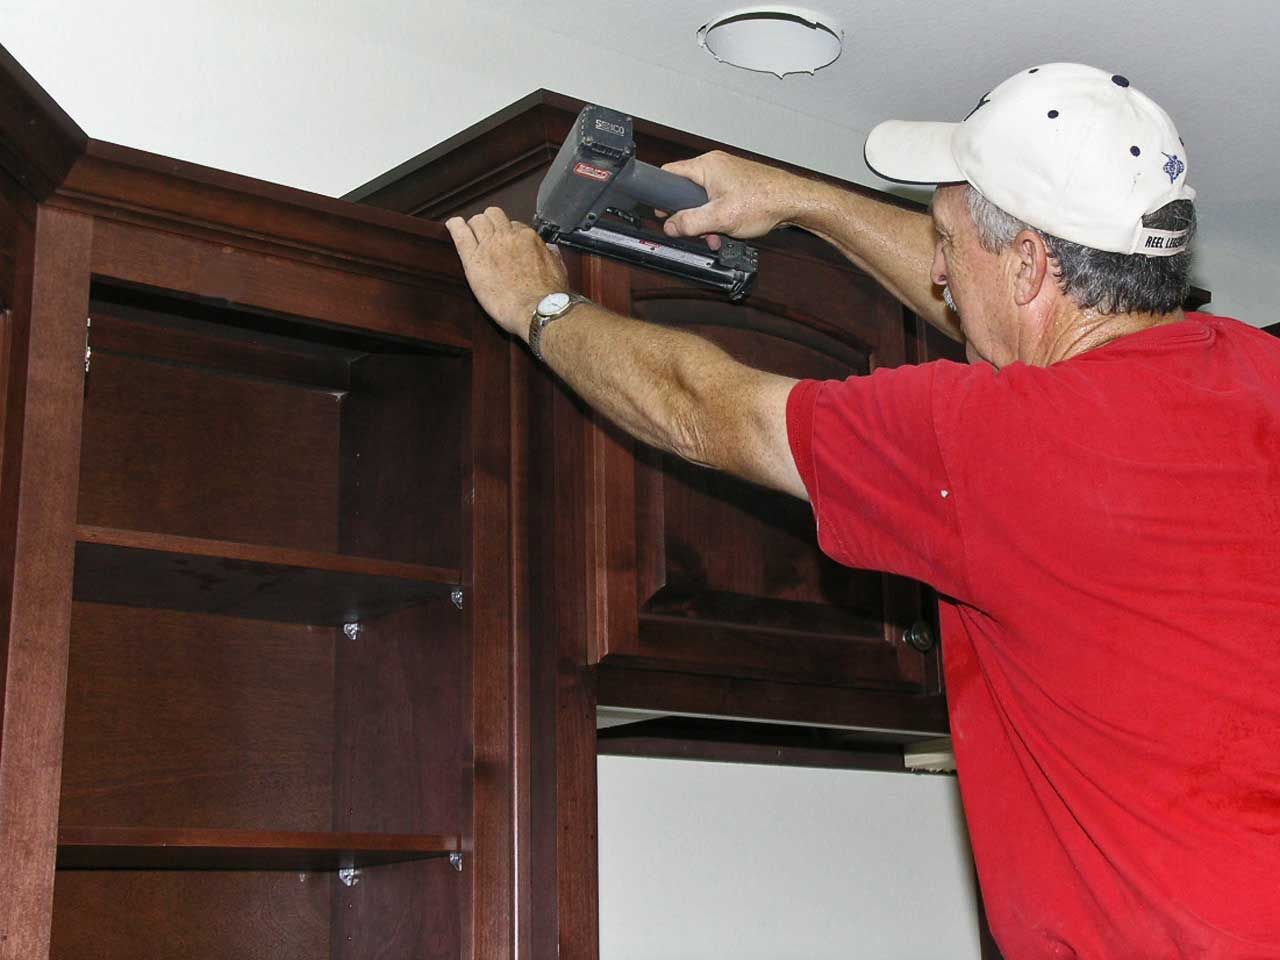
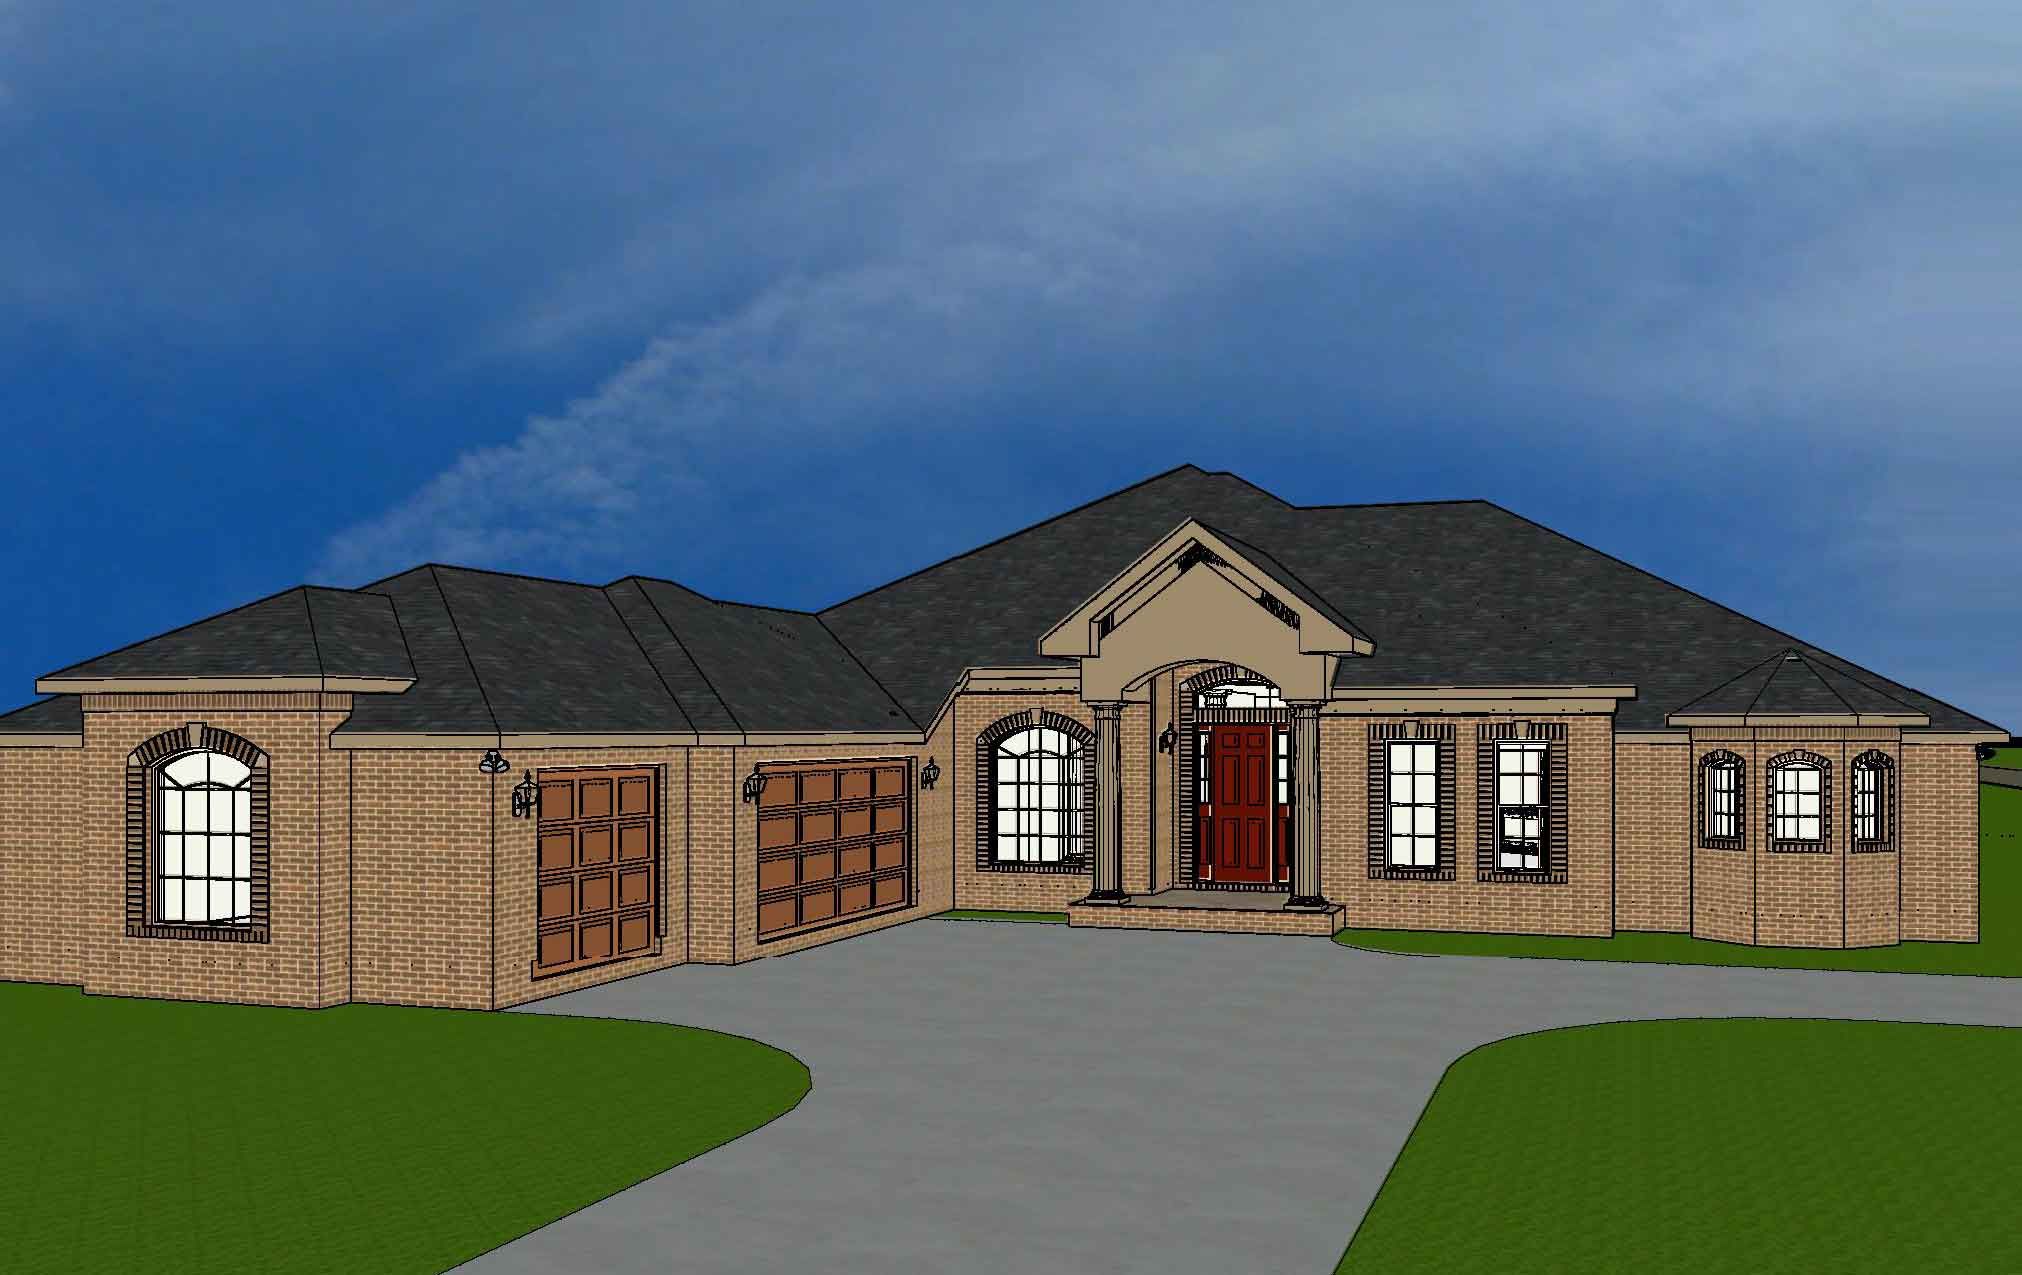
Gallery Of Homes: Haggett

Haggett new home in Holley by the Sea, Navarre New home built in Navarre garage floor paint safe room by acorn fine homes
The driveway has been textured, stained, and sealed to enhance the exterior appearance.


The front door and sidelights are fiberglass and has been stained by a professional furniture finisher.  You can't tell it's not real wood until you touch it.  This door will wear well over the years and require very little maintenance.
Scott & Greg from All Pro Sound install the home theater screen.

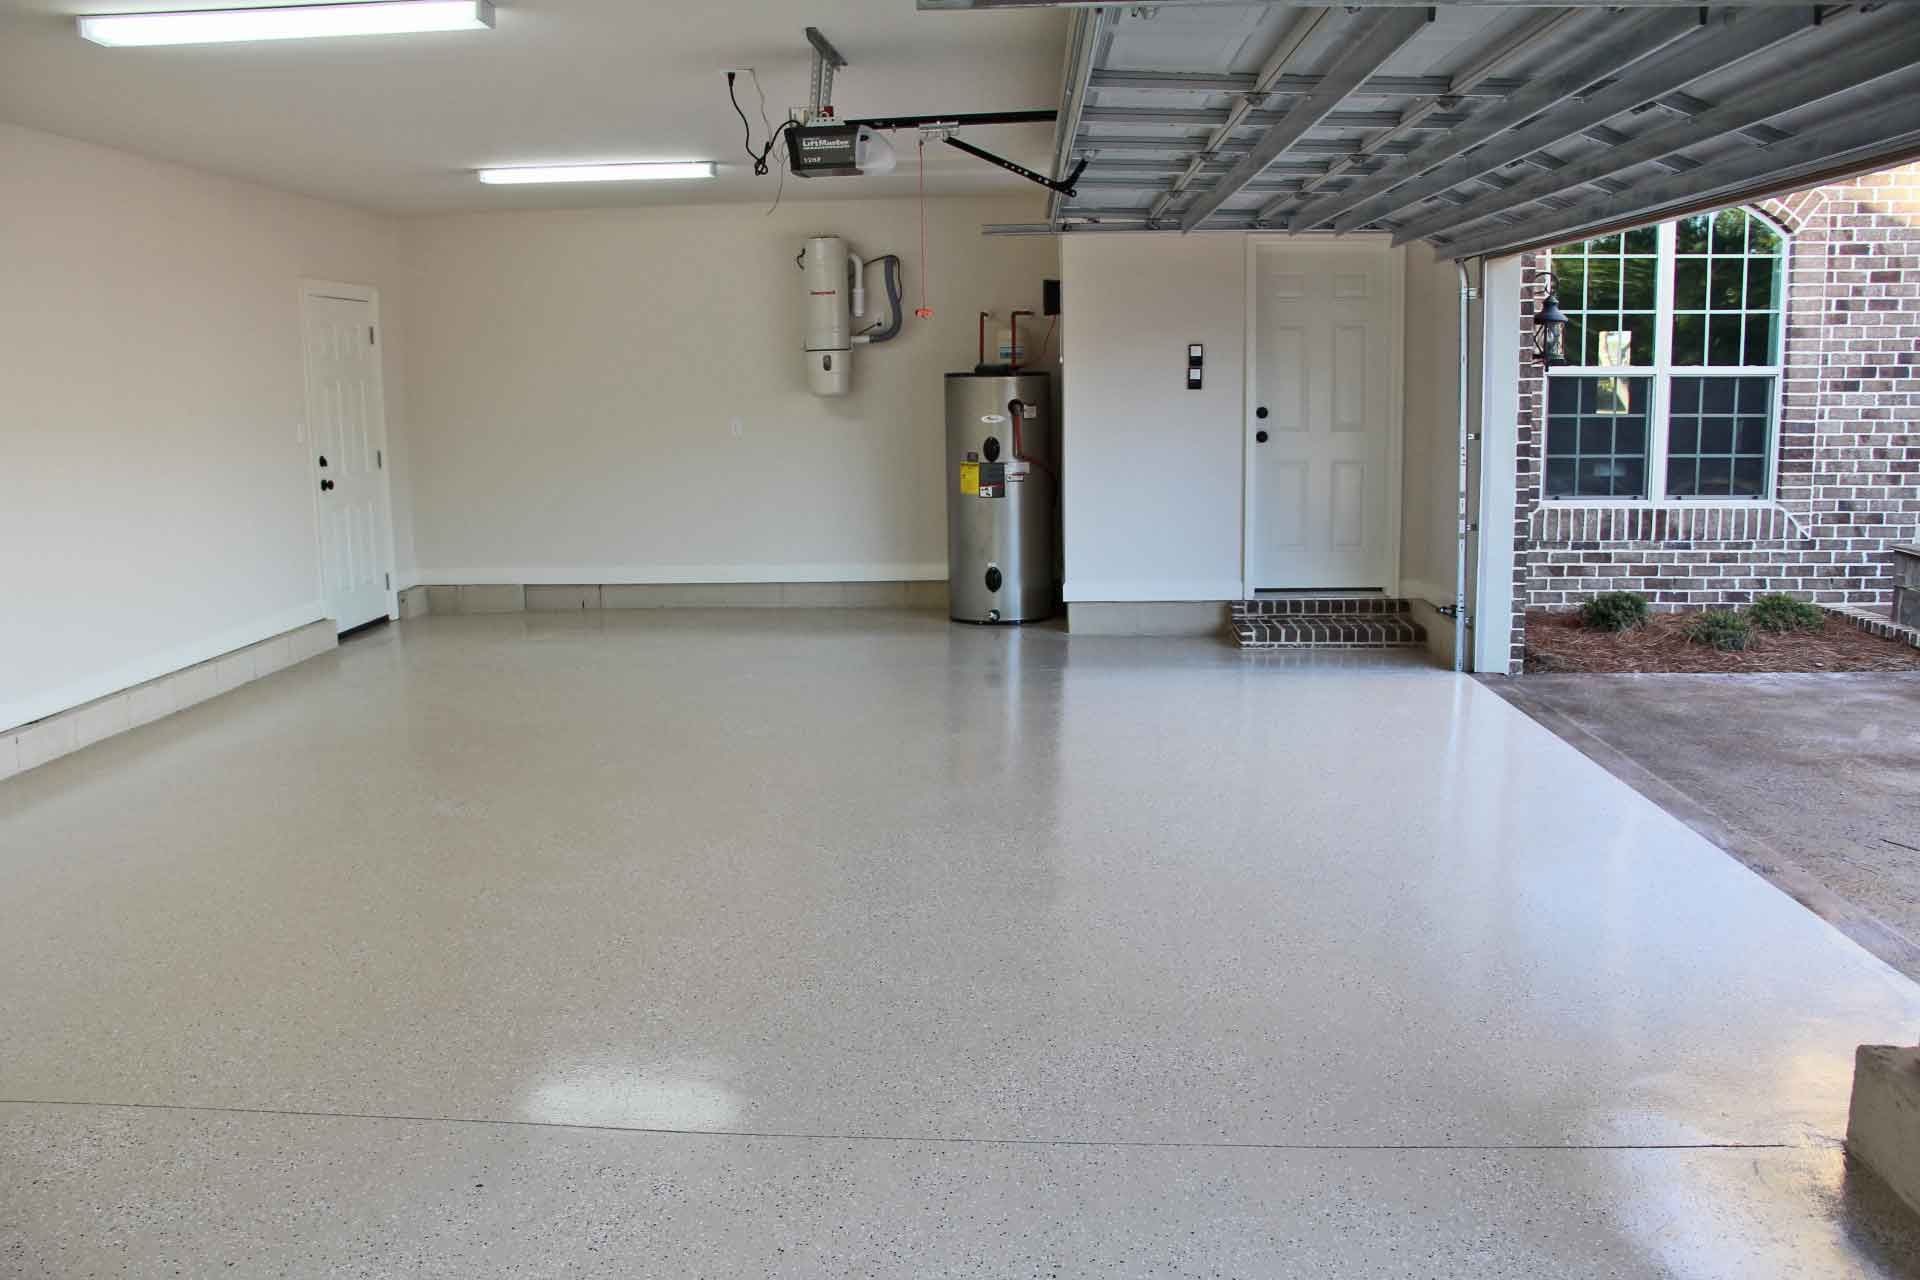
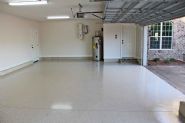
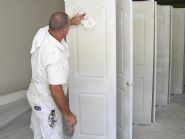
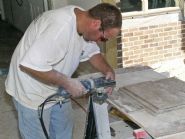
We applied a beige 2 part epoxy coating with deco flakes to the garage floor.  Epoxy coatings resist tire damage better than any other type of floor coating.  You can see the central vac machine hanging on the wall.

Patti puts the finishing touches on the DR columns.  She created a cast stone finish to go along with the other rustic finishes in the home.
We installed diamond accent pieces in the foyer to dress it up.
Living room.  Note the rope lighting recessed behind the middle layer of crown molding.
Display case in Steve's study.
Game room with pool table light.
The game room with pub theme.
Game room powder room.  Golden beach granite.
Note the copper glass tiles set diamond style in the tile back splash.  They add a nice touch of sparkle to the kitchen.  Not too many, just right.  That magma circa granite is gorgeous.  It takes your breath away when you walk into the kitchen.
Master bath, her side.  Crema bordeaux granite vanity top.
Master bath, his side.
Master shower.  Note the travertine door trim, shower seat, corner shelves, stone listello trim, and tumbled stone floor.  Natural beauty everywhere.
Shoe racks inside the 9 x 12 master closet/safe room.  The safe room is constructed of concrete and steel reinforced block walls and ceiling.  It is engineered to withstand 250 mph winds and 100 mph missile impacts.
Master closet/safe room.
Lisa wanted a box window seat to sit and read books in the master bedroom.  We lined it with bead board paneling and trimmed out the windows to match to give it a cosy feel.  The seat tops are hinged to open for storage below.
Home theater, raised seating in the rear.
Hall bath.  Typhoon bordeaux granite.
Hall bath tile
Living room fireplace.
Game room fireplace.
Mantel is a 100+ year old hand hewn timber from an old barn in Missouri.  Fireplace is a gas operated stainless steel model designed to withstand the elements.
James is applying pigmented wax to the back porch fireplace mantel.   This is a 100+ year old hand hewn timber from an old barn in Missouri.  The pigmented wax brings out the natural beauty of the timber, adds a nice patina, and protects it from moisture.
Darin dry fits the slate tiles for on the game room fireplace hearth.
Eddie and Miguel grout the stone wall above the fireplace.
Mingo sets the stones on the living room fireplace and carefully checks for level.
Andre cuts the stone for the living room fireplace.
A hummingbird's wings flap up to 100 times per second powered by a heart beating up to 1000 beats per minute.
James with S&G painting spot primes all the doors, the first in a 4 step preparation process.  The doors come pre primed from the factory but they need quite a bit of retouching and sanding to get them ready for a high grade finish paint job.
Ann sands the primed doors smooth.  Good prep makes for a good paint job.
Brian cleans the sanded doors with a soft cotton cloth.  The garage has been transformed into a paint booth and all the interior doors have been racked for painting.
James sprays the first coat (tack coat).  After this coat dries he will spray the second finish coat.  He's using Sherwin Williams Pro Classic, their top of the line oil based paint, for a durable show room finish.  These doors will have a deep reflective shine which can only be obtained with a high quality oil based paint.  Some painters think they can get a good shine with latex paint.  I'm not convinced.
Darin sets one of 4 corner shelves in the master shower.  Note the travertine bench top.  The shower is lined with duorock and sealed with green rubberized joint compound applied over fiberglass mesh tape to create a water tight shower substrate.  This shower will never leak.
Darin sets the listello border tile in the master shower.
Darin sets the tile shower floor.  See how beautiful the travertine door frame came out.  Looks like a million bucks.
Darin made the corner shelves in the shower out of travertine stone, rounded and bullnosed the edges for a beautiful accent.
William grinding a bullnose edge on some travertine for the tub deck.
William polishes the edges of the travertine with a wet polishing machine.  These pieces will be used for the master shower door frame.  It takes a 3000 grit polishing pad to achieve the proper level of smoothness and shine on the edges to match the face.
The first of 3 Magma Circa stone for the kitchen tops is being transported to the cutting table.  You can see the clear plastic templates outlining the bar top and one section of the counter top.  The templates are positioned to take best advantage of the movement in the stone to display its natural beauty to its best effect.  Particular attention must be paid to seams where two pieces joint together so that the stone color and movement blend well between one stone piece and another.  It takes a good eye to pull that off with a stone with this much color and movement.  That Magma Circa is gorgeous!  It's going to take your breath away when you walk into the kitchen, everyday.
Jason marks up the slab with registration lines.  The templates are then removed and the slab is coated with a sealer to prevent staining during cutting.  Next, the templates are laid back down and positioned over the registration lines for the cut.
Jason makes the cuts with a diamond wet saw along the edges of the templates.  The table rotates to position the slab for each cut.  There aren't many places you can go to work in your bathing suit and flip flops.   This is one of them.
The bar top was cut from one piece.  The colors and movement in this granite are amazing.  Natural beauty at its finest.
Darin installs the trim in the home theater.
Bill installs crown molding on the kitchen cabinets.  Hey Bill, that nail gun would work a lot better if you attached an air hose to it.  This is what happens when you get old.
Chris spraying the drywall texture
Gerald, Tim, and Troy knocking down the texture with broad trowels to create a light spanish lace finish.

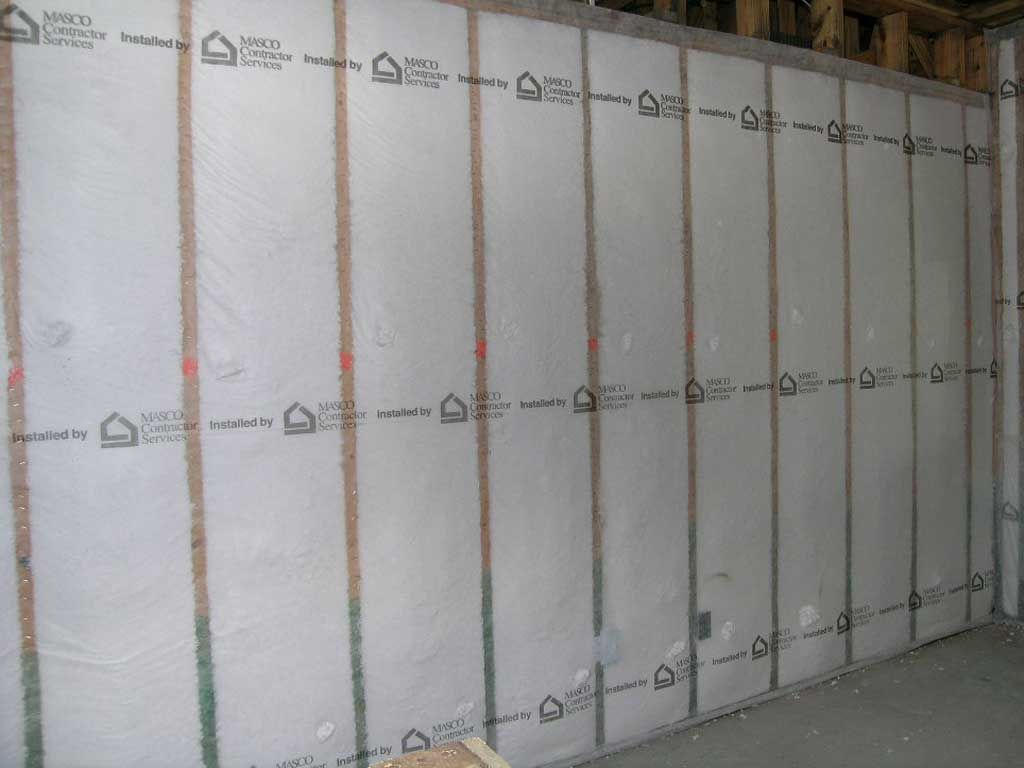
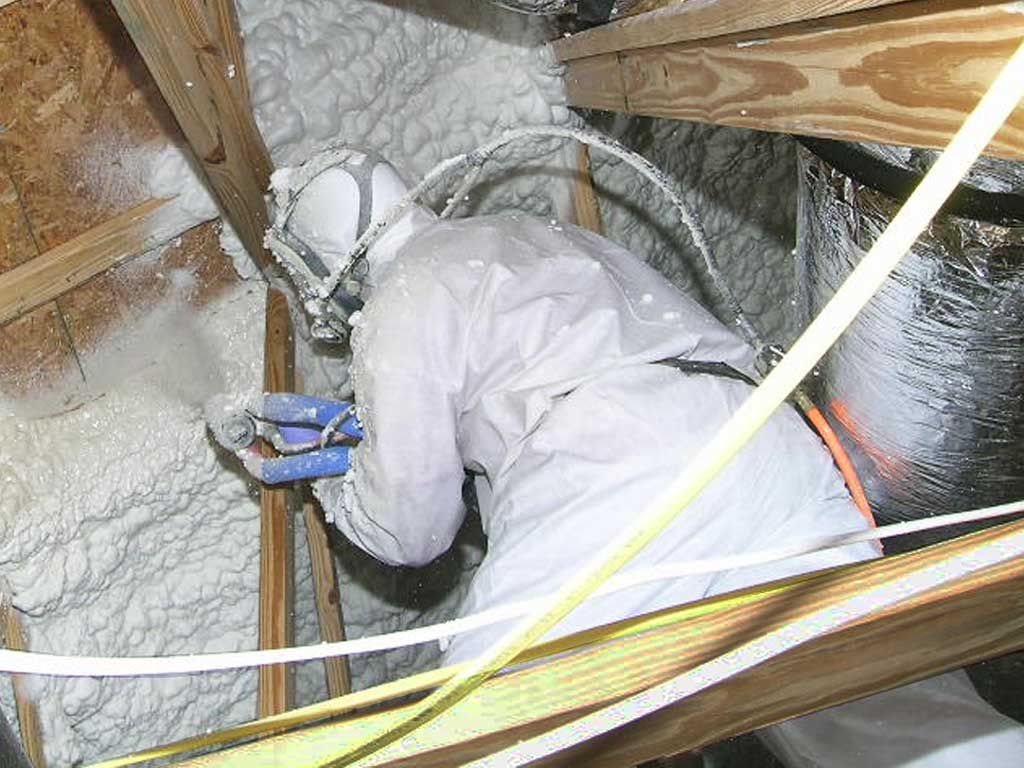
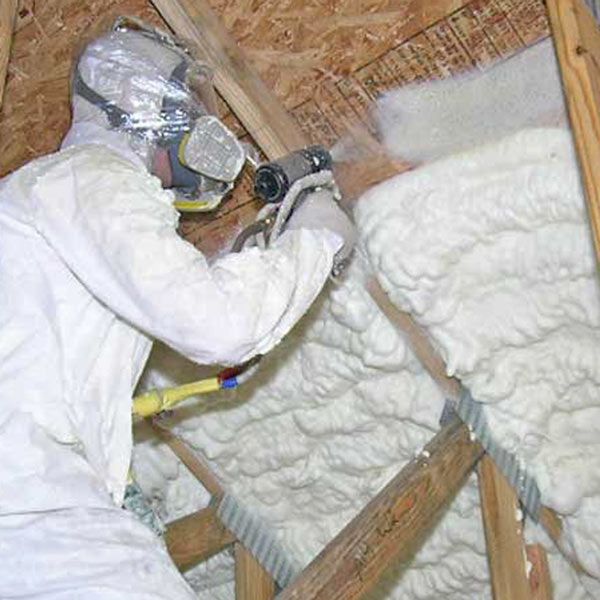
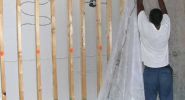
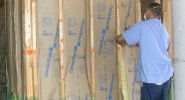
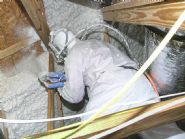
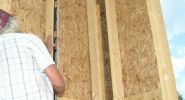
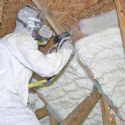
Willie with Coastal Insulation blows fiberglass insulation into the wall cavities.

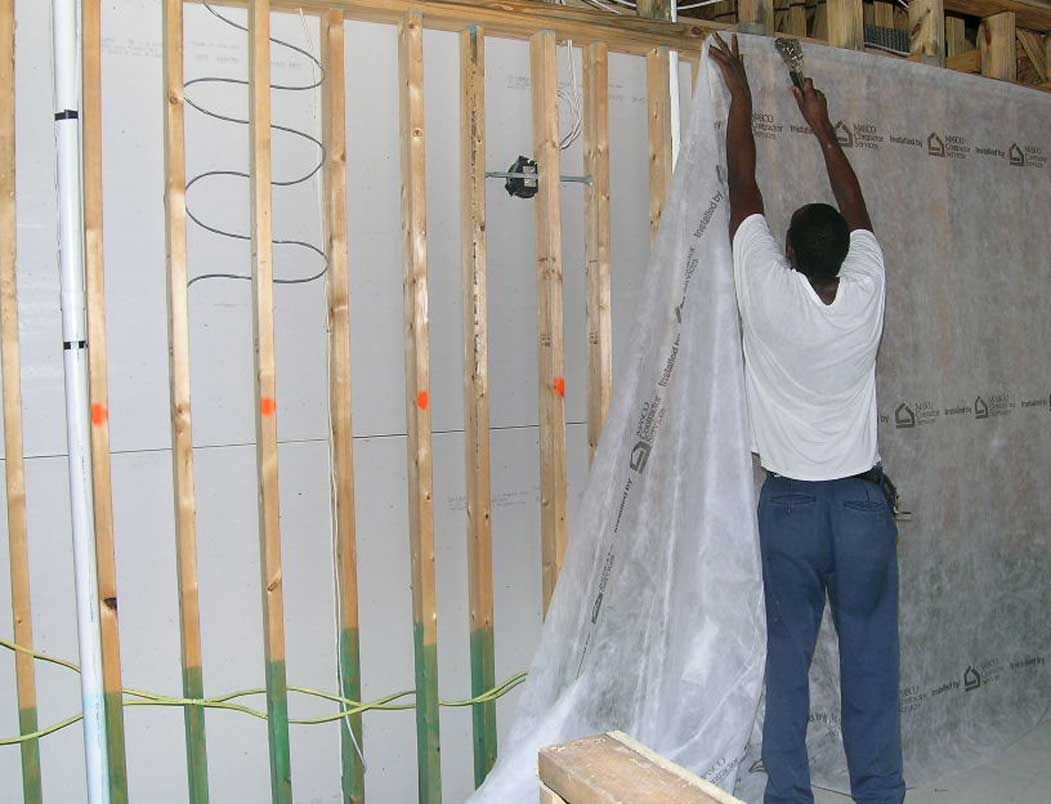
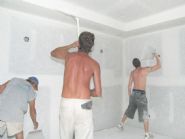
This is the wall between the kitchen and the theater room which has special sound isolation features. The 2x4 studs are staggered along a 2x6 top and bottom plate so that no stud touches both sides of the wall. This substantially reduces acoustic bridging. Drywall has been hung on the theater side of the wall and now the netting is being installed on the kitchen side. Next step will be to blow insulation into the cavities. You can see one of the side channel speaker wires in the wall. The wire will be fished out of the wall when the speaker is mounted.

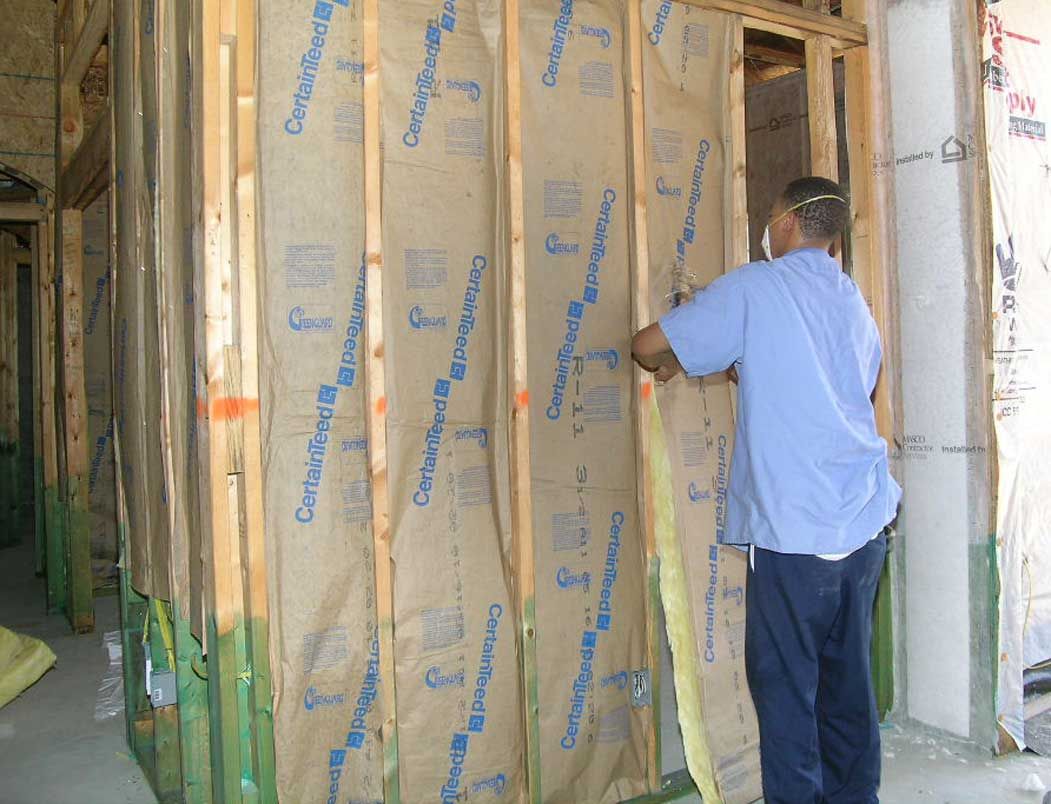
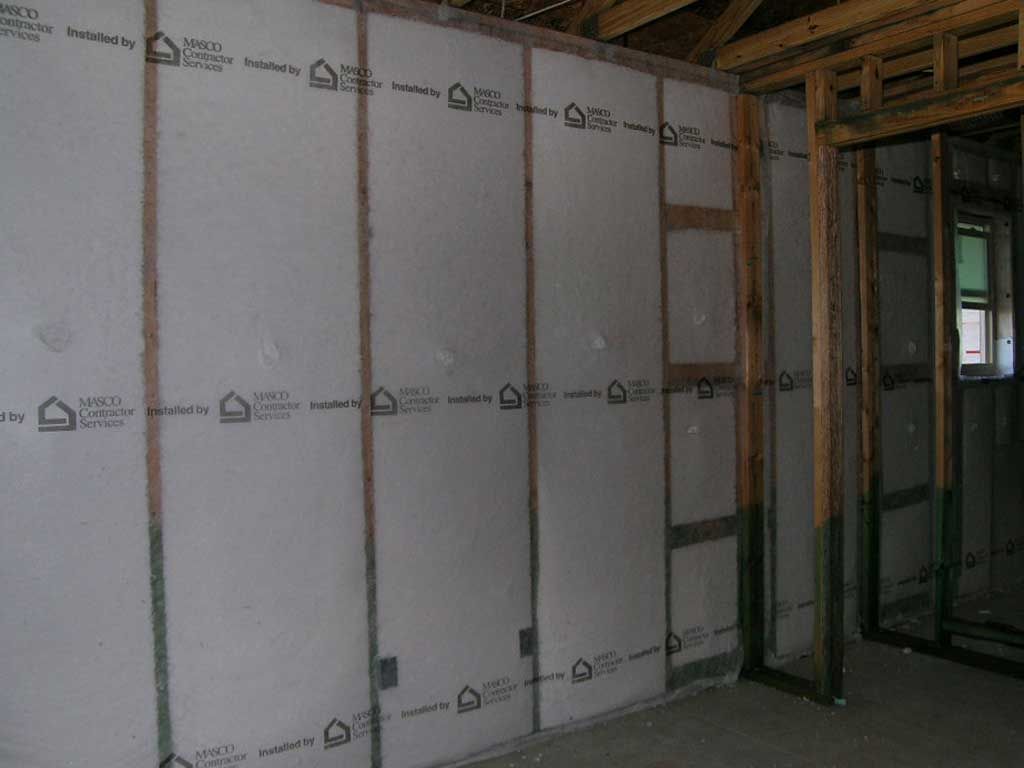
Maurice with Coastal Insulation installs sound batts in the interior study walls. The red marks show him which walls get sound batting. All interior bedroom, bathroom, game room, and study walls are sound batt insulated.

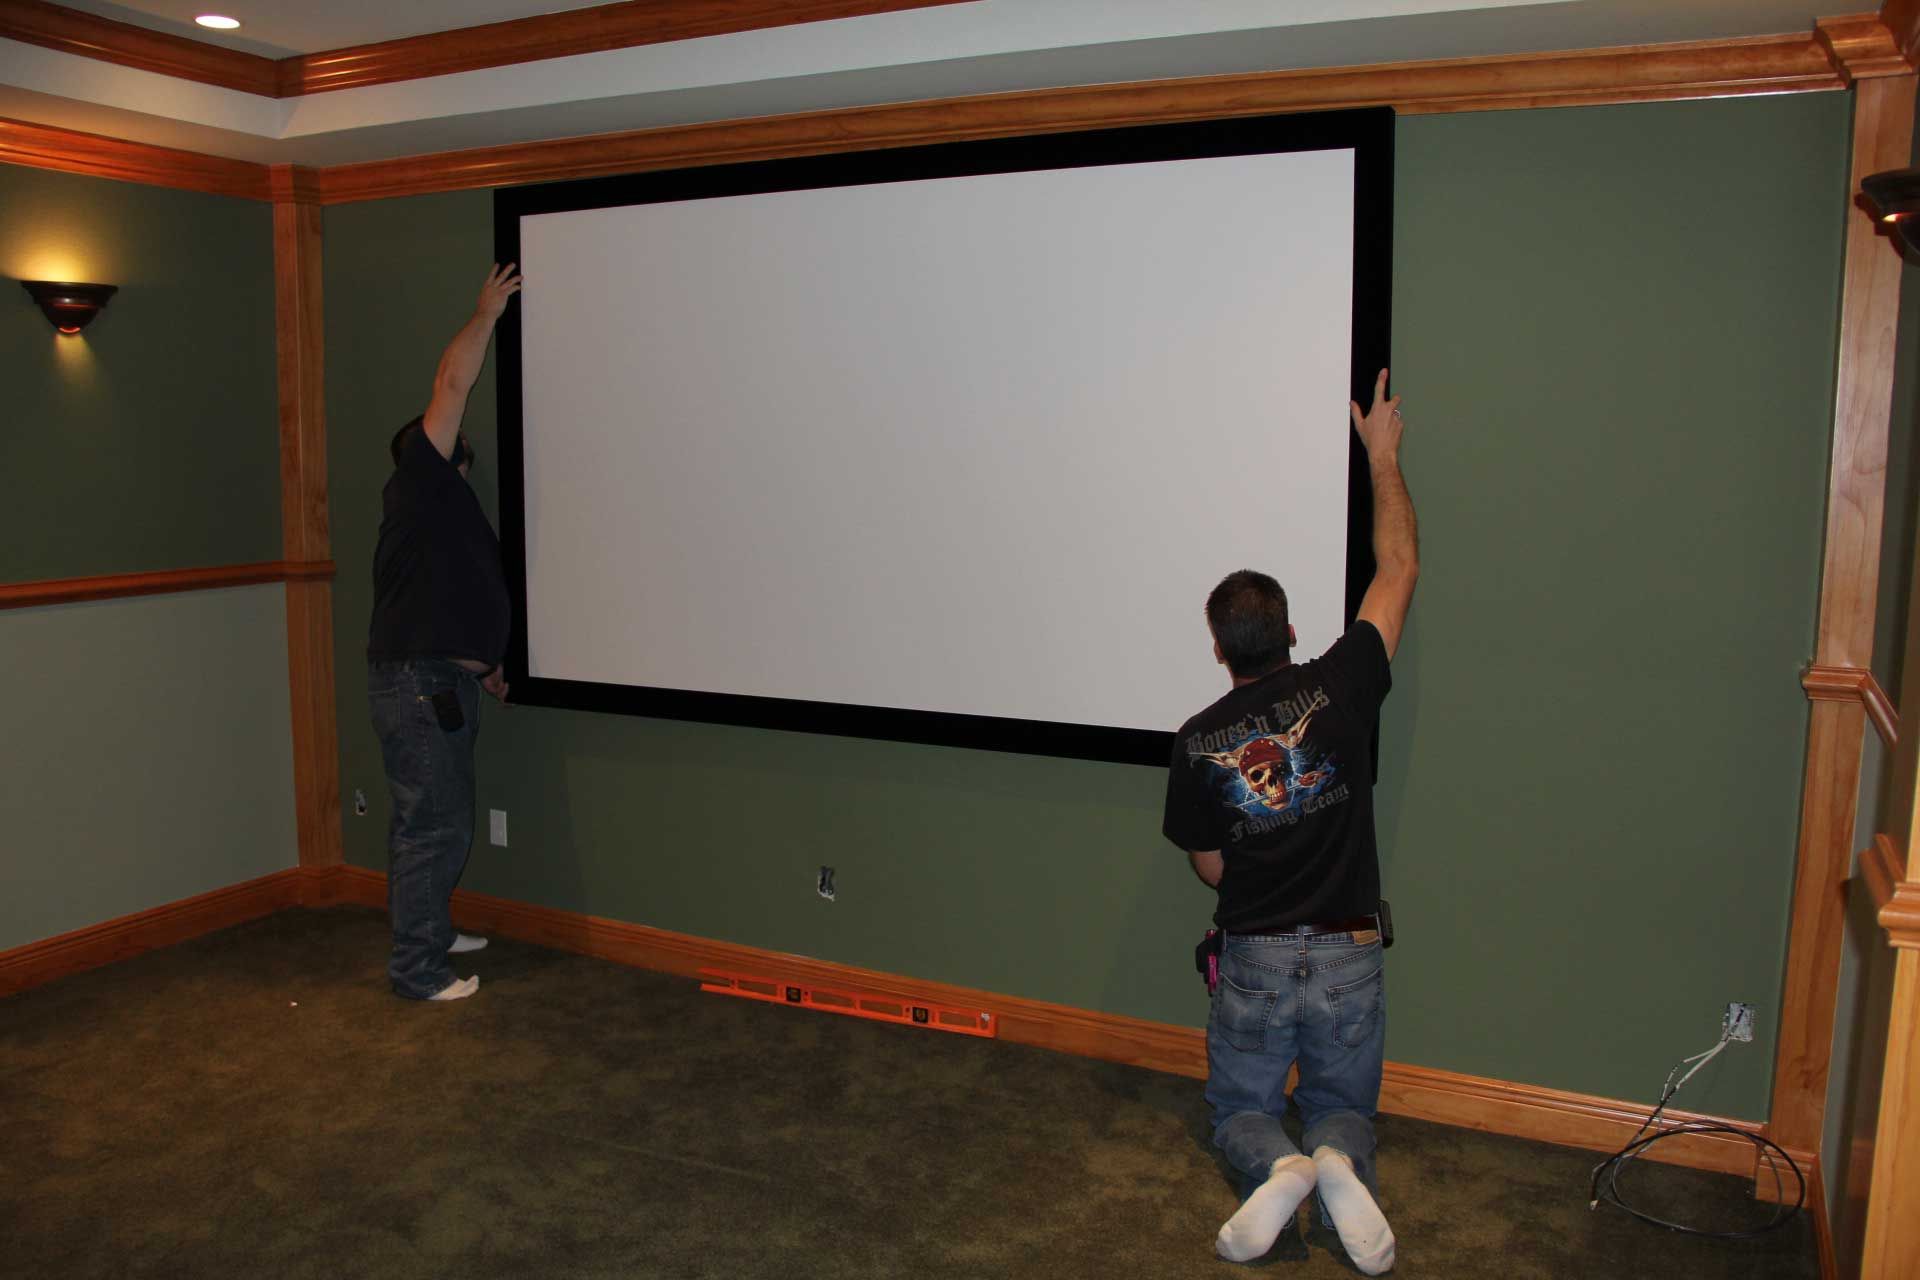
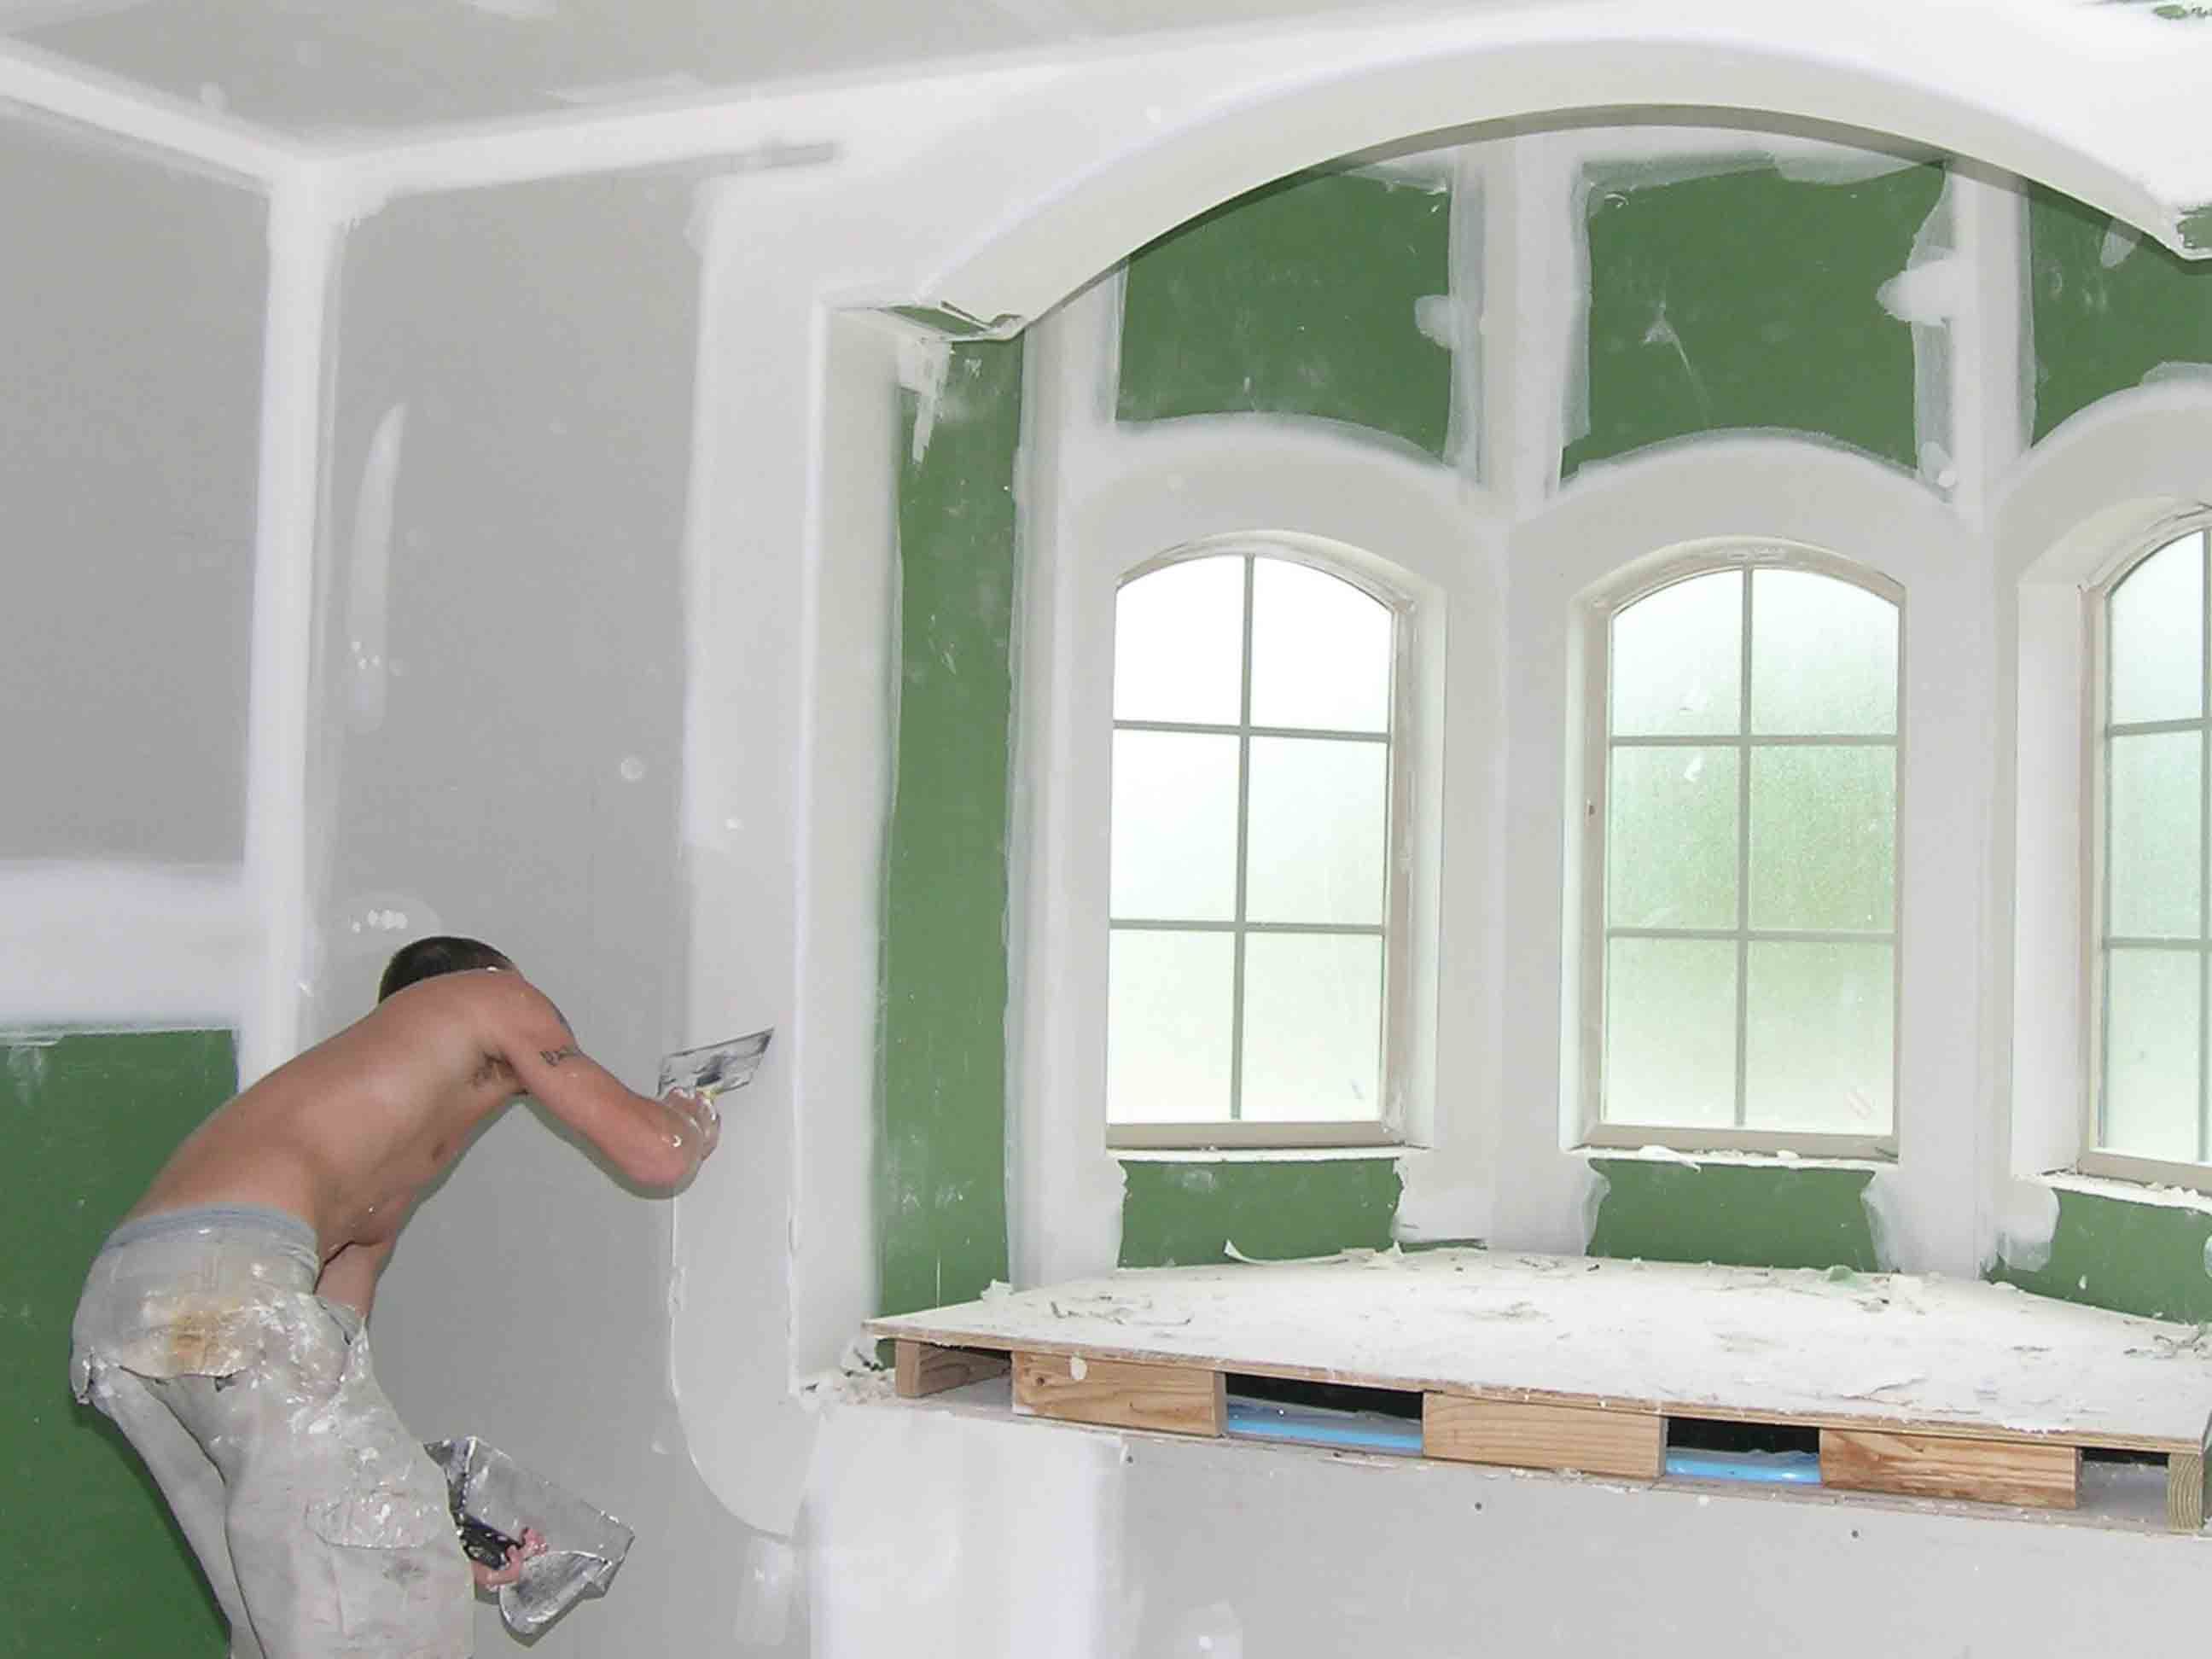
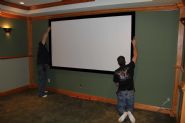
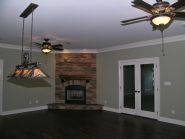
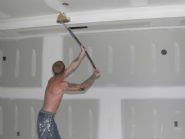
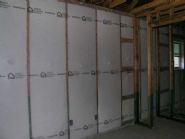
Here's how the theater room wall turned out.

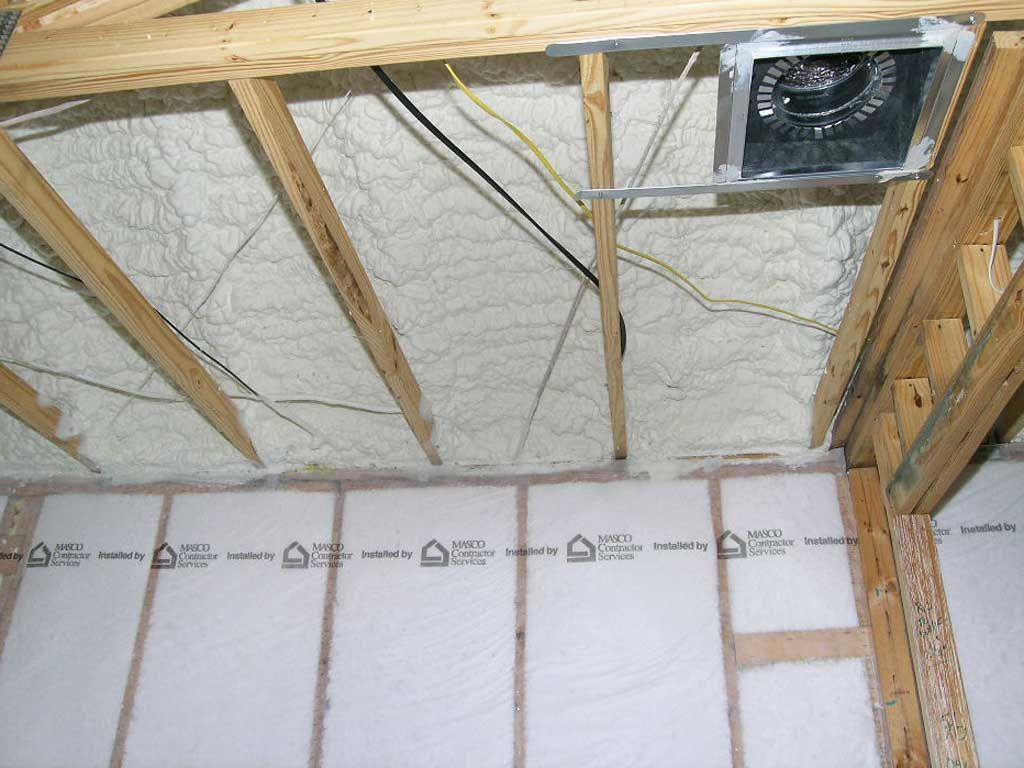
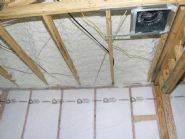
This blown-in-batt product produces an R-23 wall. The 2x6 exterior wall studs are placed 24" instead of 16" apart allowing more insulation to be placed in the wall for better thermal performance. A 2x6 stud is R-8 compared to R-23 for the BIB insulation.   You can fit 67% more insulation in this type of wall than a typical 2x4 wall framed 16" apart.

On the right you can see a ladder framed tee. Typically this intersection of 2 walls is framed with a solid stud on each side so you can't insulate behind it. By using horizontal ladder blocking to connect the walls you can insulate behind the intersection thus forming a complete and uninterrupted thermal envelope. The green dye is from the borate termite treating on the bottom 2 feet of the walls.

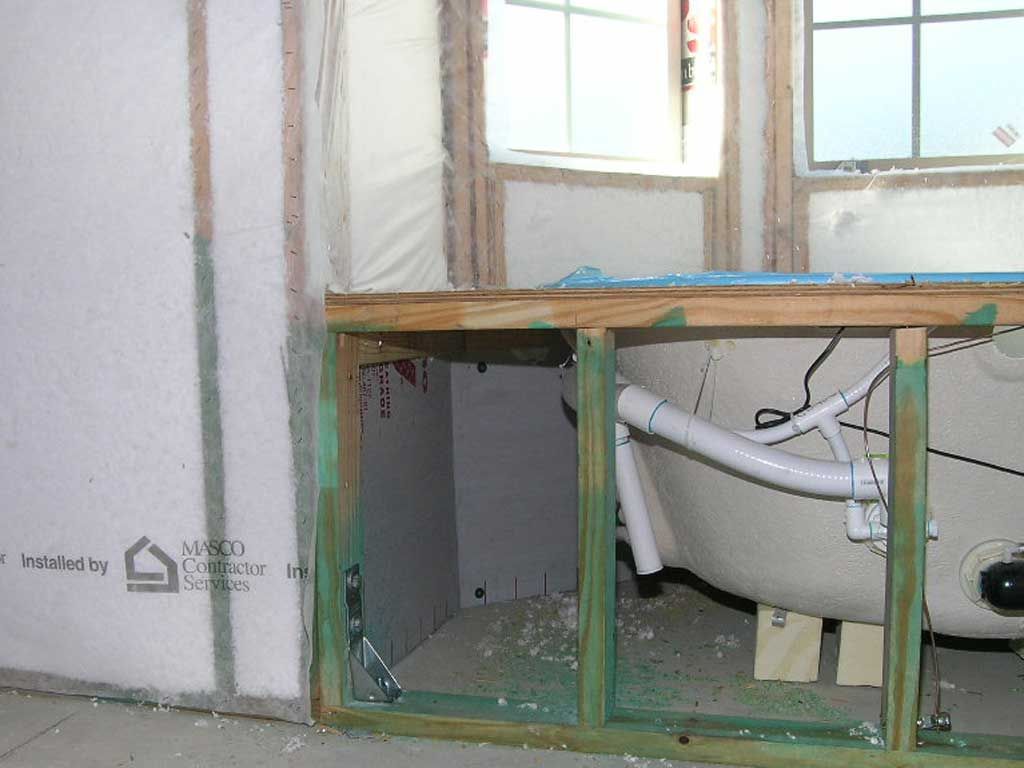
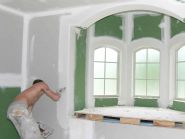
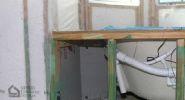
Thermoply lining goes behind the tub so insulation can be packed in behind the tub along the exterior walls. This area is typically not well insulated if at all.

John sprays open cell foam on the underside of the roof decking.  Including the attic within the thermal envelope makes the home more energy efficient and enables the AC ducts to operate much more efficiently.  The foam is a 2 part system sprayed at about 1500 psi.  The last 10' of the hose heats the materials to 140 degrees.  It's already hot up there, especially when you're in a hazmat suit, hood, and rubber gloves.  This stuff is pretty corrosive if it gets on you which tends to happen when a line blows.  That'll make a believer out of you about wearing protective gear.
A highly efficient and cost effective combination of insulation techniques.  Foam attic, blown in batts, 2x6 studs spaced 24", and open tees and corners.
This is the computer rendering I made to help the Haggetts visualize what I was building for them.

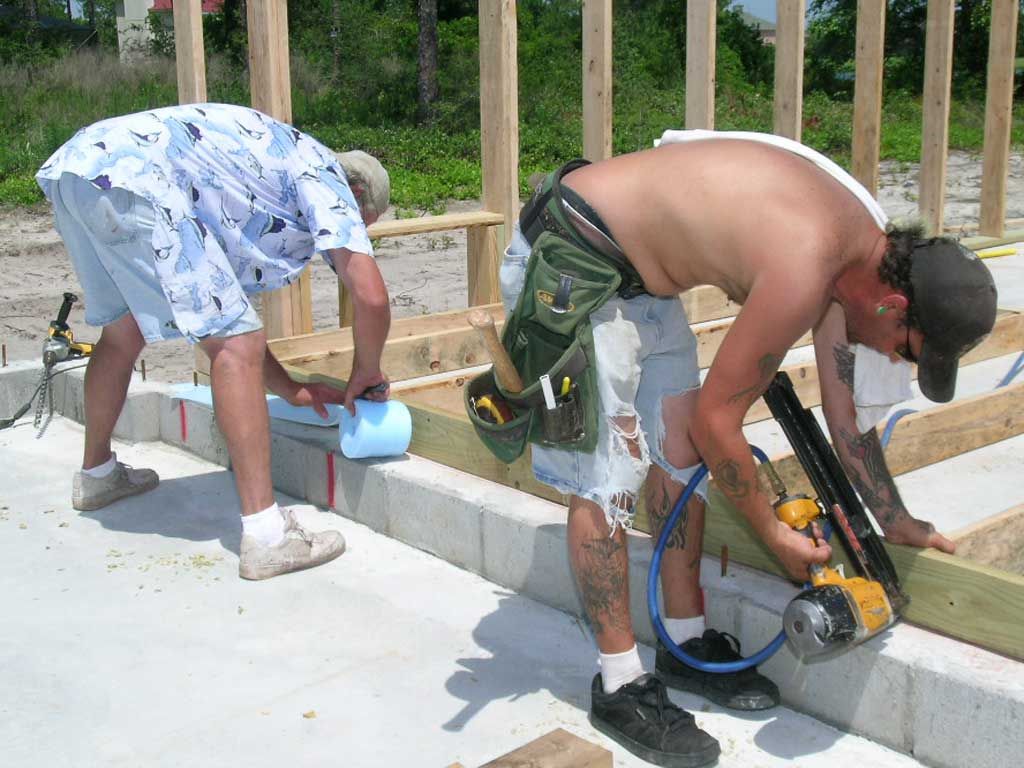
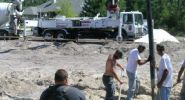
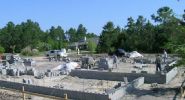
Pouring the foundation footings

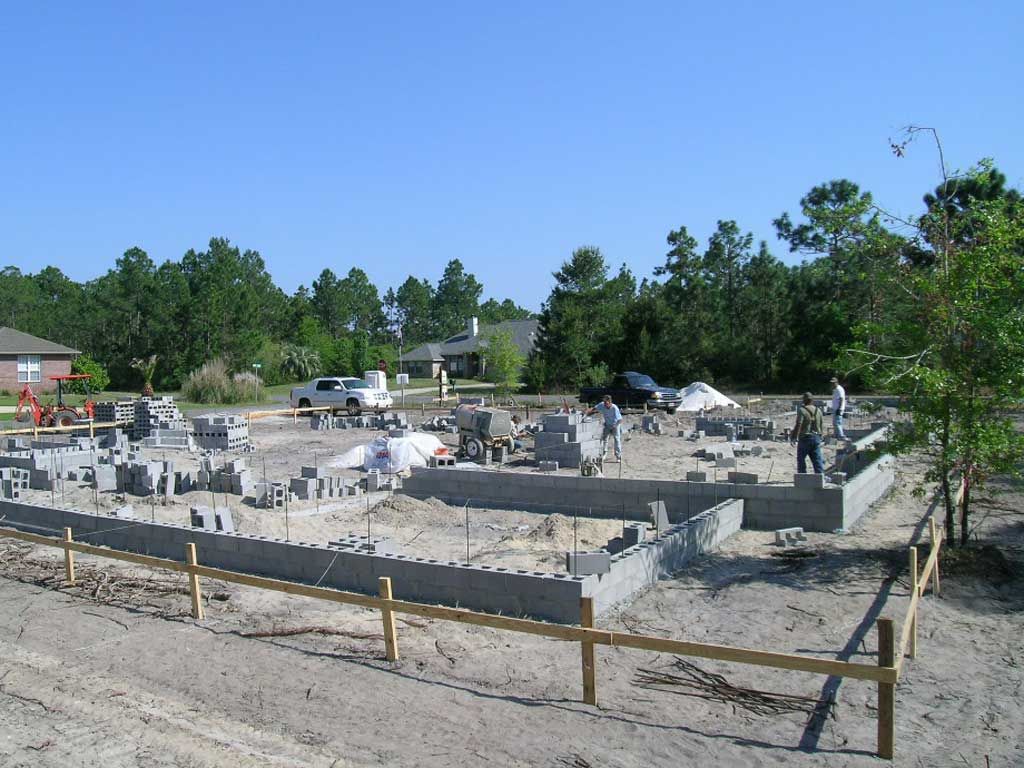
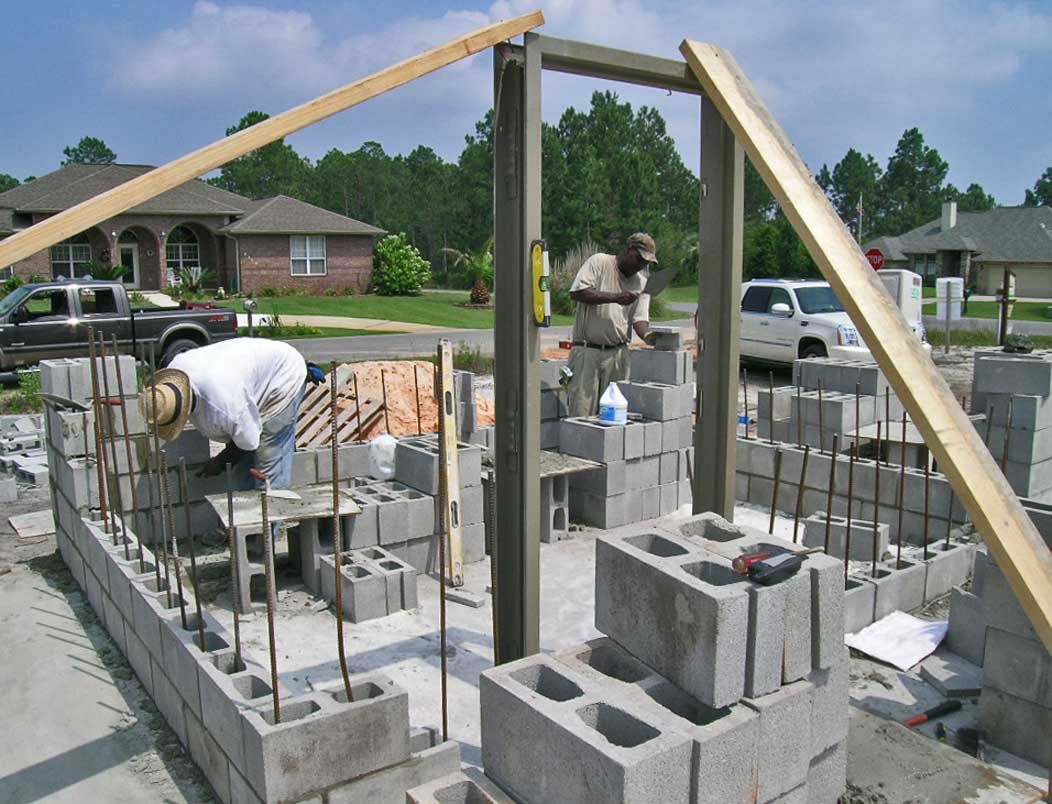
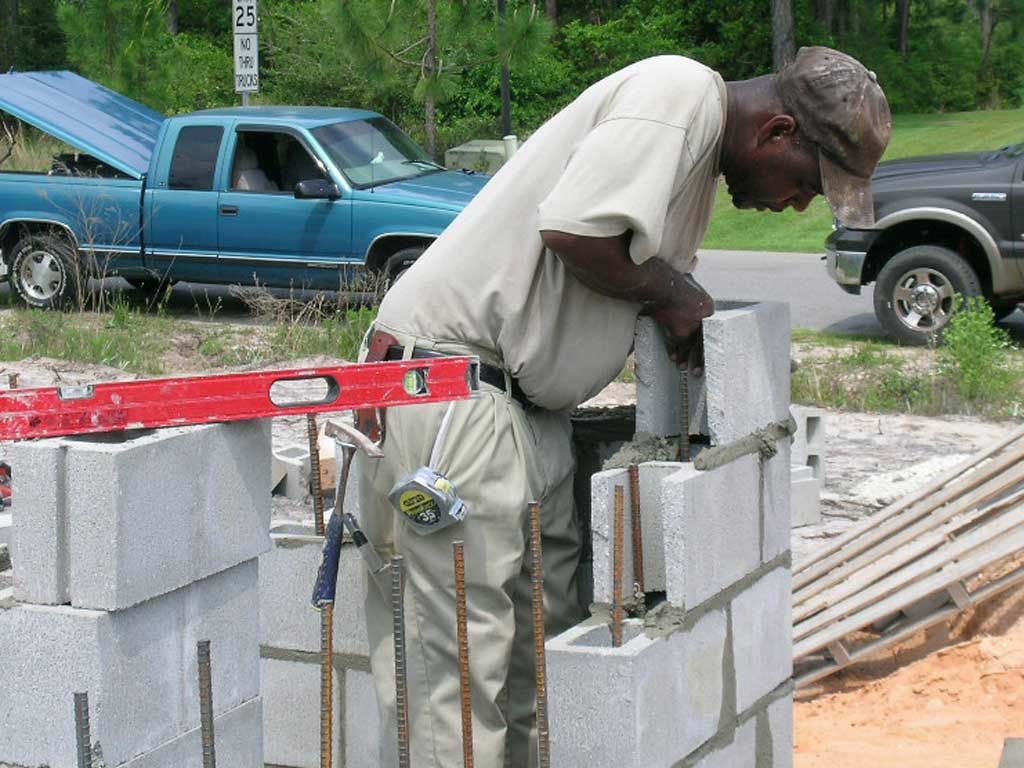
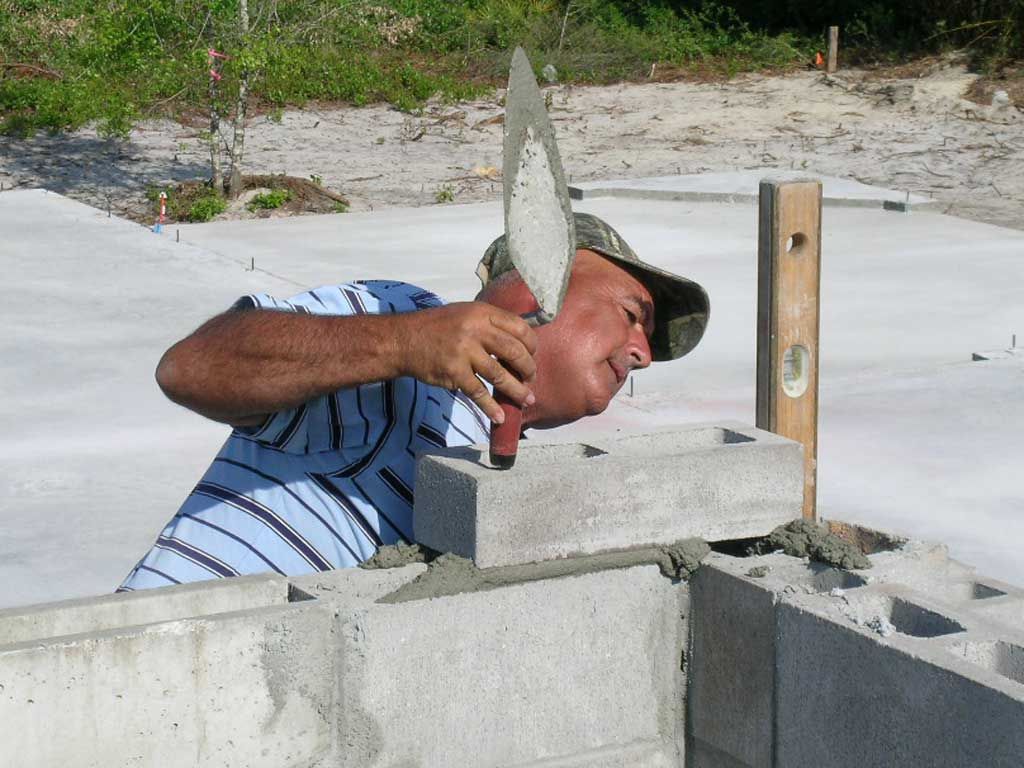
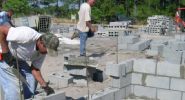
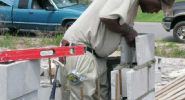
Tony laying up block.

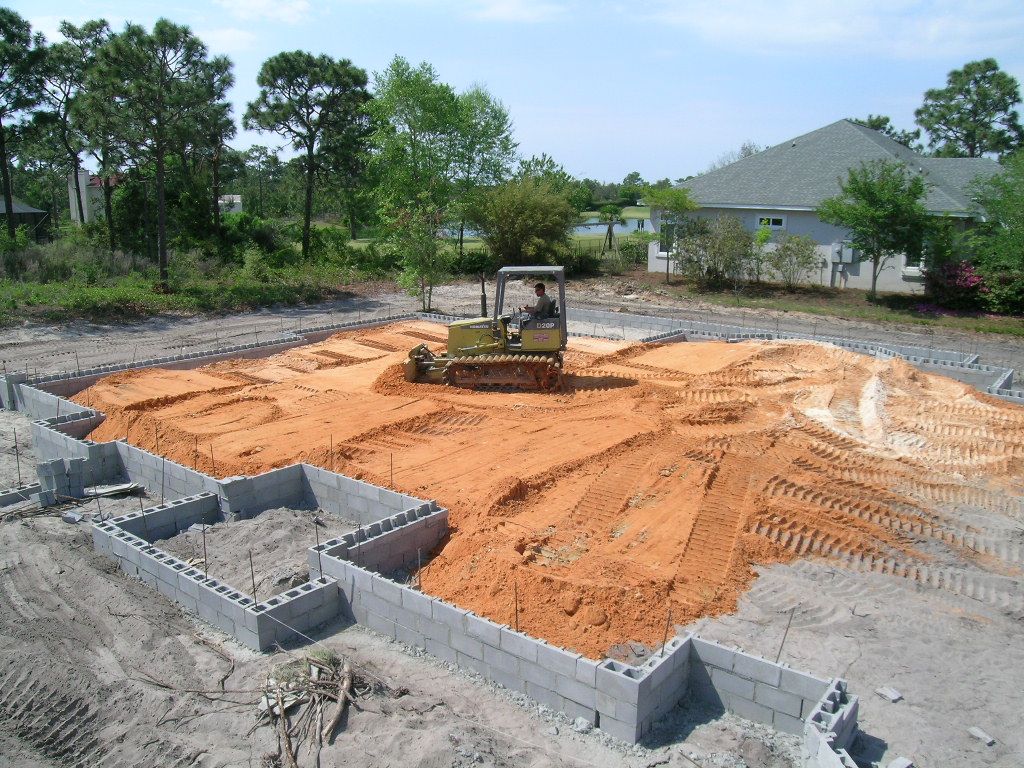
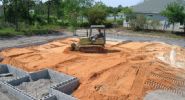
Matt grading and compacting the foundation fill.

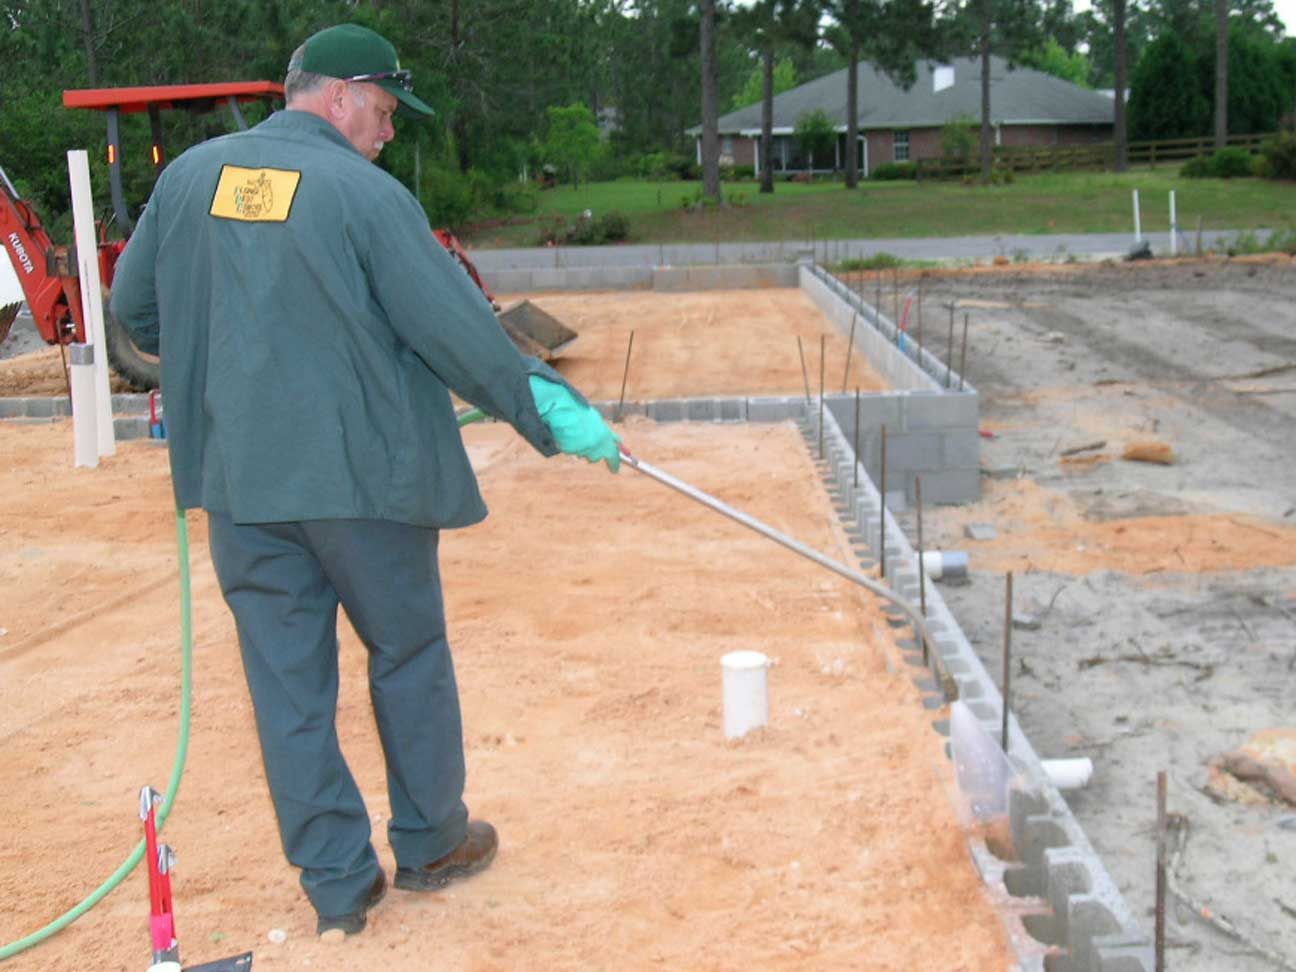
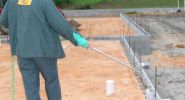
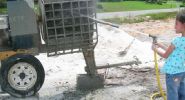
Pat with Florida Pest Control pretreating the slab.

Junior setting the steel in the interior load bearing footings.

Junior trimming the block.

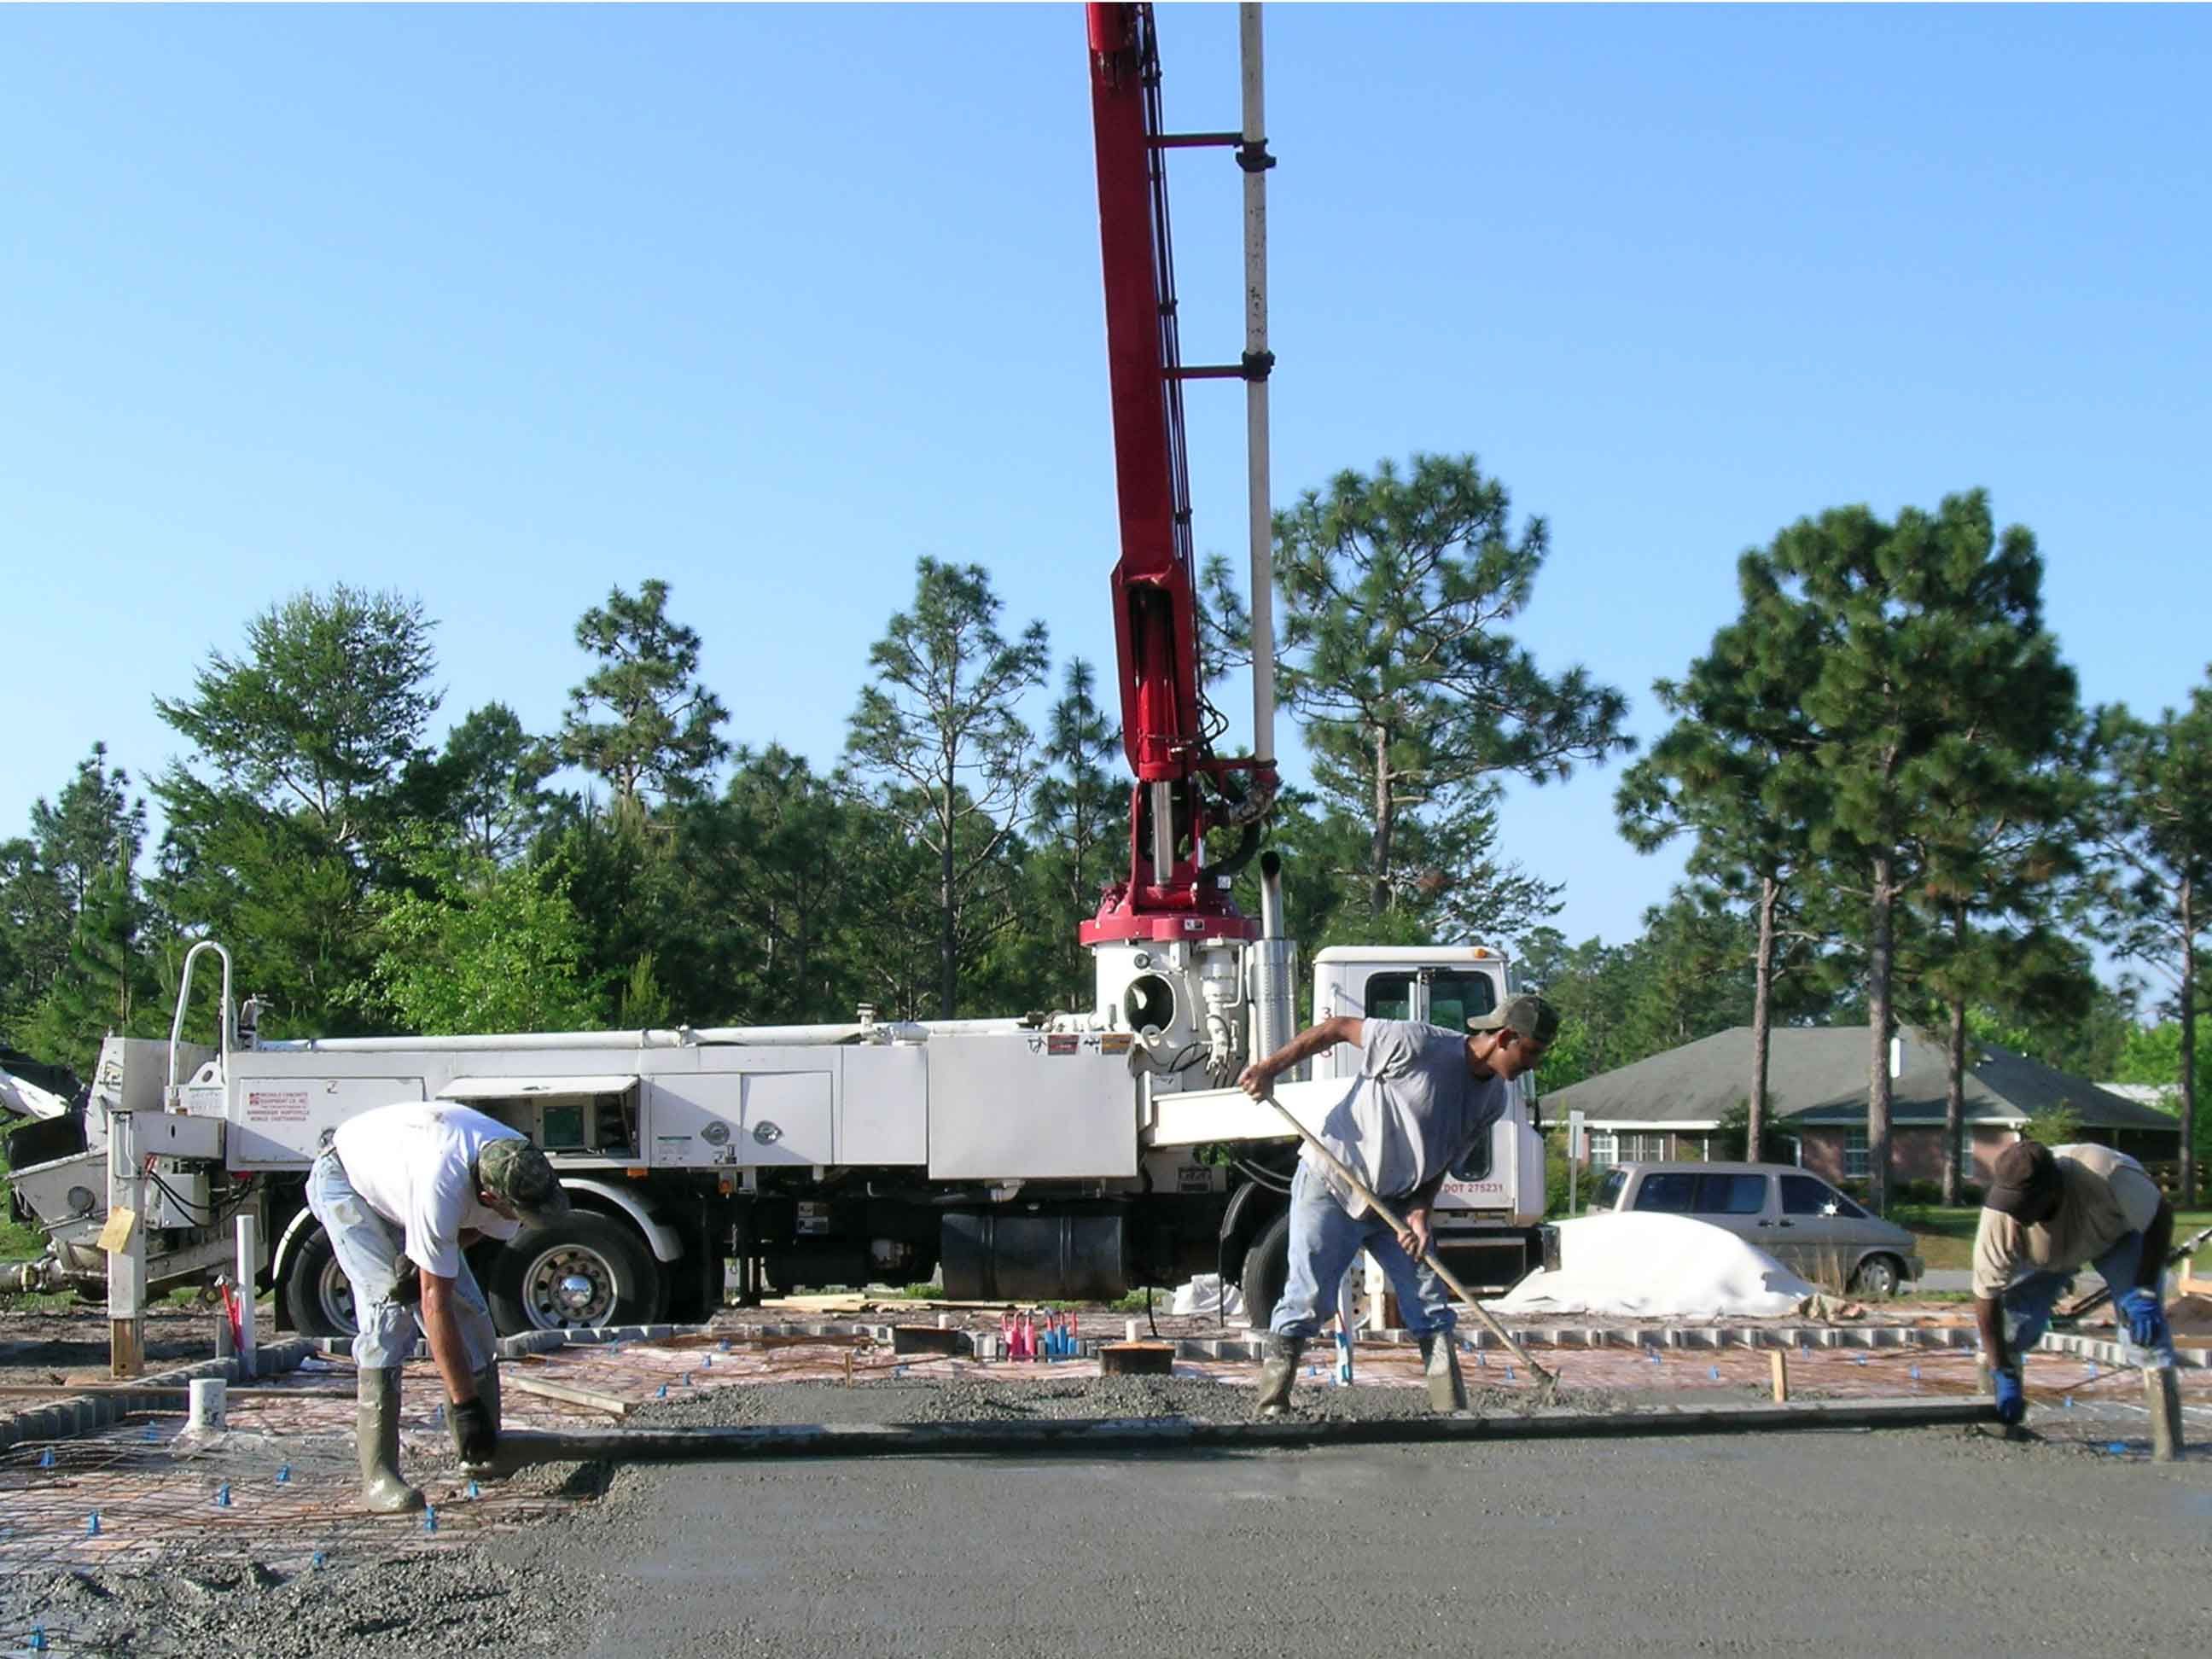
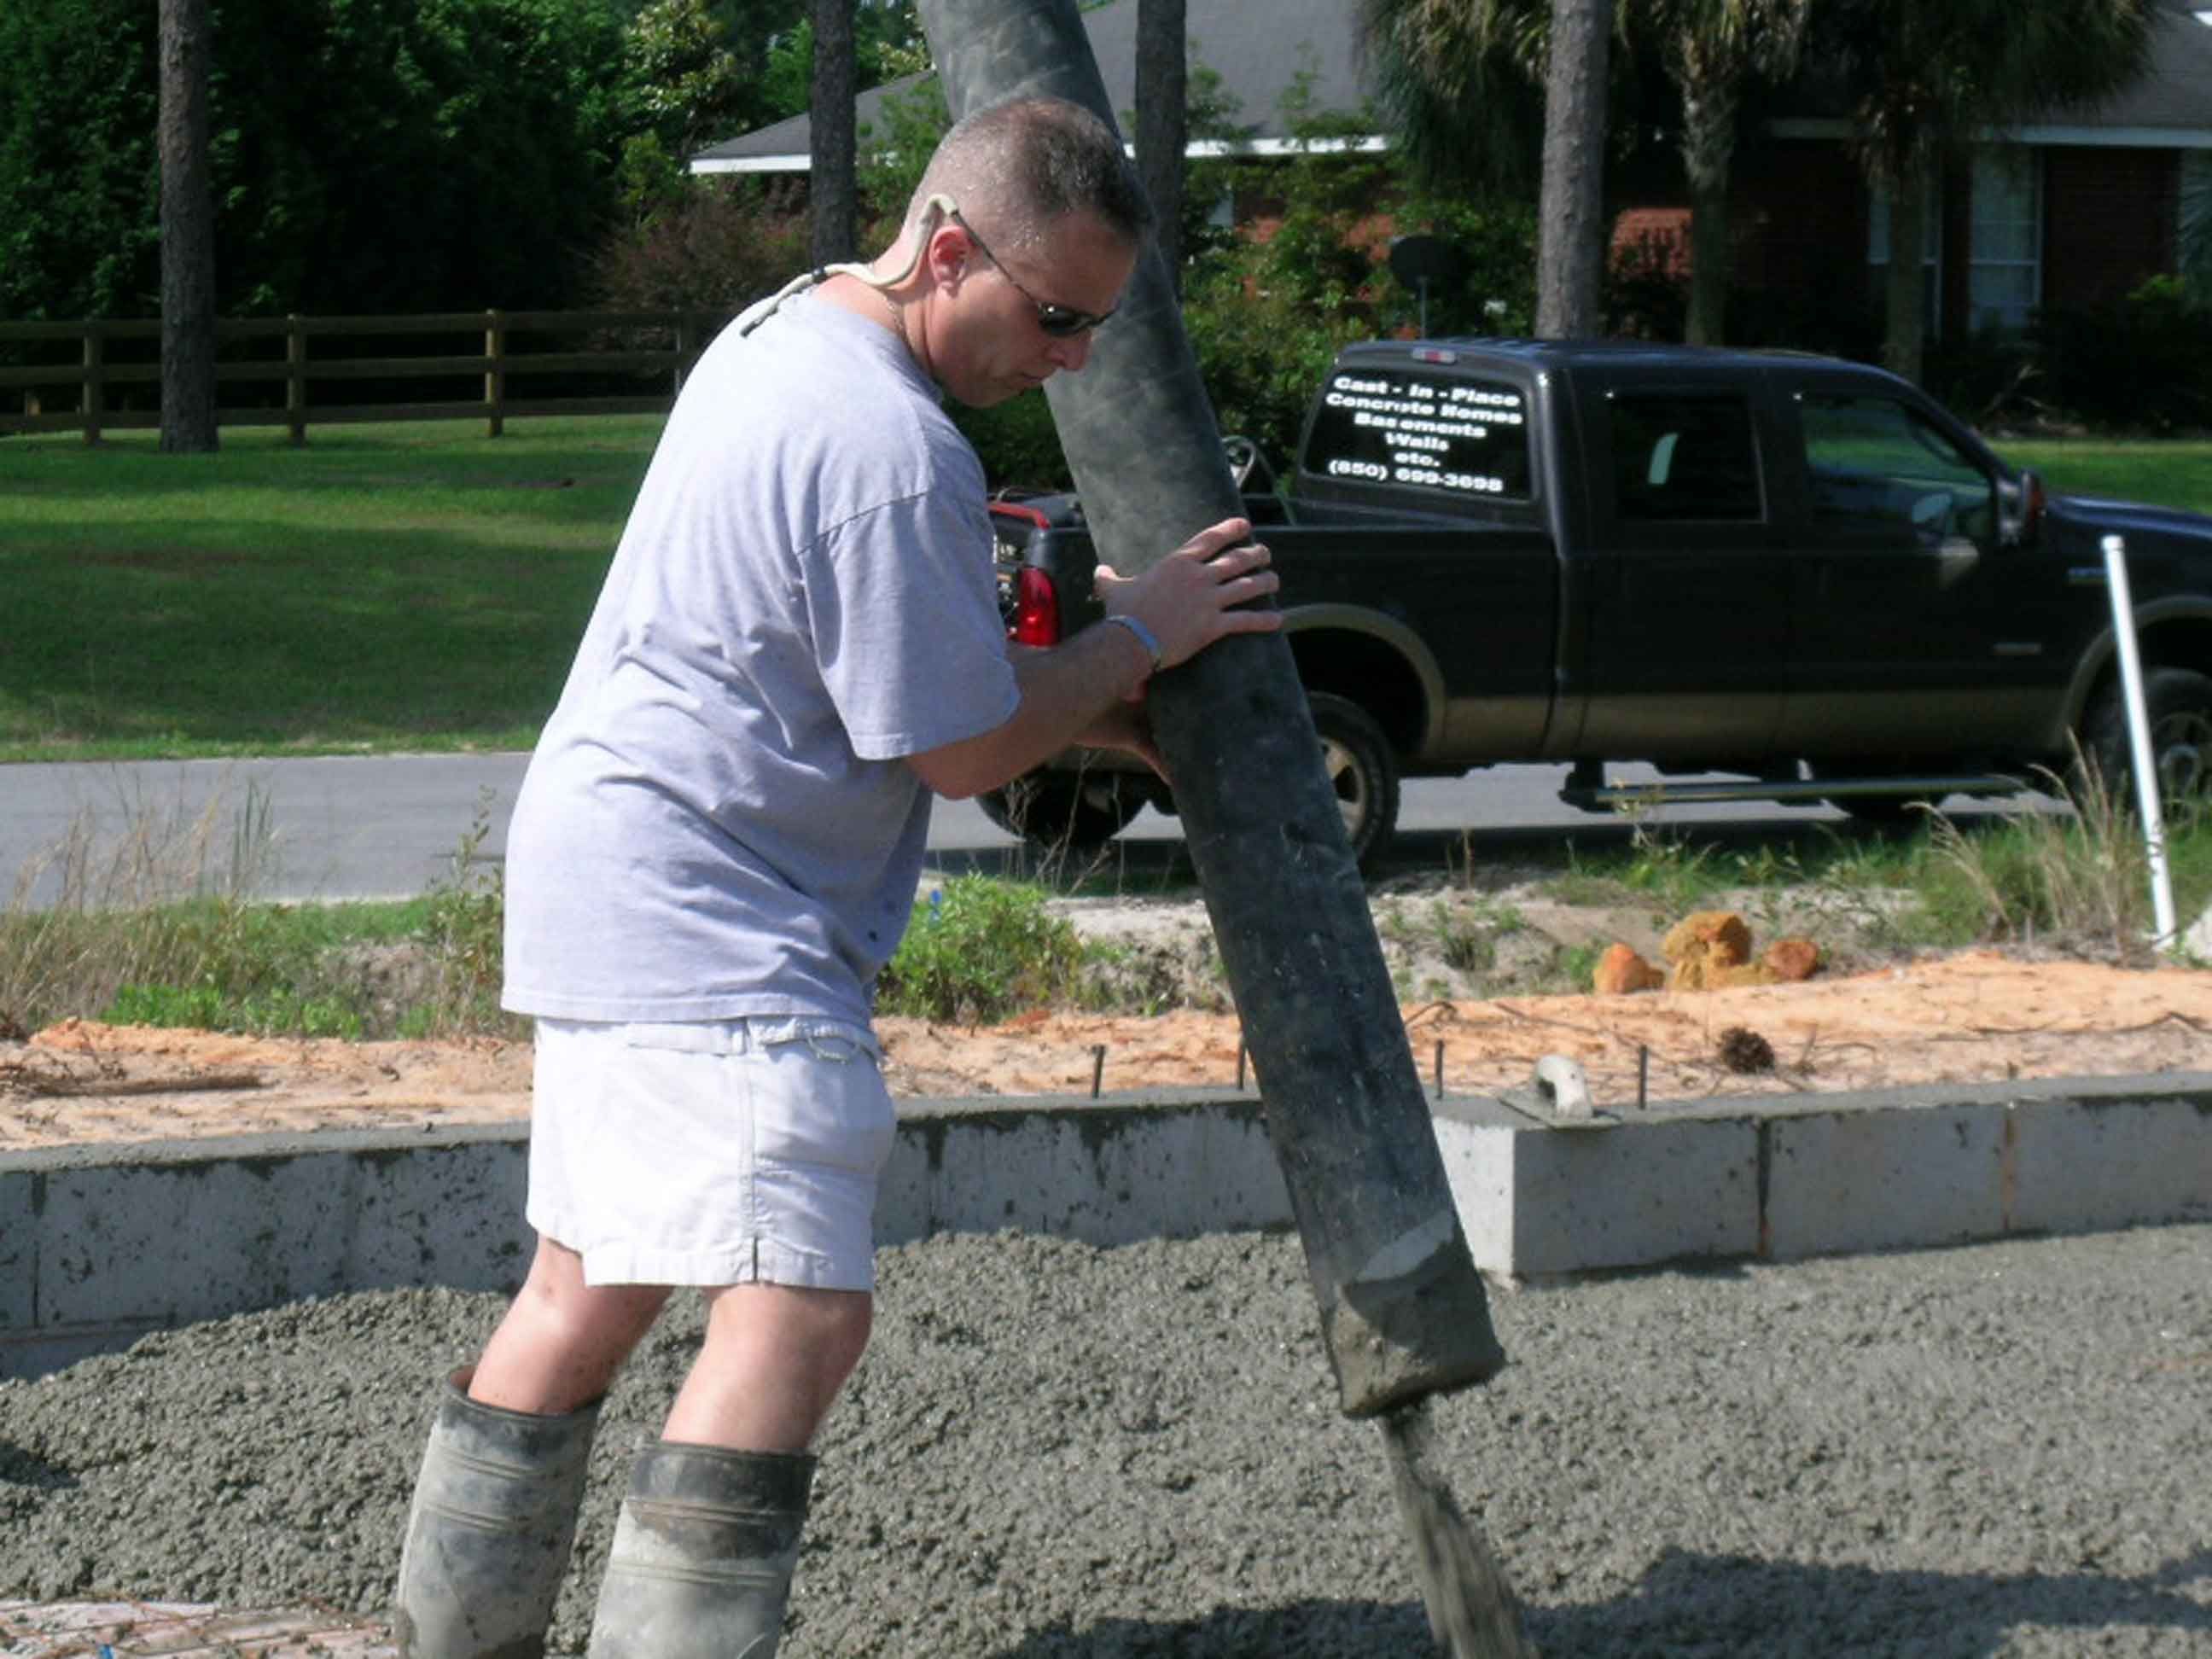
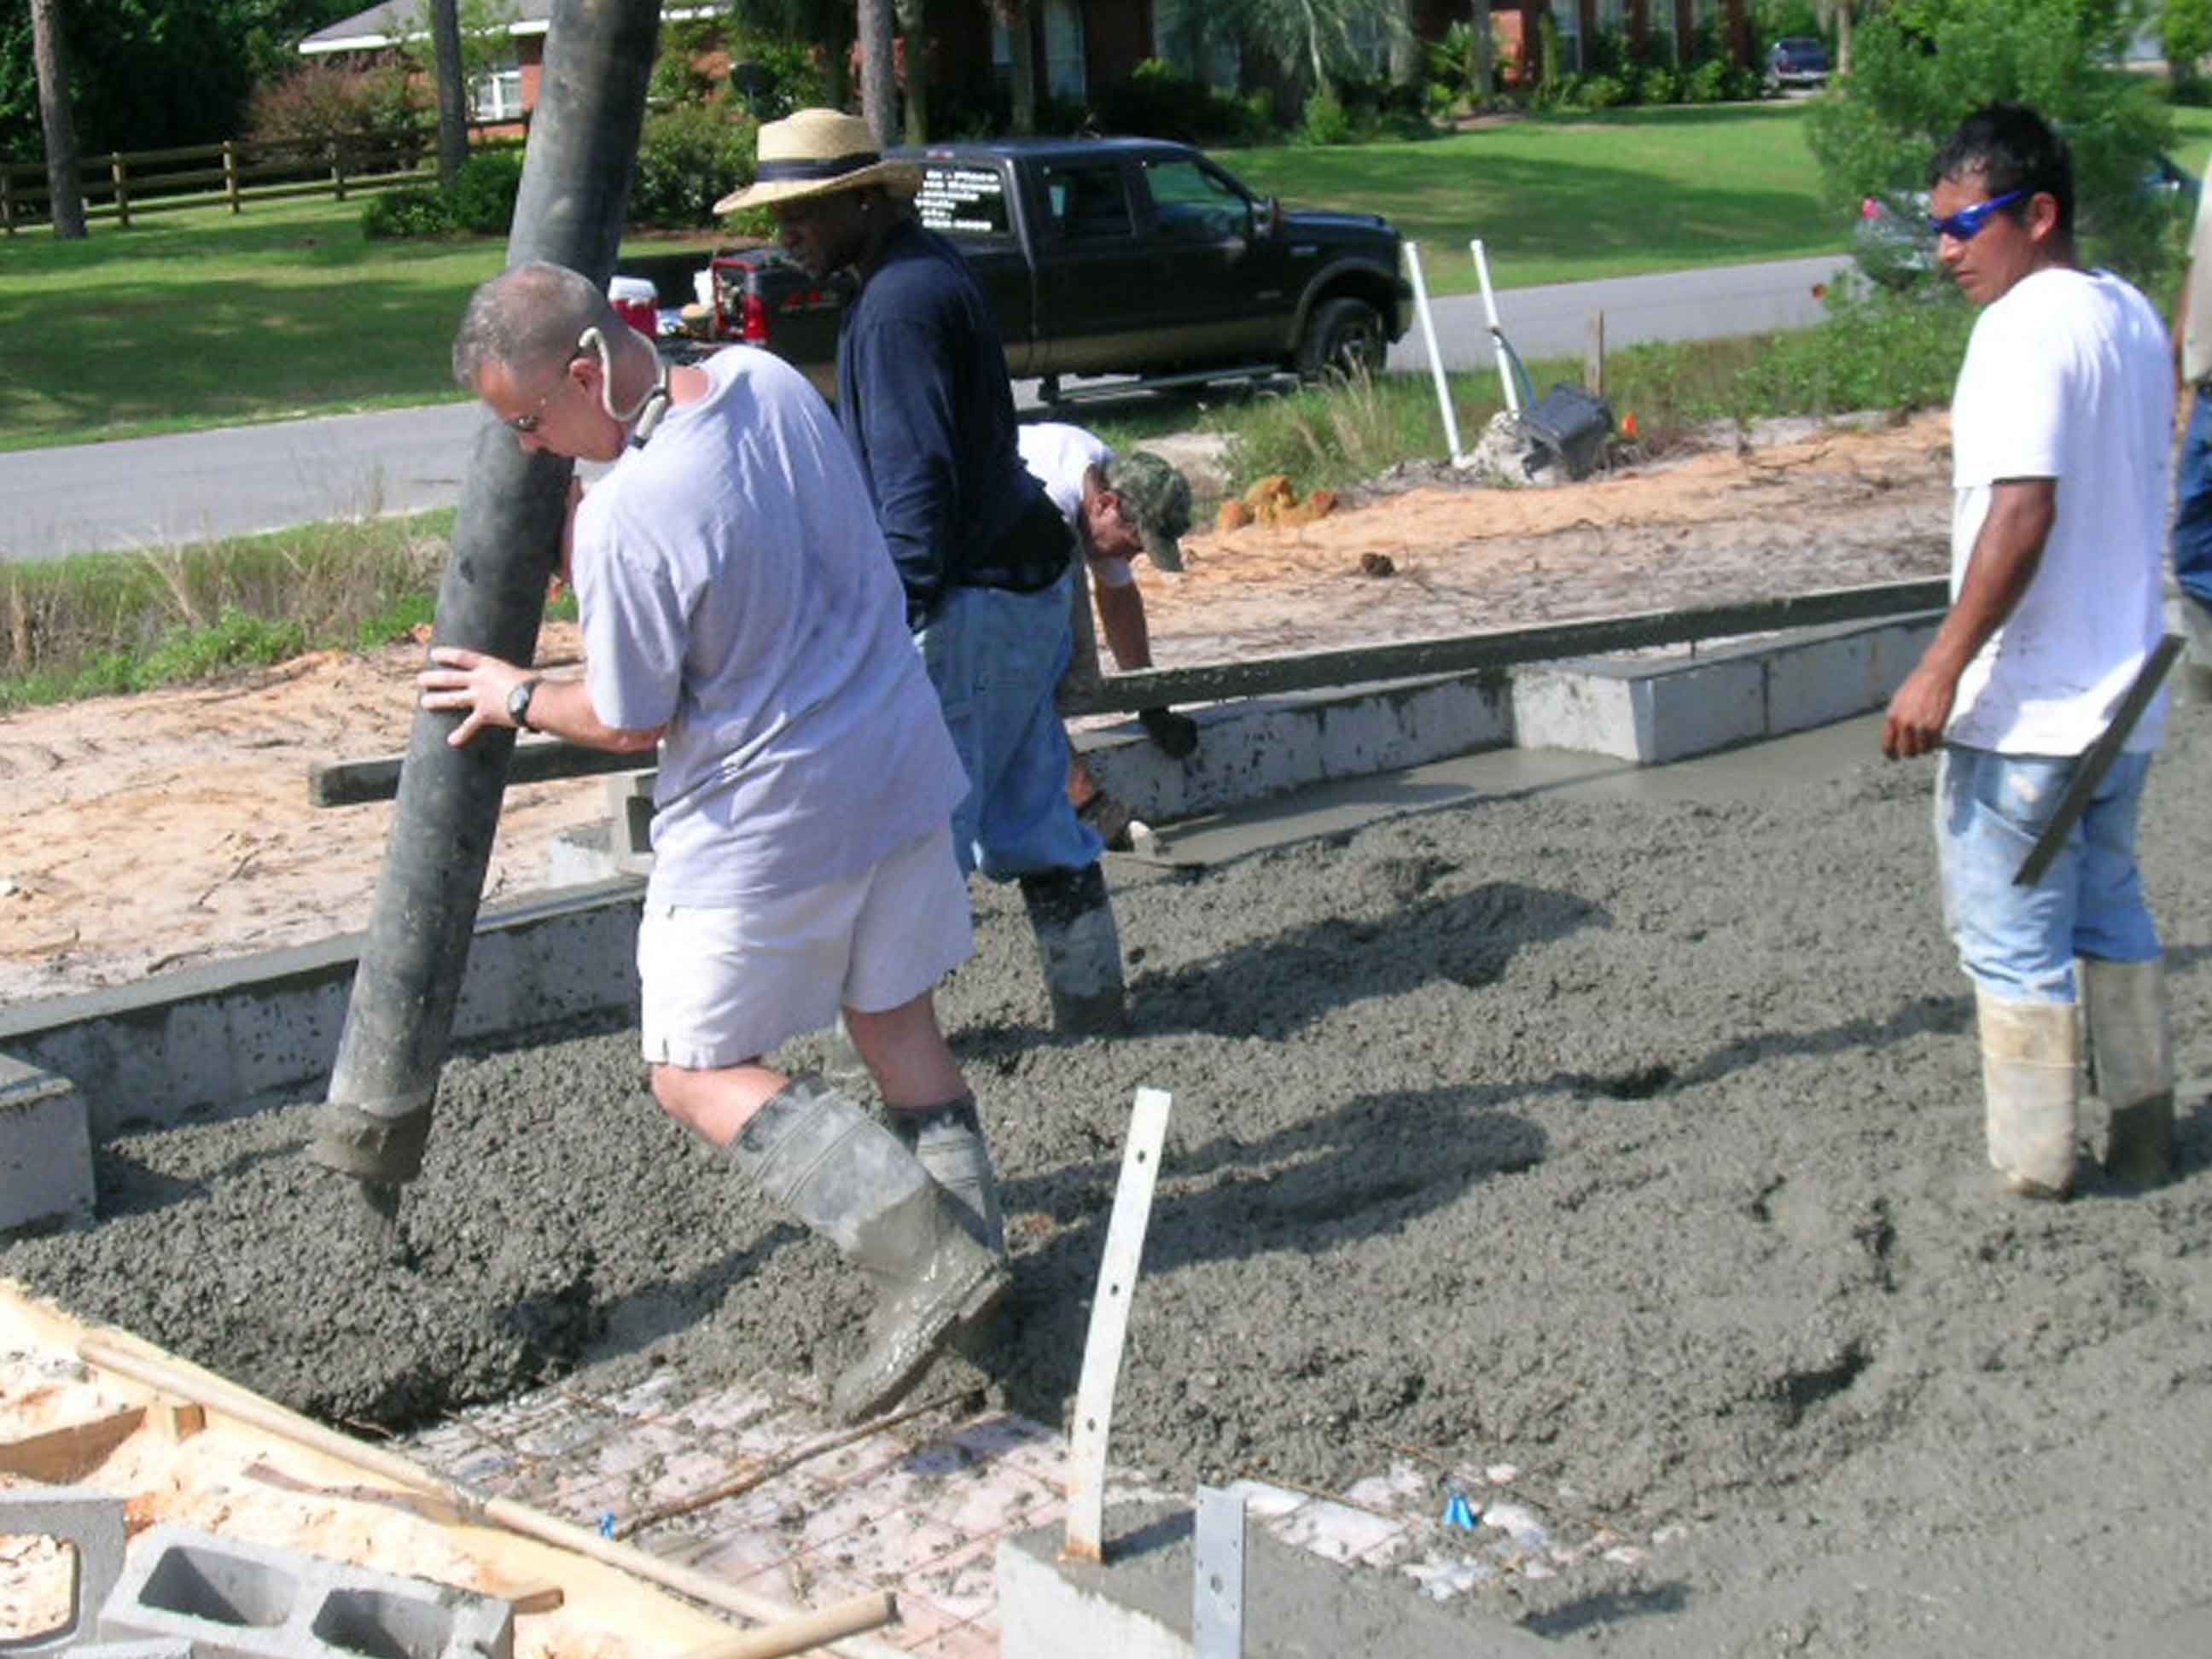
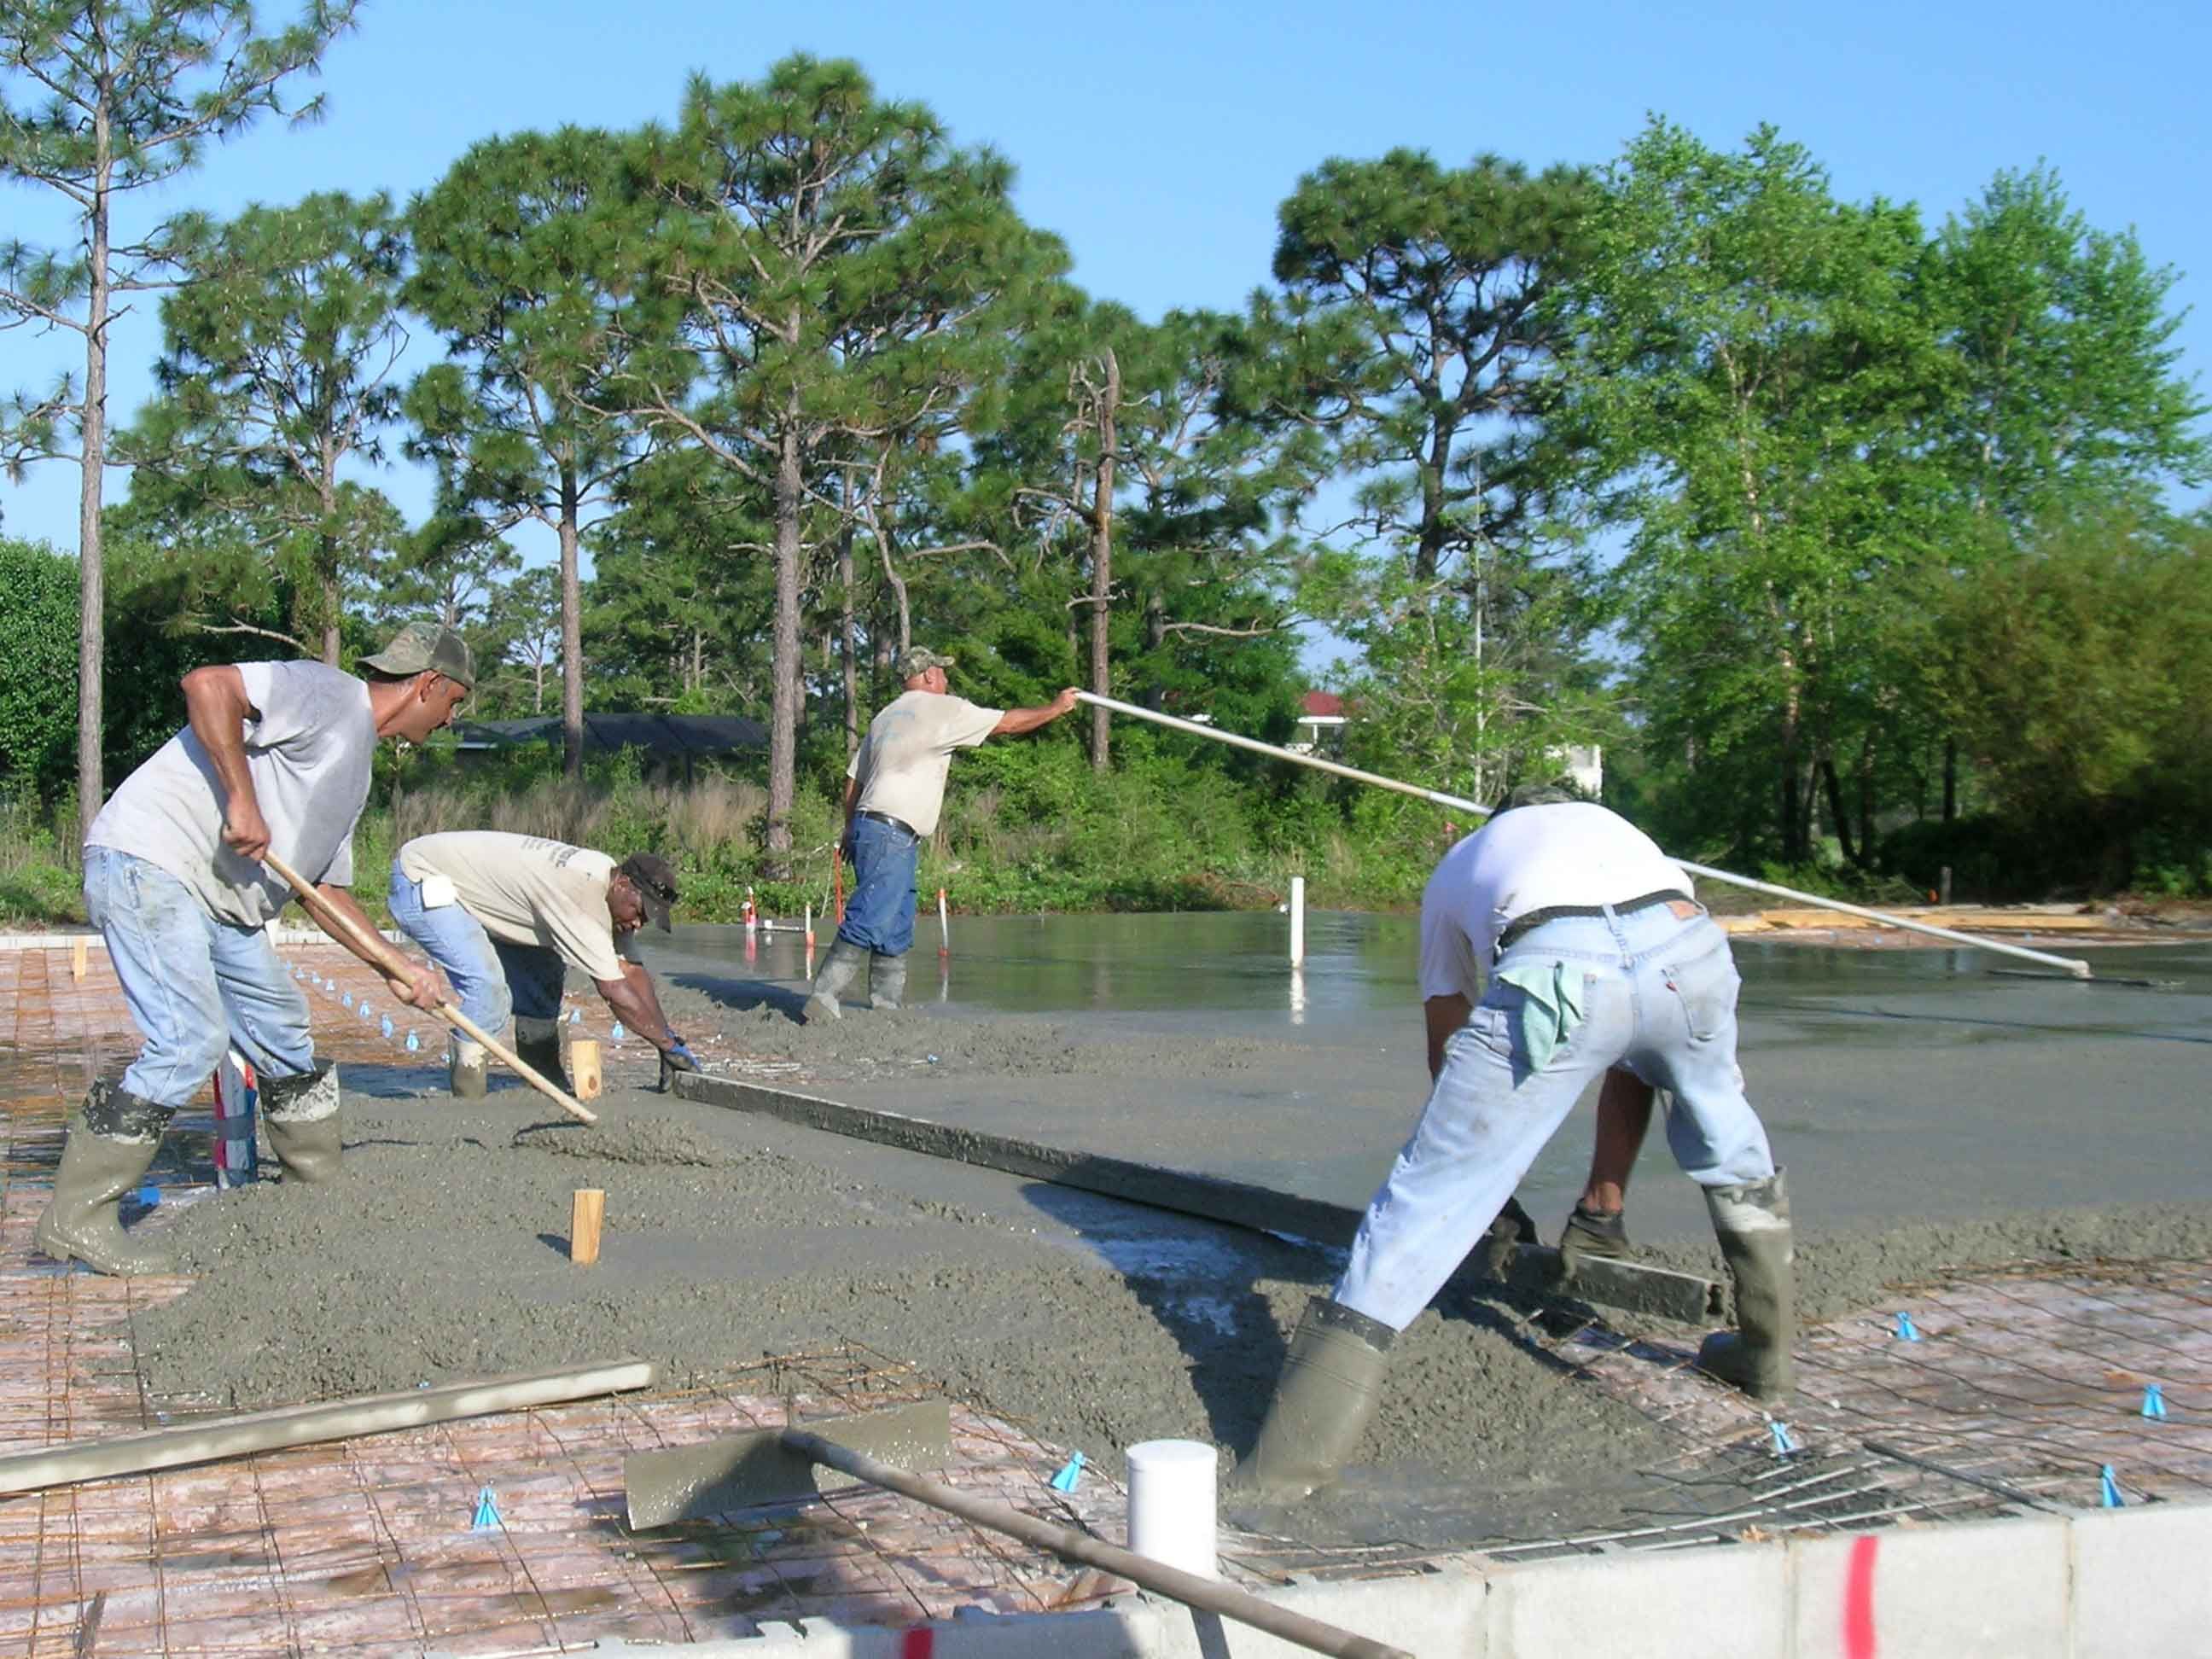
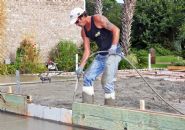
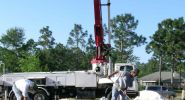
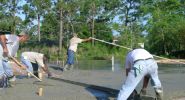
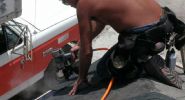
We had to use a boom pump on this job. Concrete is dumped into a hopper on the back of the truck then pumped through a hose on the boom.

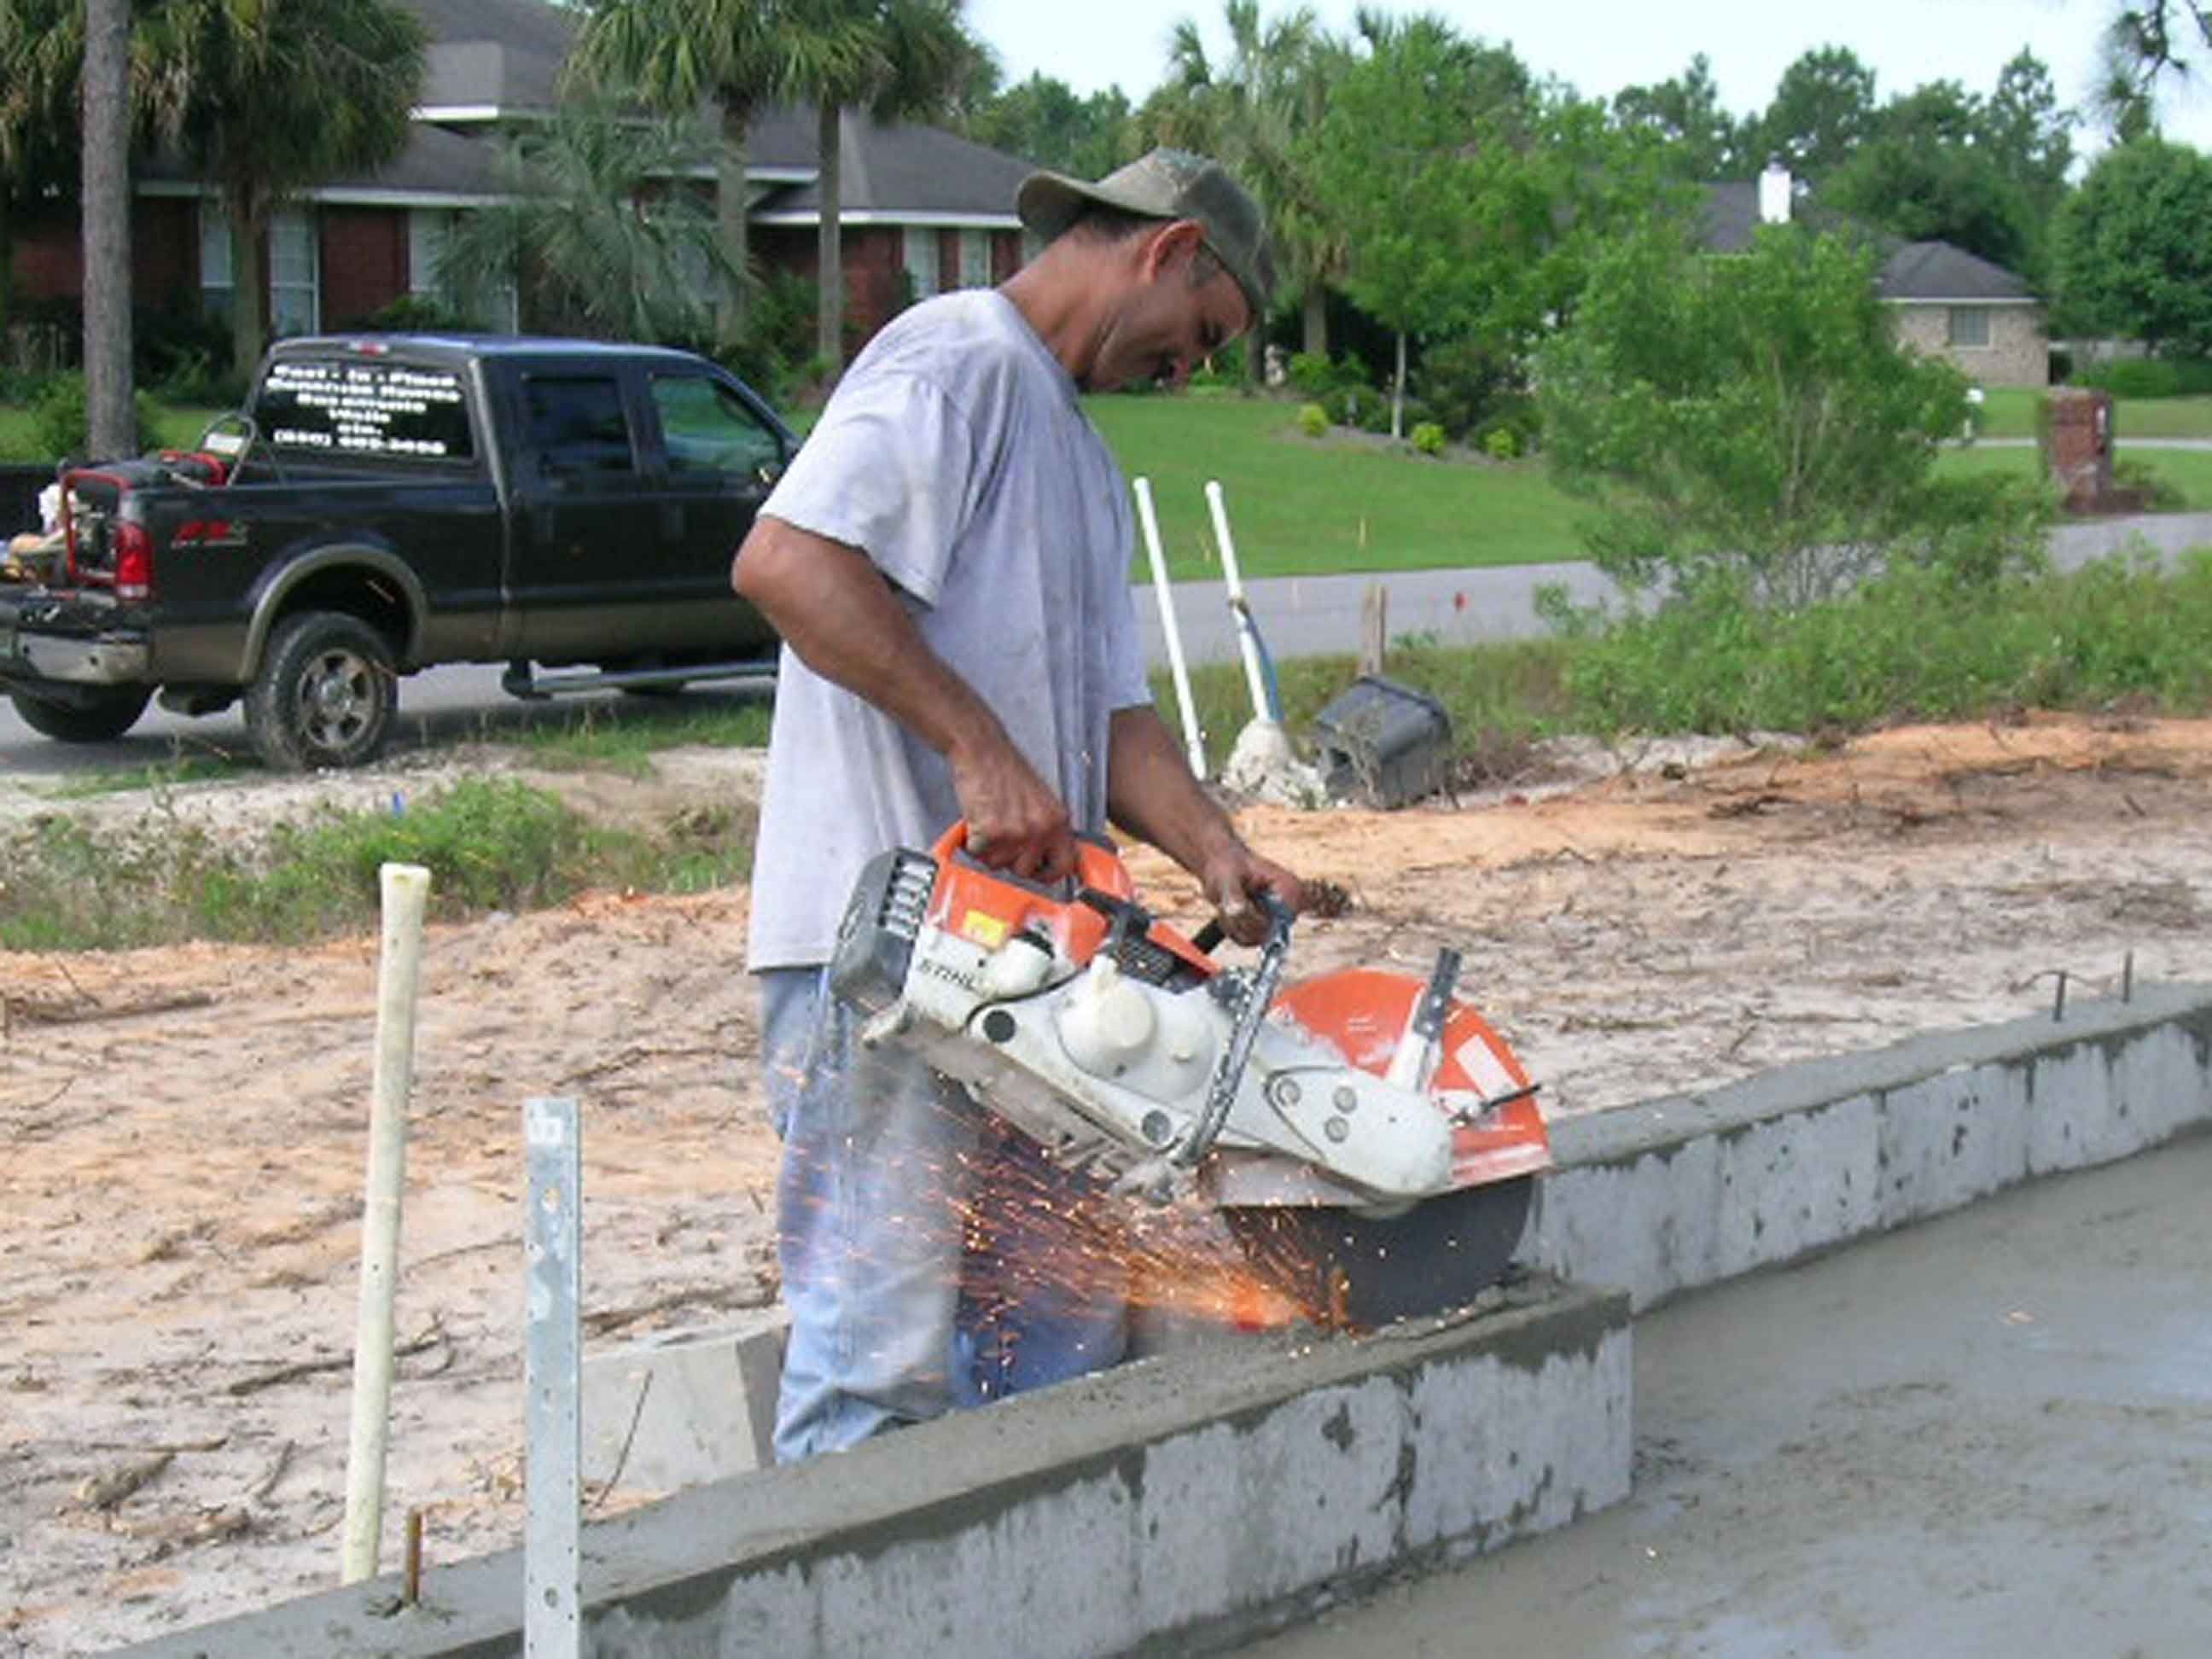
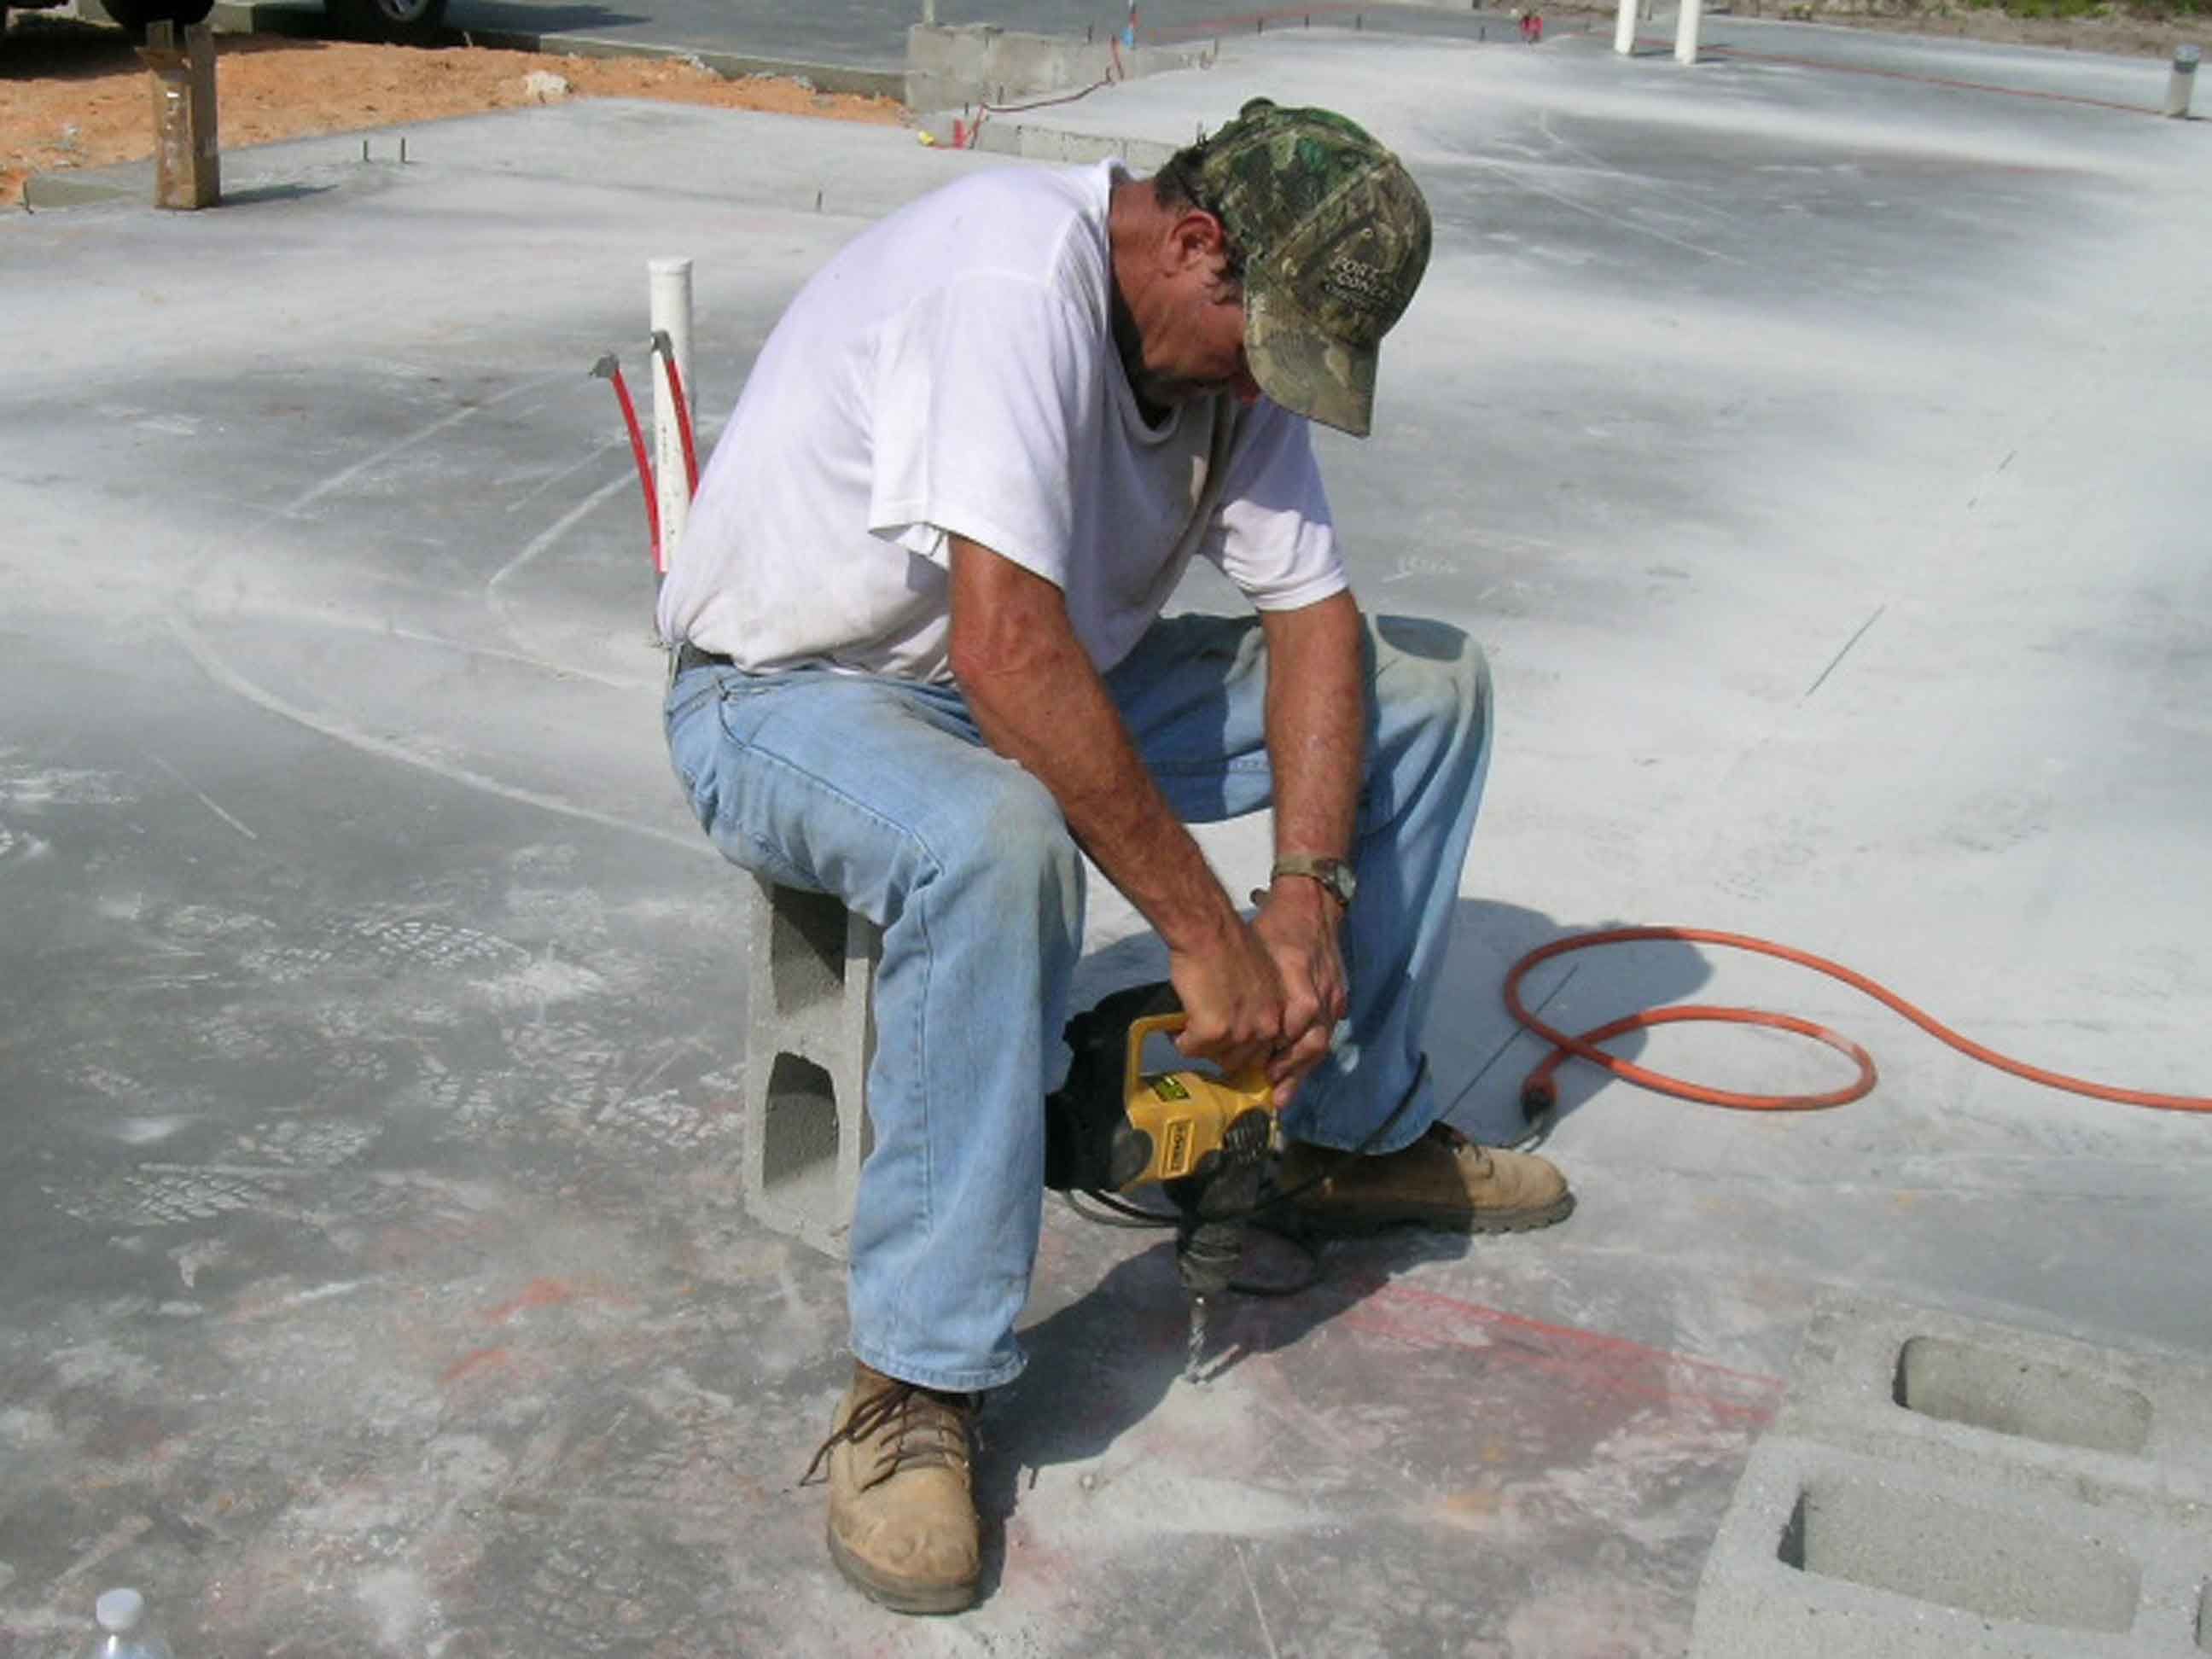
Junior cuts off a wild hair, a piece of rebar sticking out of the concrete.  The slab has a wild hair.

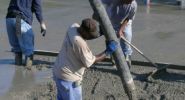
Greg on the hose. Notice how his foot sinks down into the footings for the safe room. There are 30" wide footings with 3 #4 bars under the safe room to make sure the safe room is a completely independent structure capable of withstanding an entire collapse of the home should it receive a direct hit by a tornado.

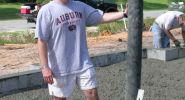
Steve Haggett, the home owner, making himself useful pouring the garage.

OK, you're hired. But Arturo doesn't seem so sure about the new guy.

There weren't enough boots to go around so somebody had to work in their socks. As you can see, rank has its privileges.

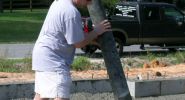
Mission accomplished! CMSgt Haggett, fully qualified as a hose man on the Schwing 41 meter boom pump.

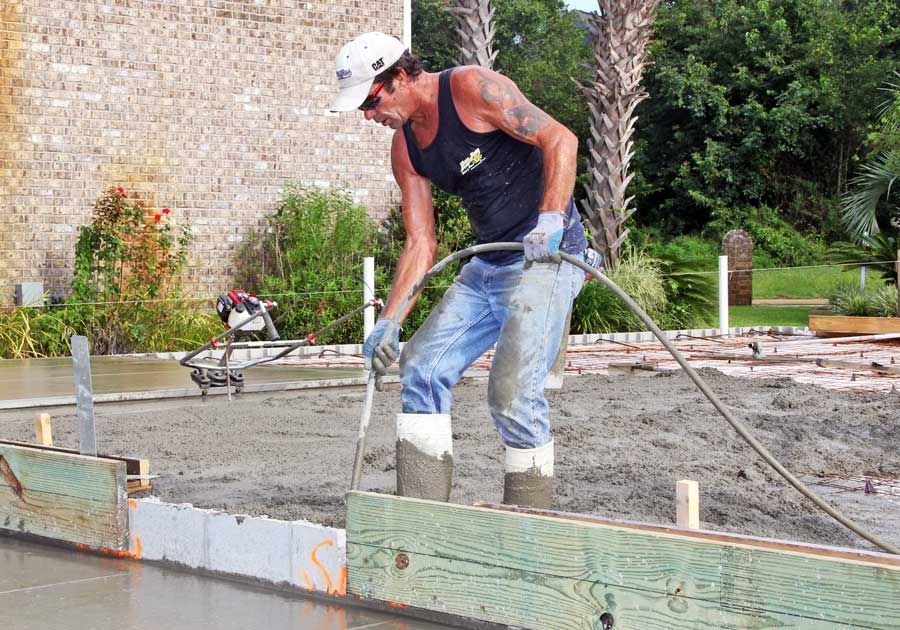
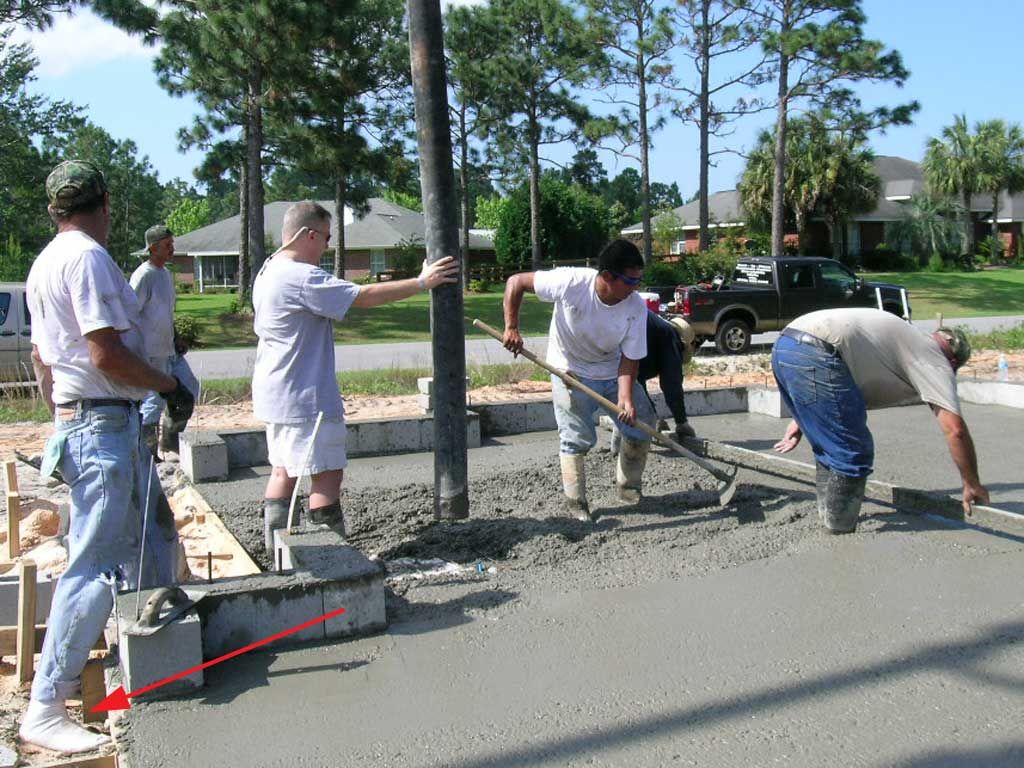
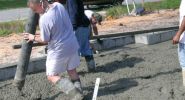
Screeding in the foreground. Gomez on the bull float in the back ground. Bull floating smooths the surface and pushes the agregate (rocks) down below the surface and allows the cement and water to rise to the surface where the water evaporates and leaves a higher concentration of cement to create a harder surface.

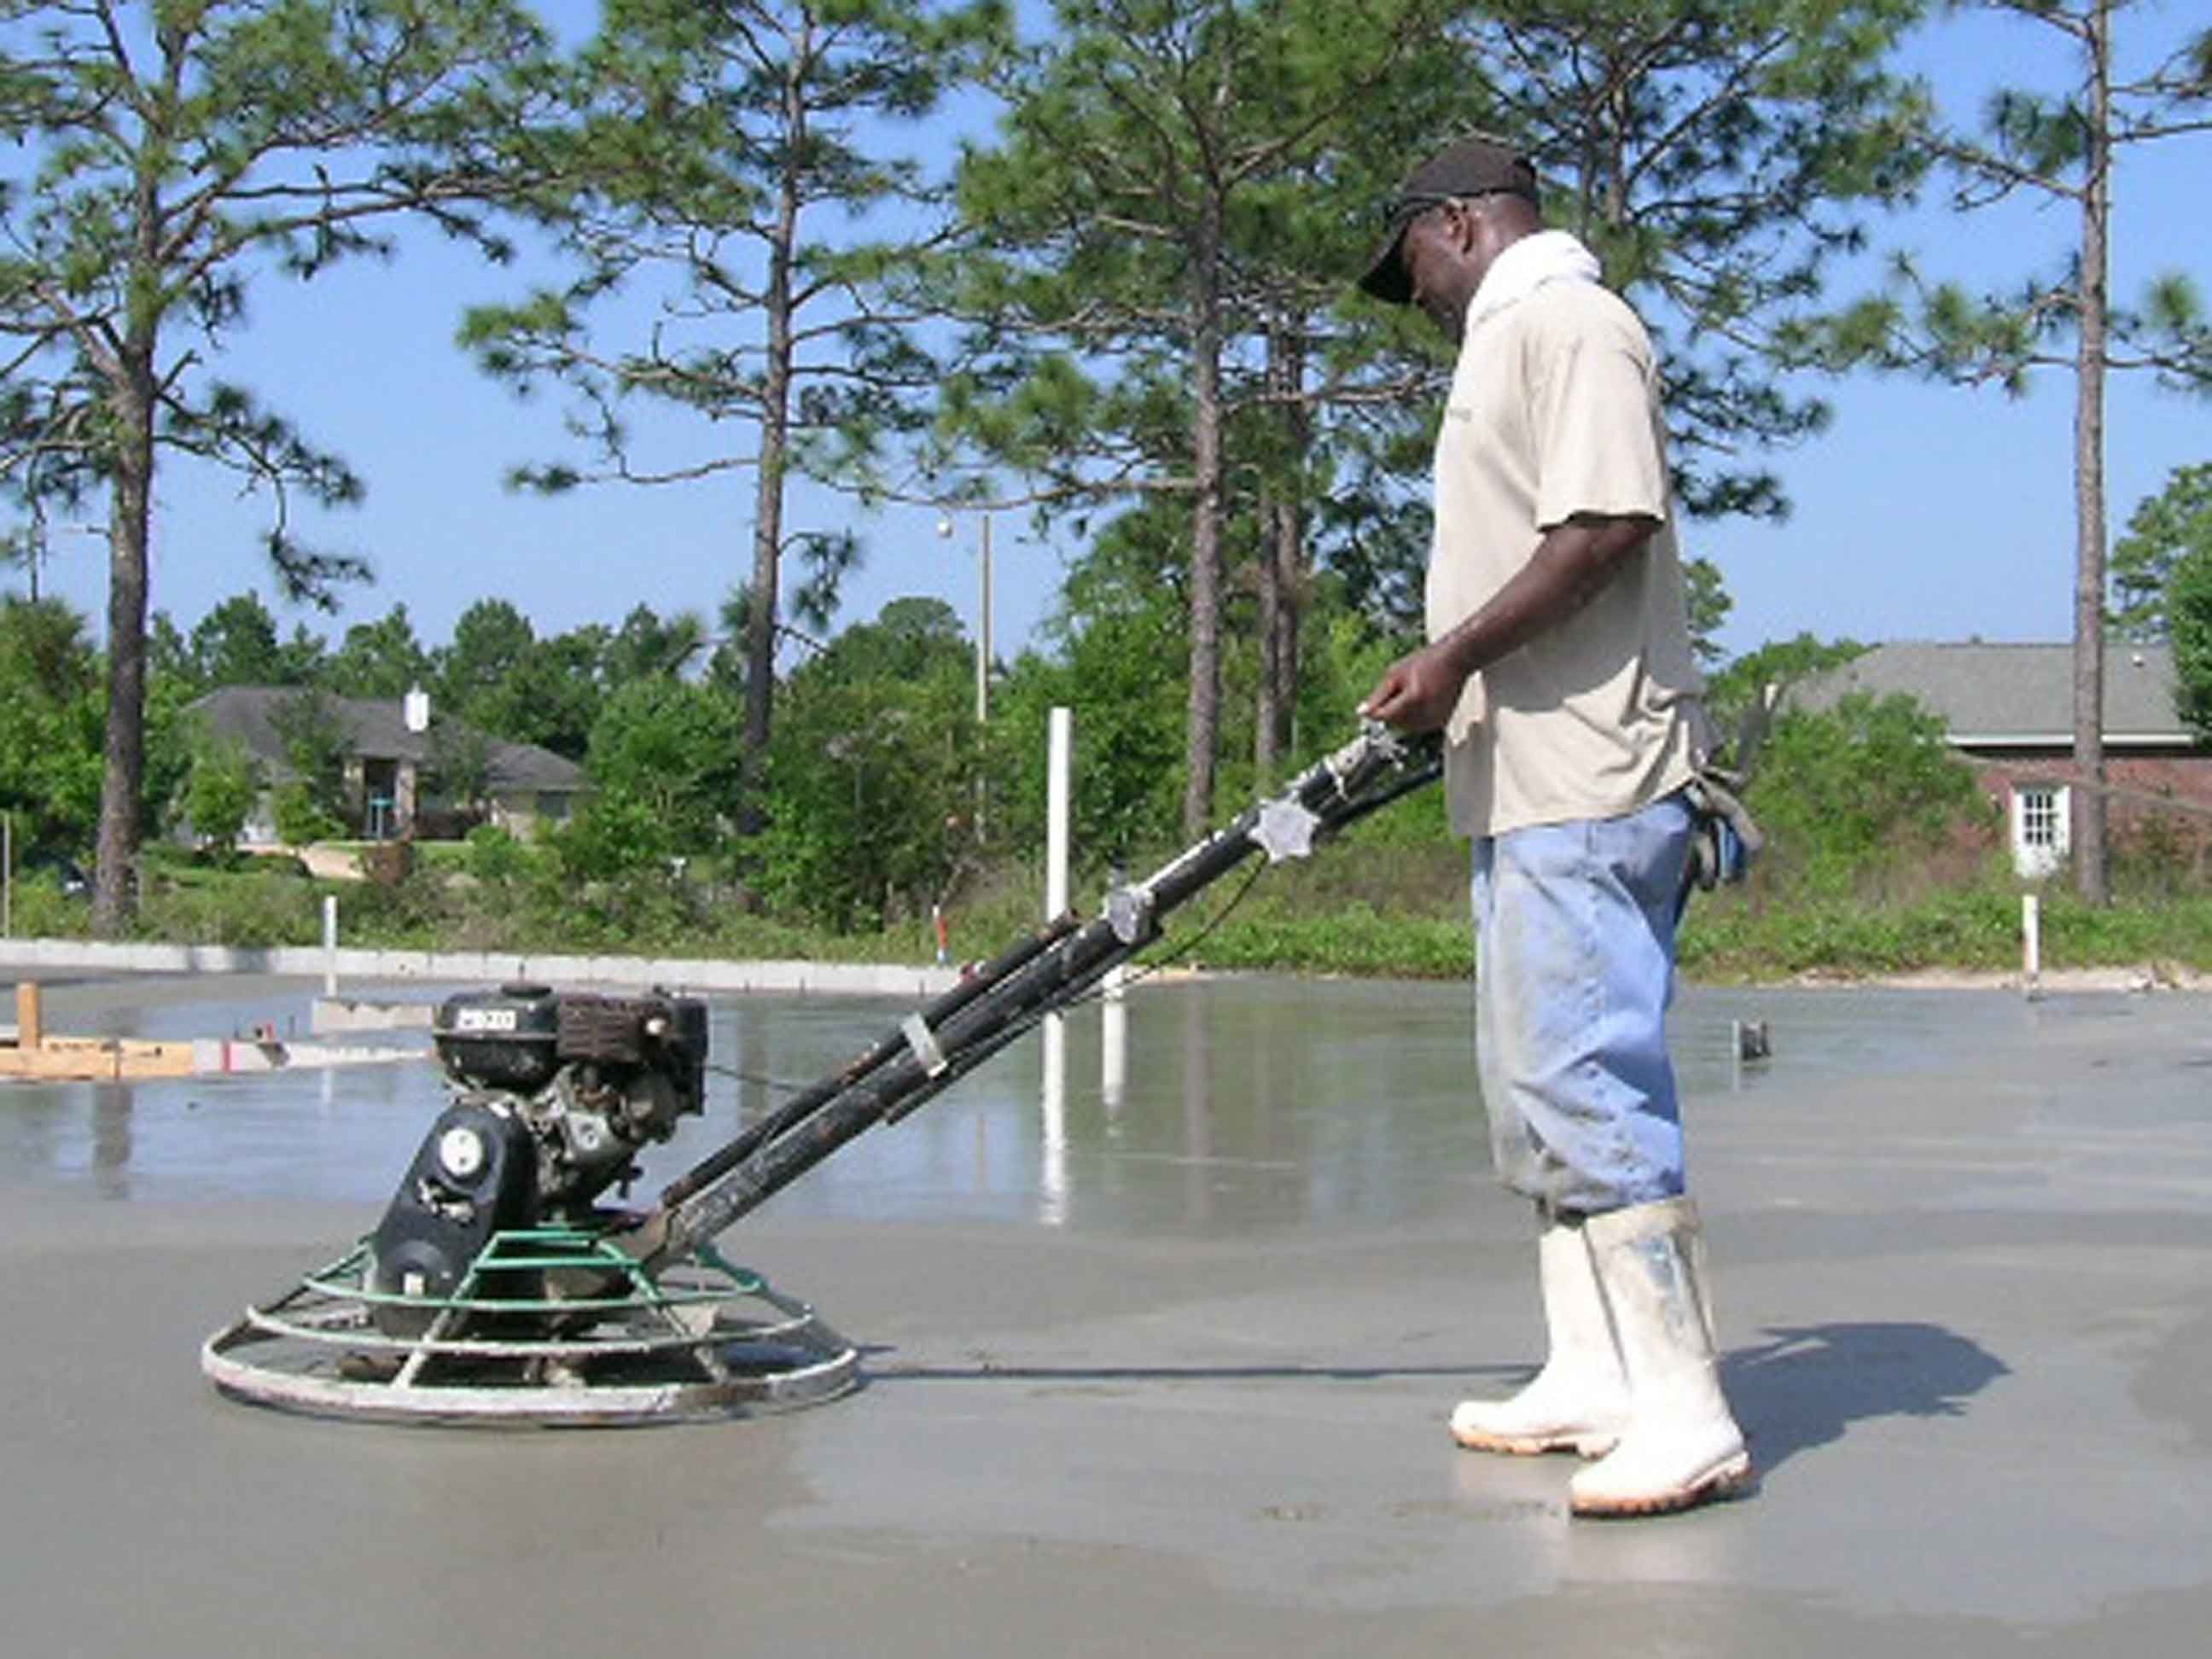
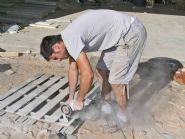
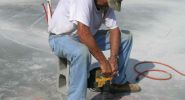
Greg on the rotary trowel.

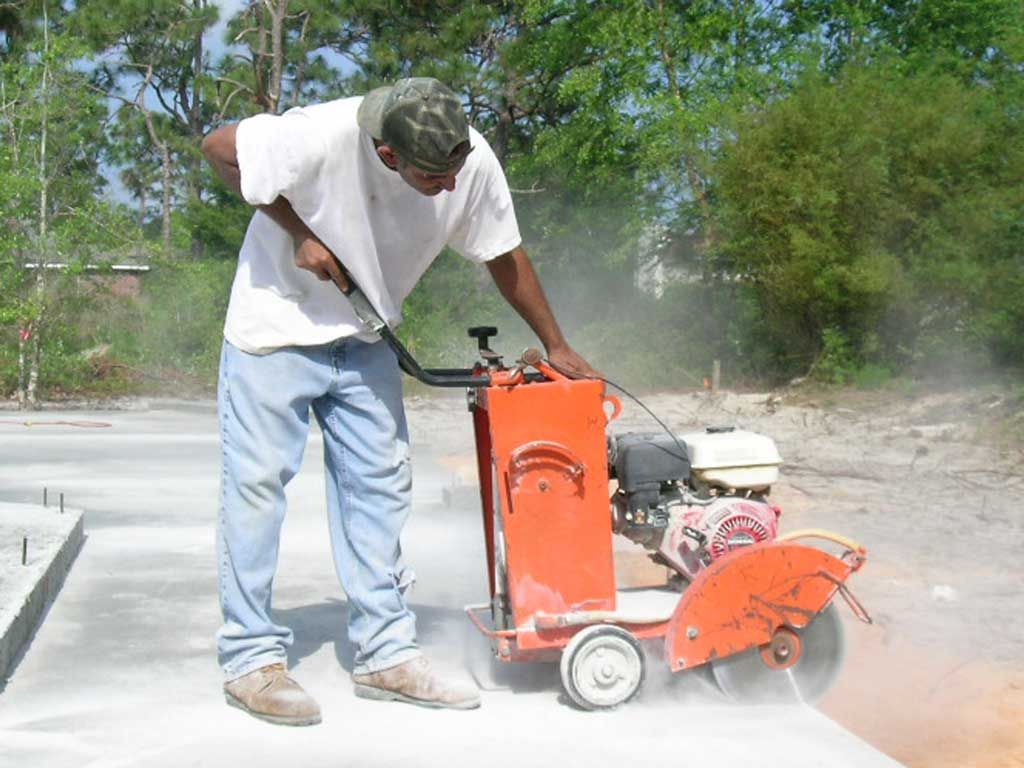
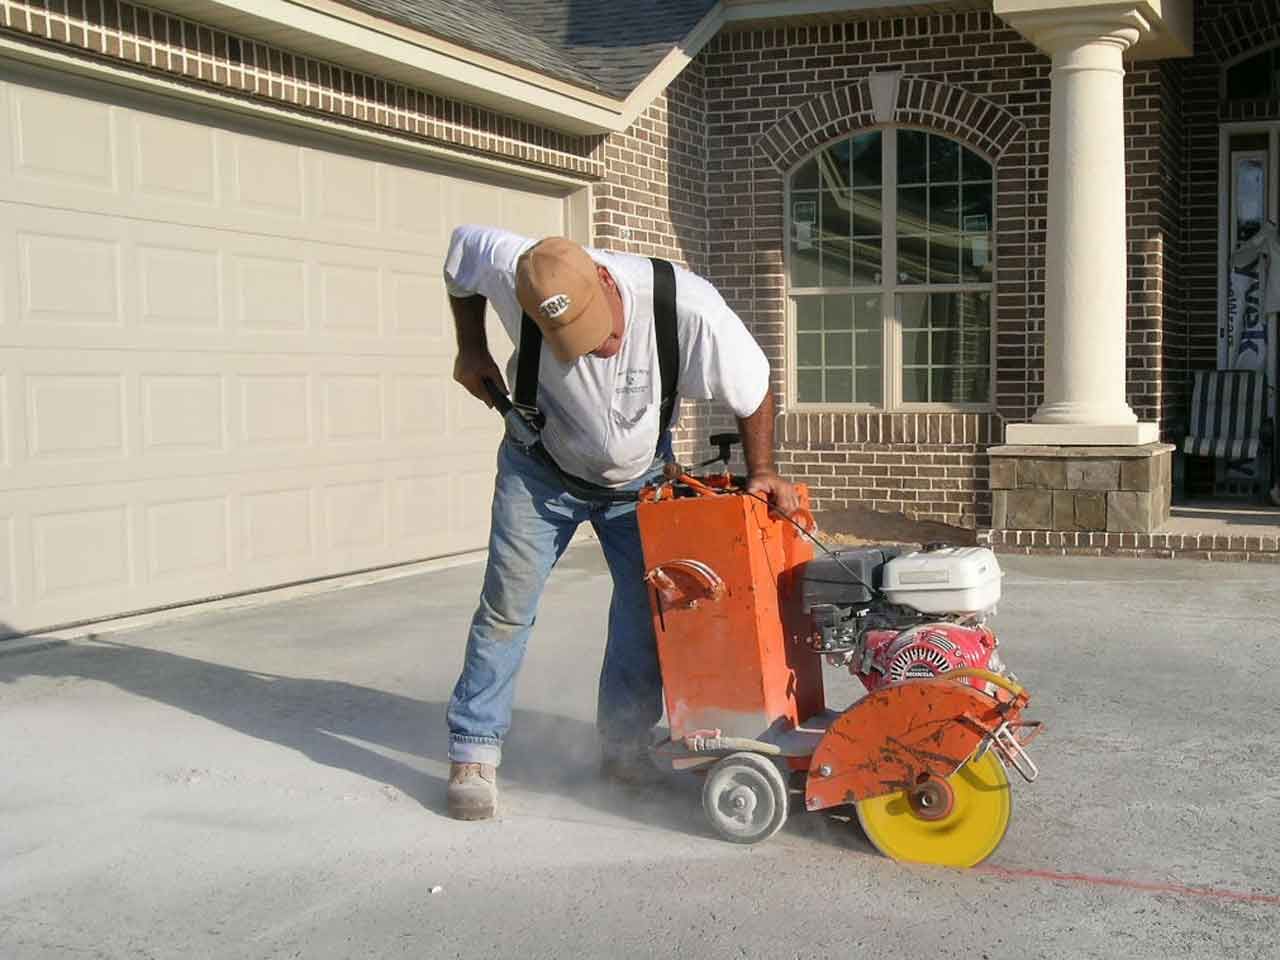
Junior cutting joints into the slab to prevent uncontrolled shrinkage cracking.

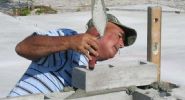
Tony drilling holes into the safe room footings so steel dowel rods can be epoxied in to tie the safe room walls to the steel reinforced footings below. There will be 2 steel dowel rods in each block of the safe room walls, then concrete poured inside to tie the walls to the slab and footings below.

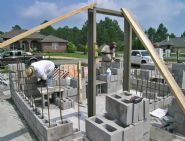
Building the safe room.

Greg lays up a corner of the safe room. Note the steel dowels in each cell. These 1/2" steel bars are epoxied into the slab. When the block is poured solid with concrete they tie the room to the slab and it's reinforced footings below.

Will work for ice cream.

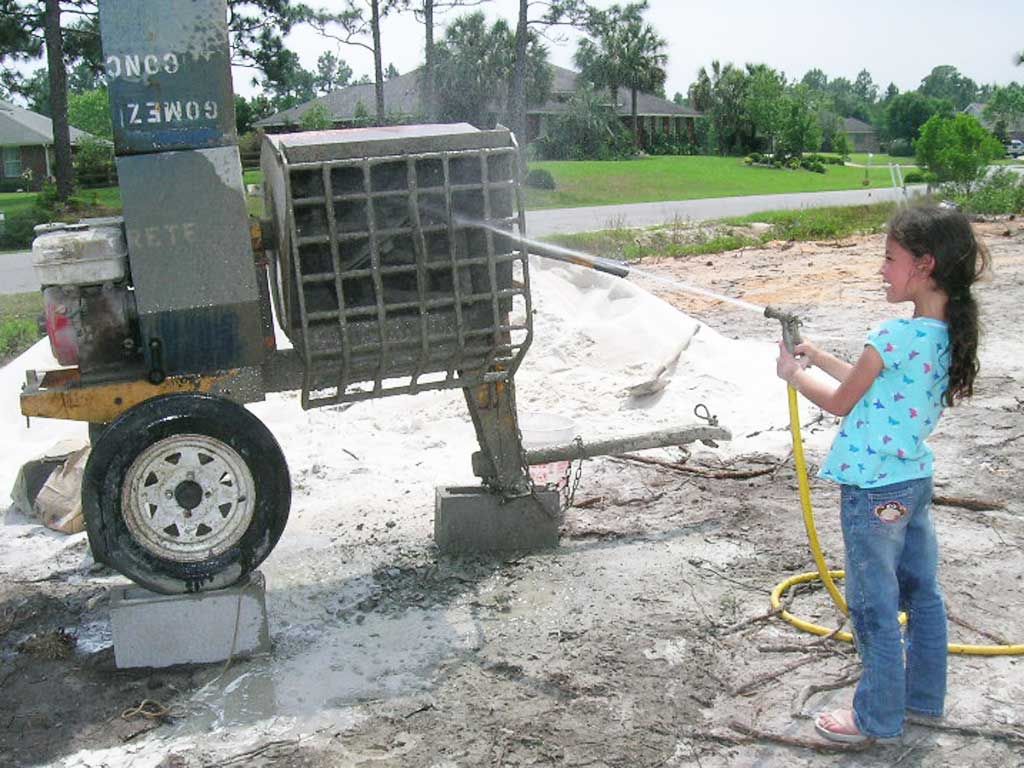
Tatiana cleaning the mud mixer. No hate mail please. She only worked 6 hours that day.

Gomez setting the top course on the safe room.

Gomez finishing the safe room roof. The safe room is engineered to withstand 250 mph winds and 100 mph missile impacts.

Ernie installing the sill plate gasket which makes the walls air tight at the bottom. Wayne nailing the bottom plate to the studs.

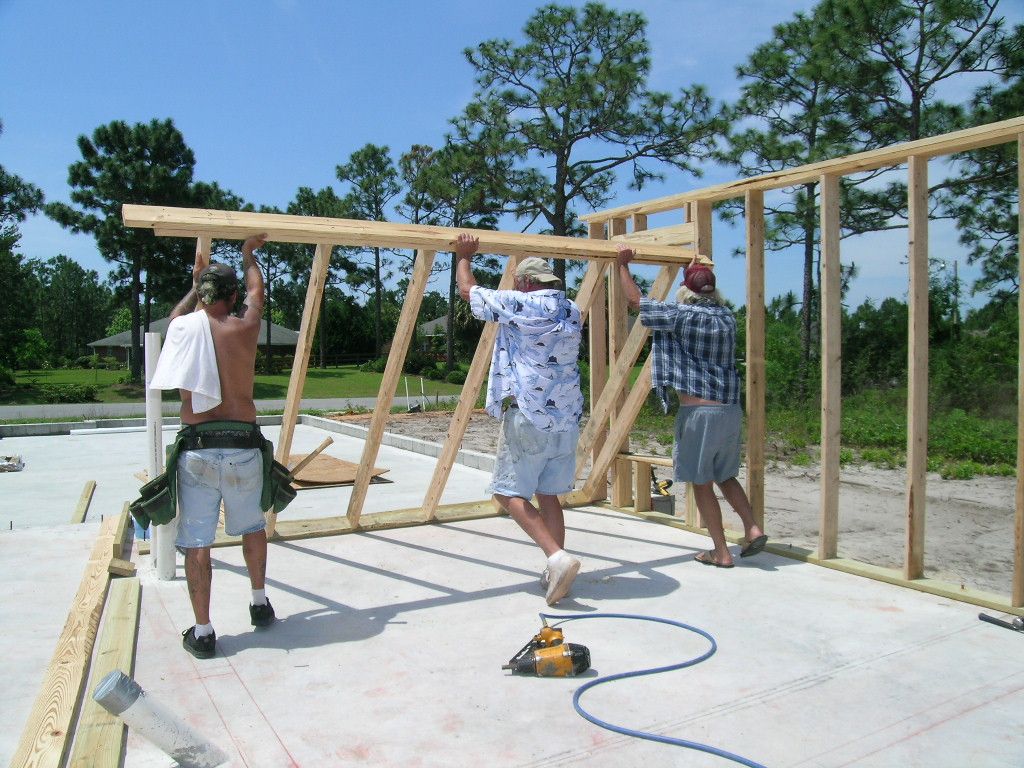
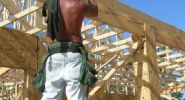
Wayne, Ernie, and Terry raising the garage wall. This wall is common to the living area so it's a 2x6 wall to allow for more insulation in that wall.

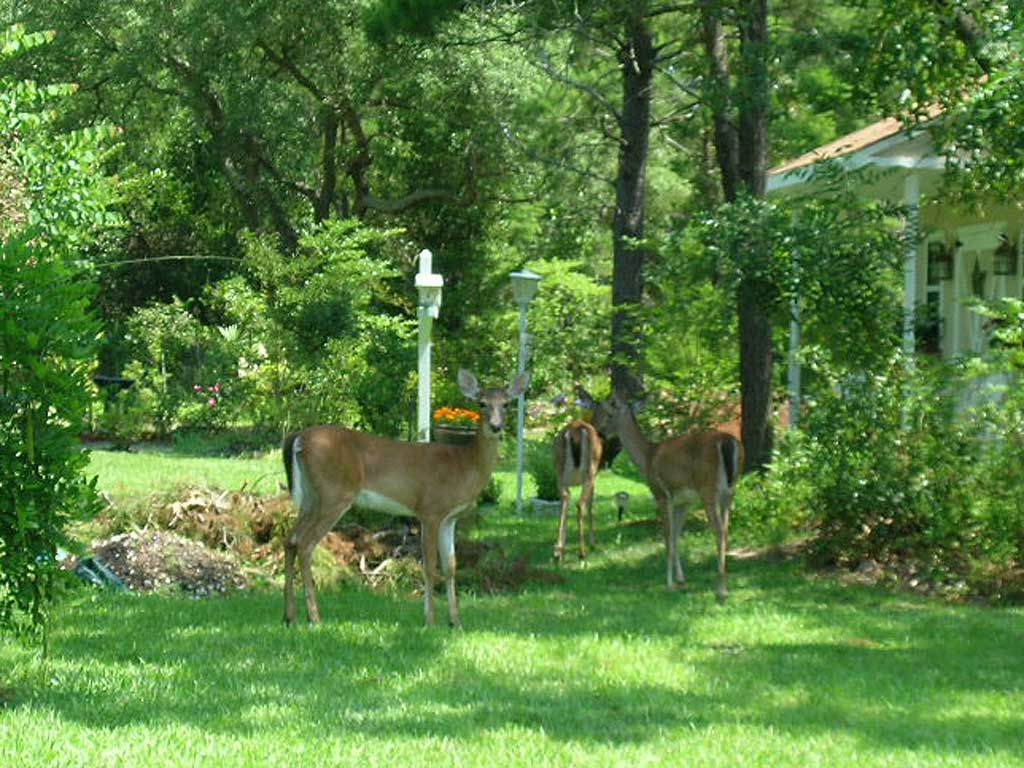
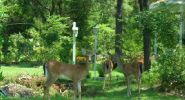
Deer in the hood, dining in the neighbors garden on Cove St. These same 3 deer walked right by the framers later in the day on the return leg of their trip to the golf course lots.

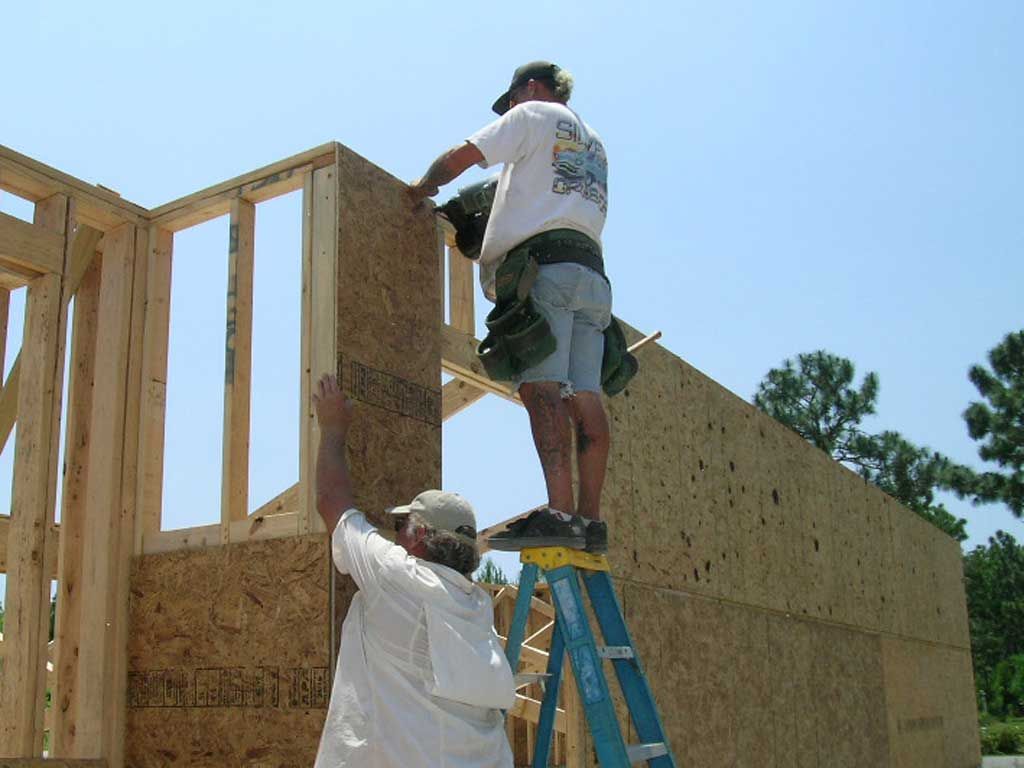
Wayne and Ernie installing the wall sheathing on the garage. Note the horizontal blocking at the joints which strengthens the wall framing and ties the 2 rows of sheathing together. Running the 4x8 panels horizontally results in a stronger wall.

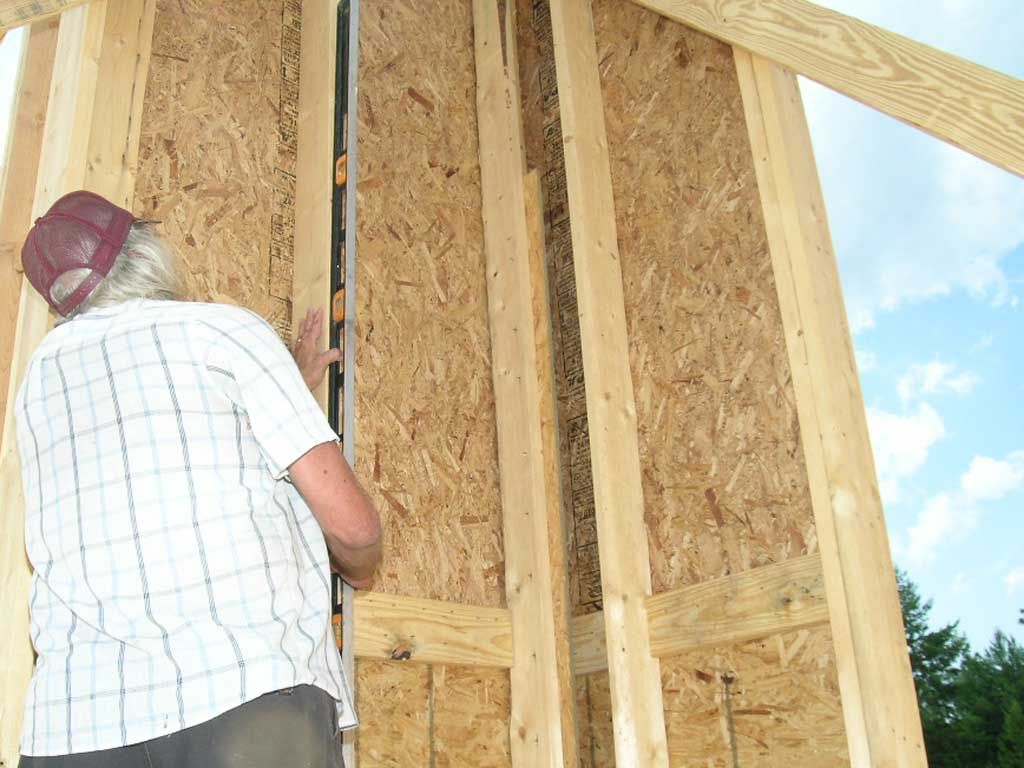
Terry checking for straight, level, and plumb. Note the open corner. This advanced framing technique allows the corner to be insulated unlike conventional framing where the corner is closed in and can't be insulated.

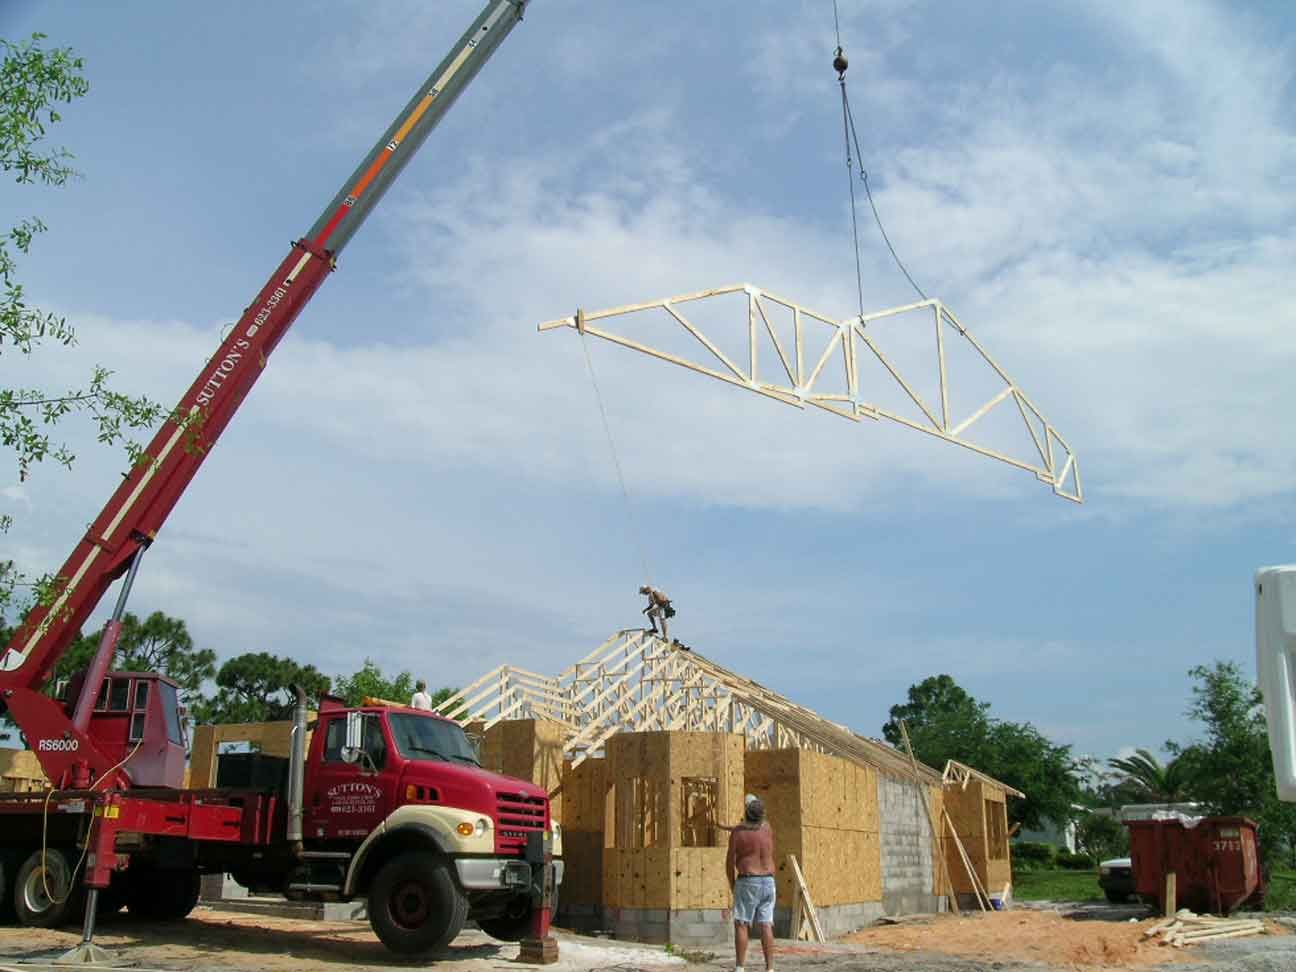
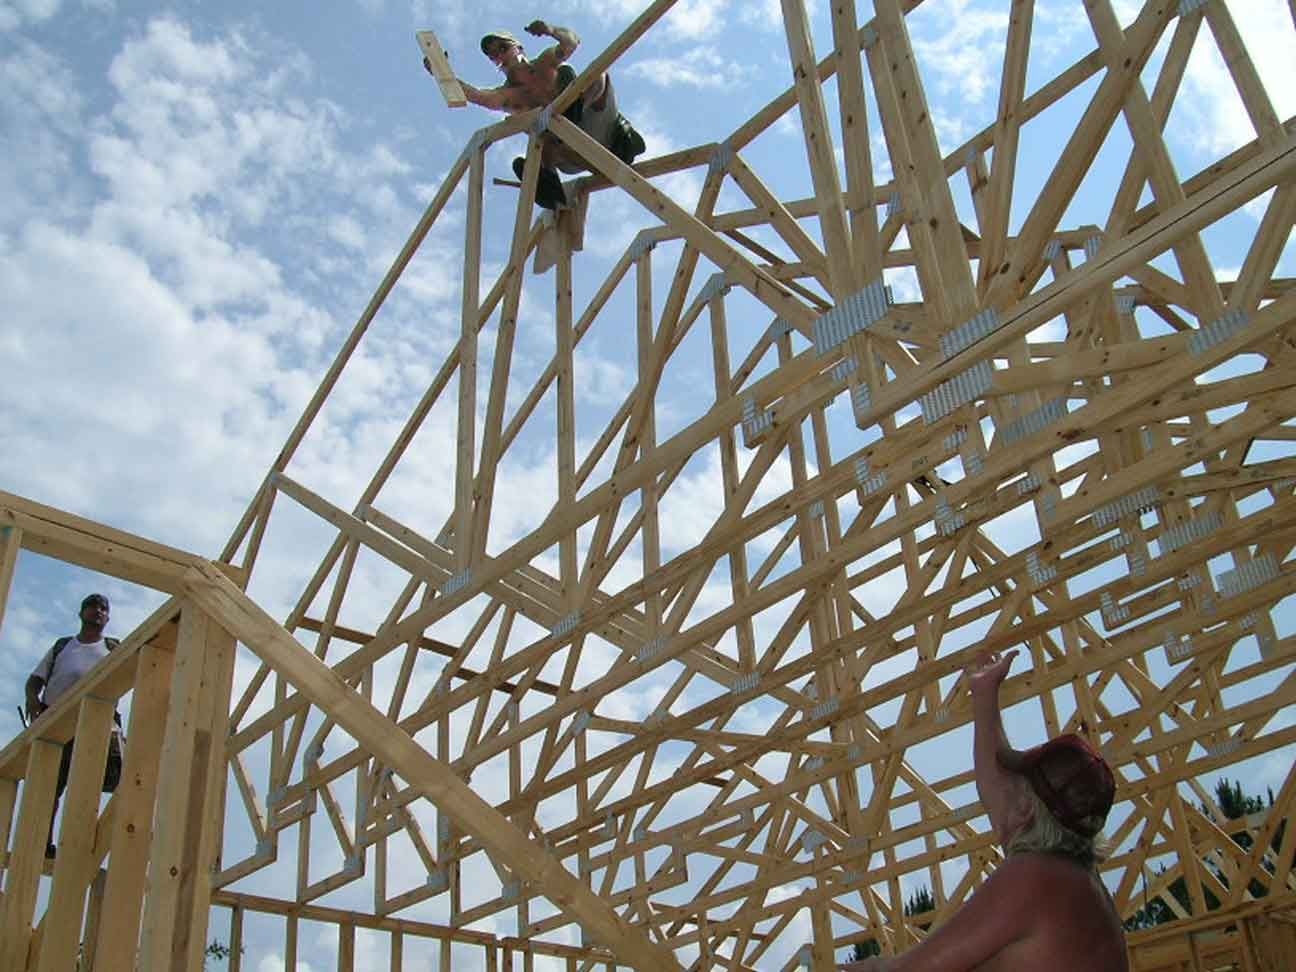
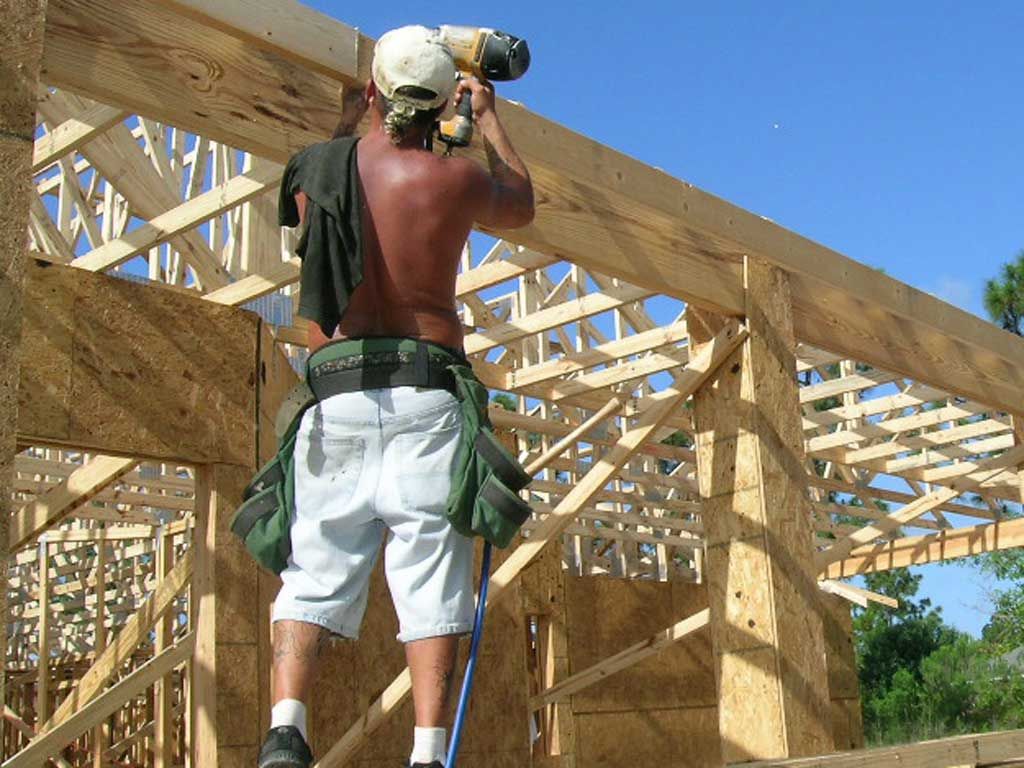
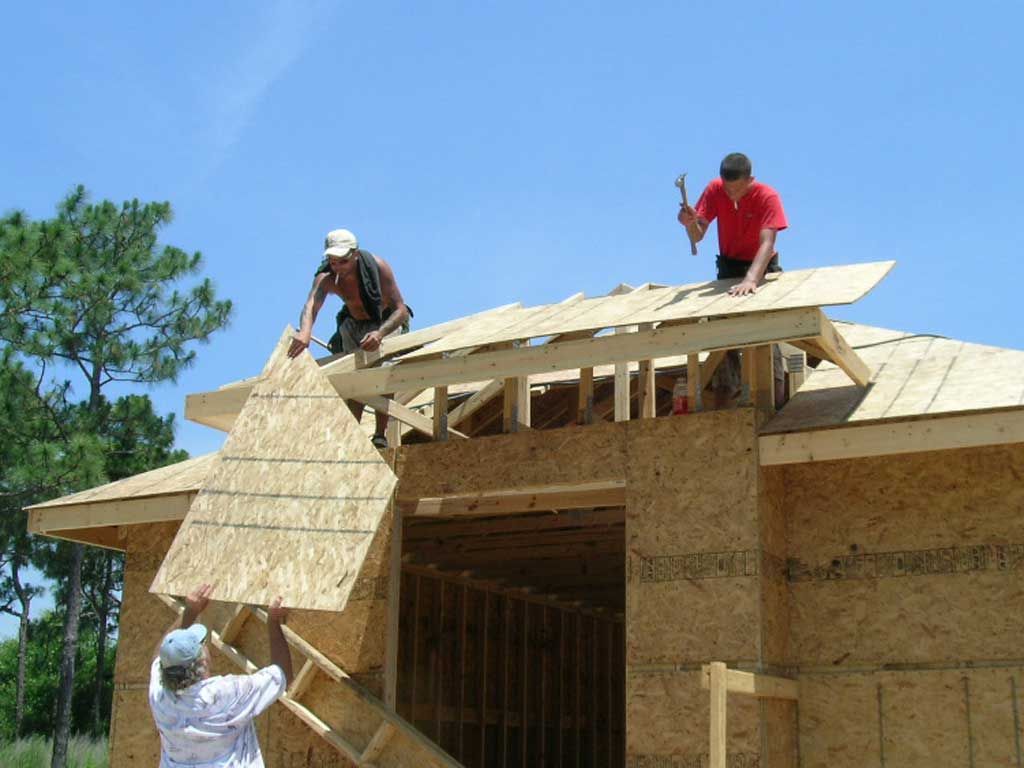
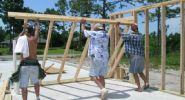
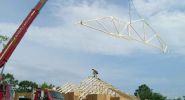
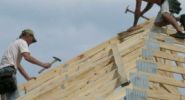
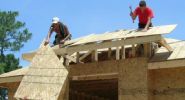
Craning in the trusses.

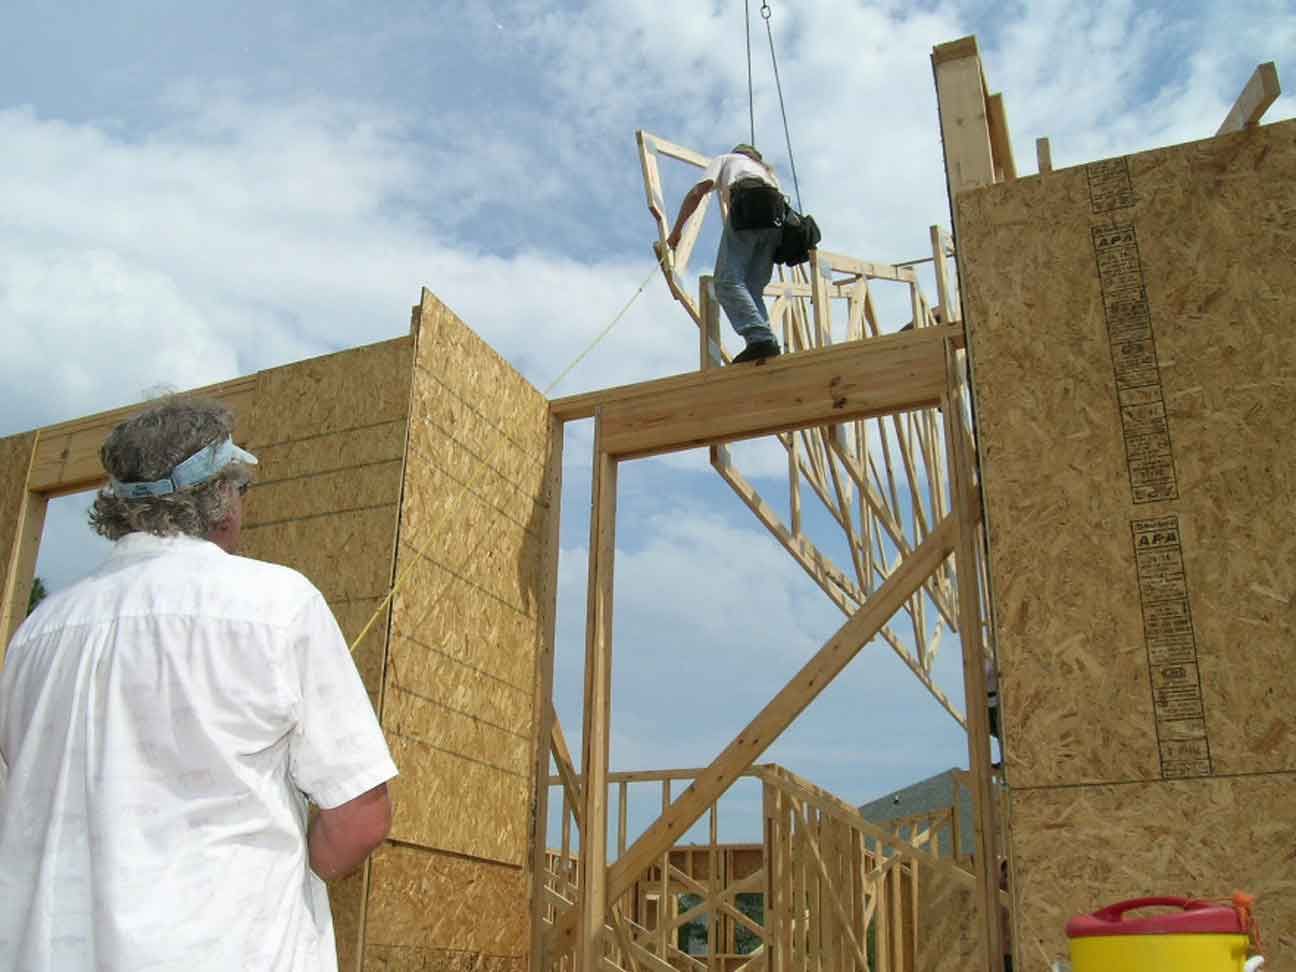
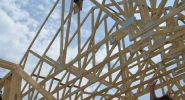
Ernie holds the tag line while Bruce guides the truss into place.

Terry tosses a positioning block up to Wayne. Good catch!

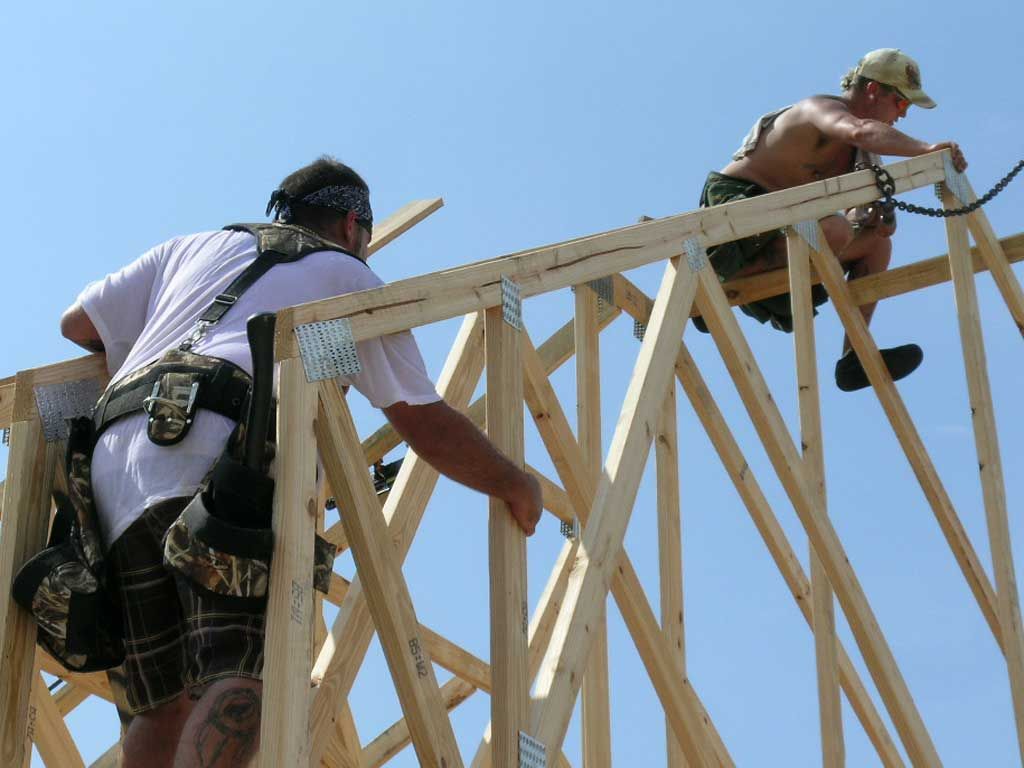
Kenny and Wayne wrestle the truss into proper position.

Bruce and Wayne nail off positioning blocks to hold the truss steady until decking.

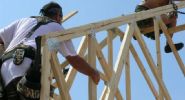
Bruce toenails the truss over the front door. These are temporary fastening. Later a hurricane clip will be installed for a permanent and stronger connection.

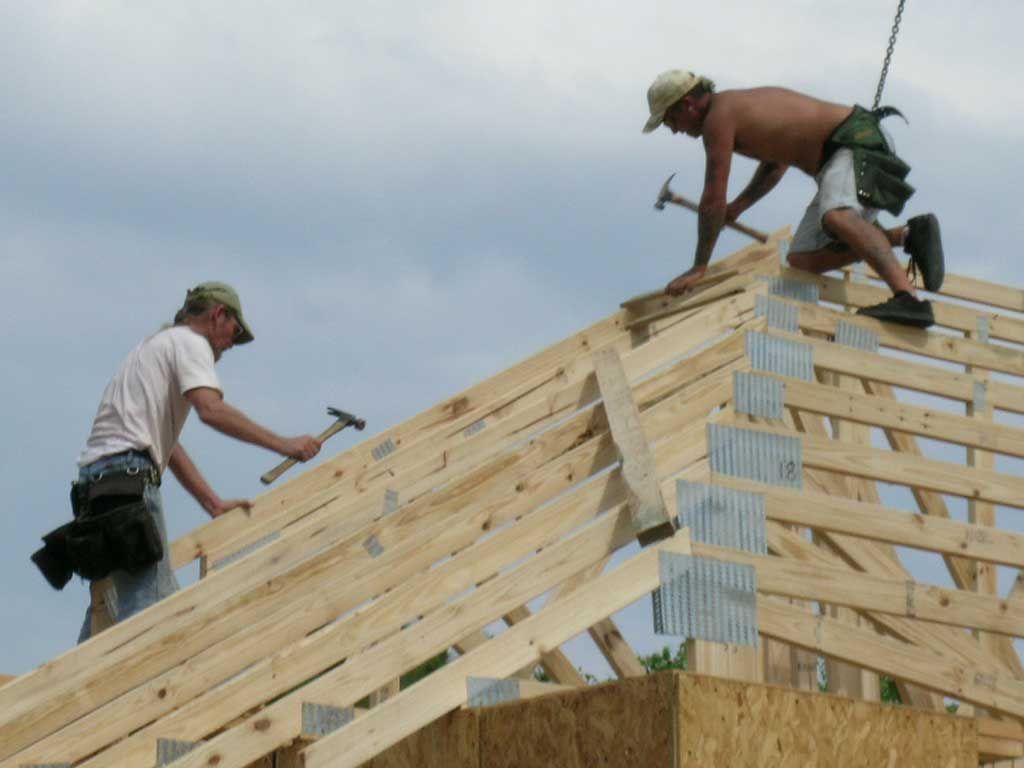
Wayne nails off the 2x6 facia board. It's important to set the facia level and plane with the trusses prior to installing the decking.

Wayne's bumper sticker reads "I'd rather be sailing".

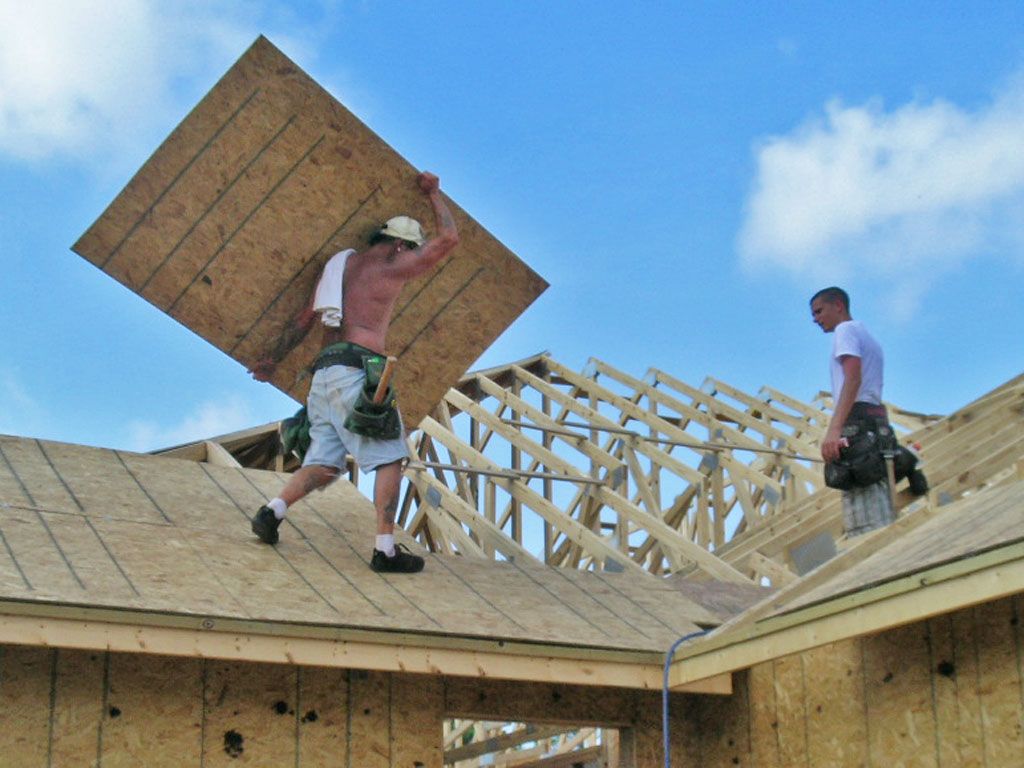
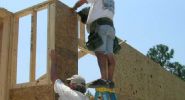
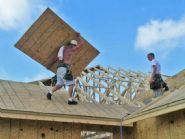
Wayne and Chris installing decking on the back porch.

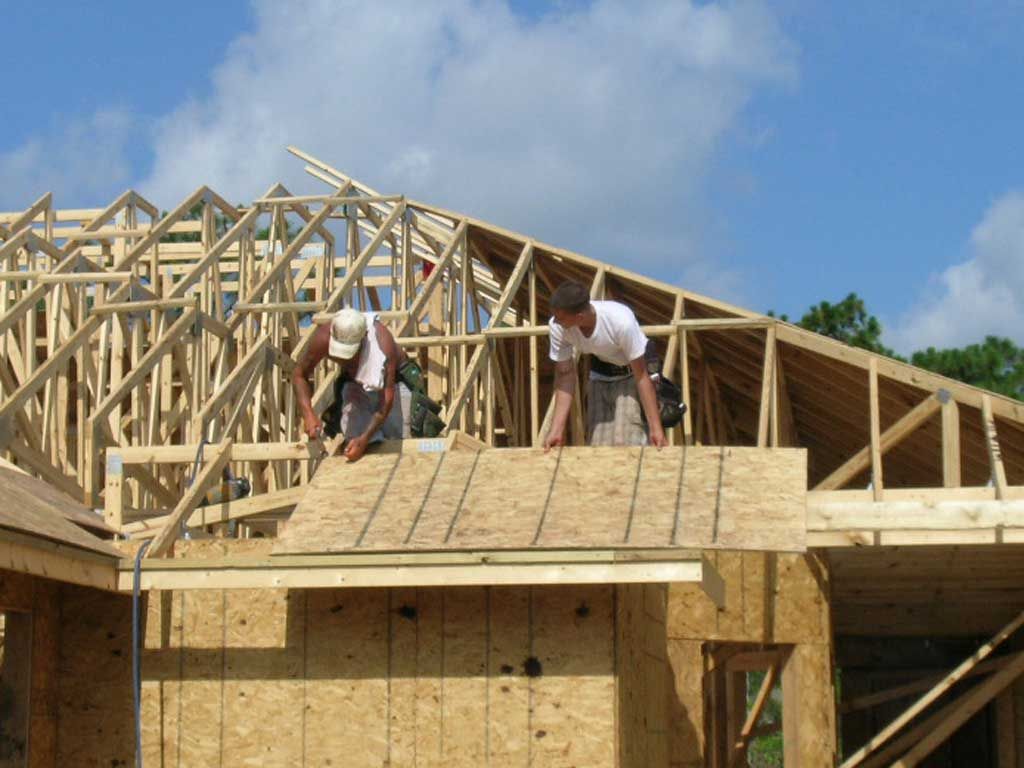
Chris & Wayne checking alignment of the decking at the valley.

Peal & seal sub roof in place. This is a water tight 50 mil secondary roofing membrane which will protect the home in the event of a lost or damaged shingle during a hurricane.

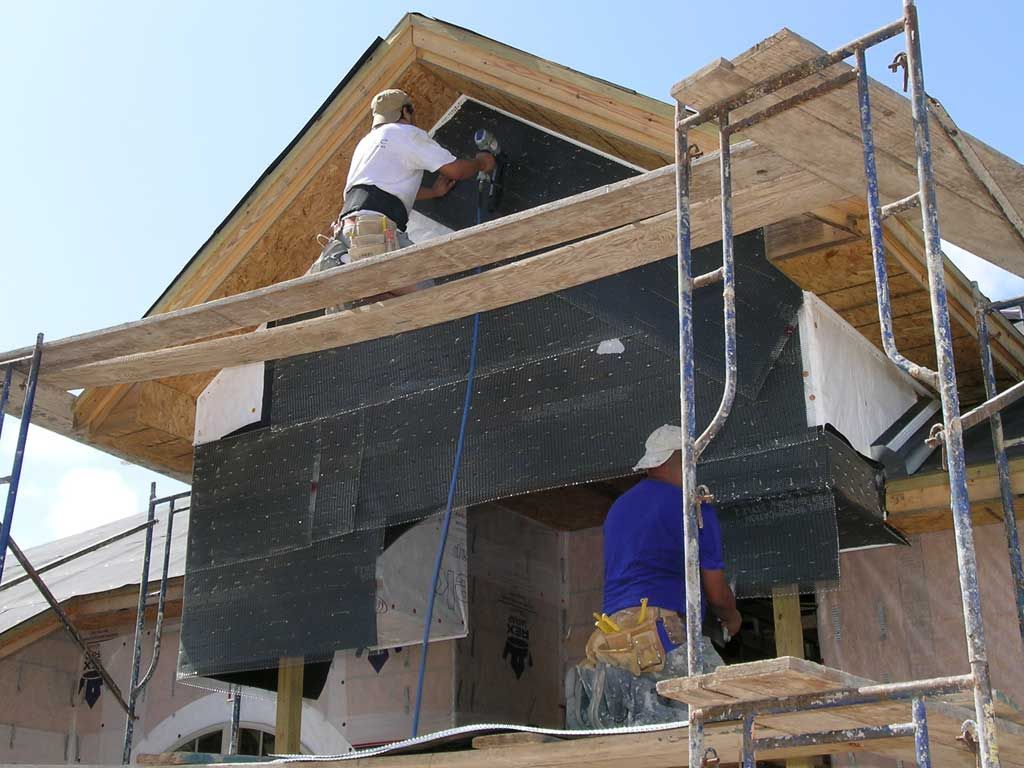
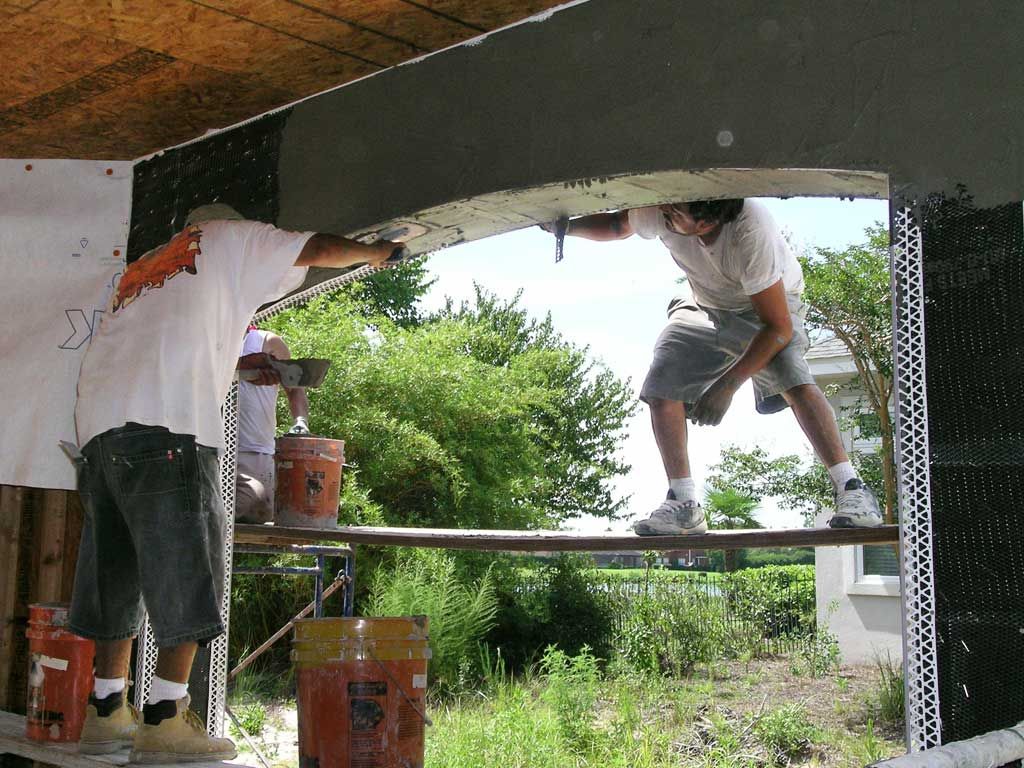
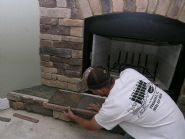
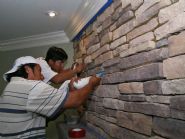
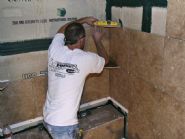
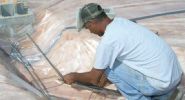
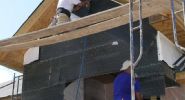
Installing metal lath for the stucco on the front porch.

Secondary rain barrier installed (house wrap).  It's a good idea to leave the building in this state for at least one rain so that I can check for leaks around the windows, doors, roof, chimney, and wall flashing.

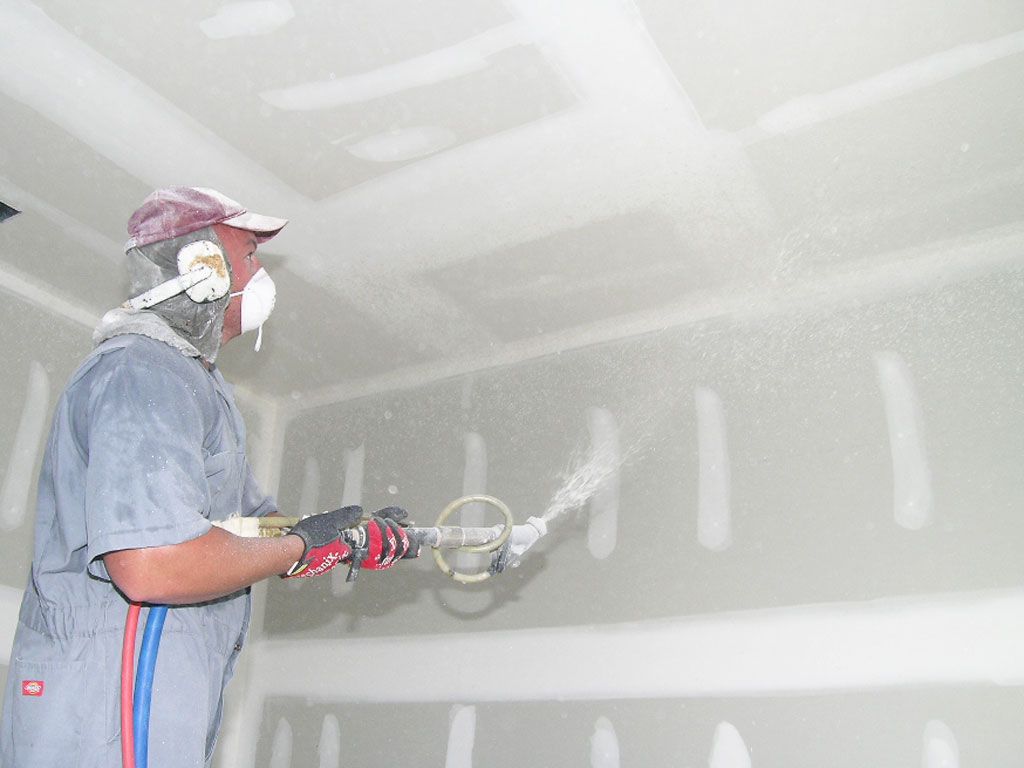
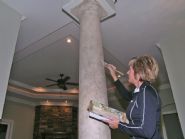
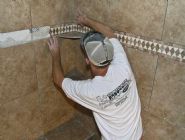
Domingo troweling on the stucco, Miguel combing in the groves to make this the scratch coat.  Brown coat comes next followed by finish color coat.

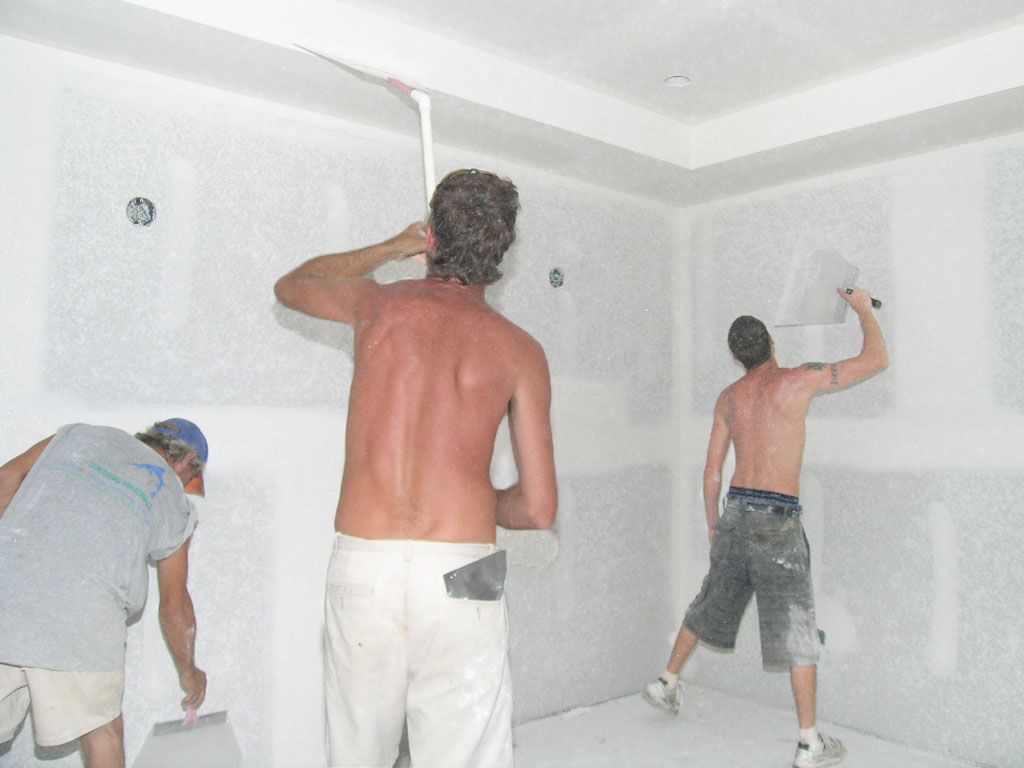
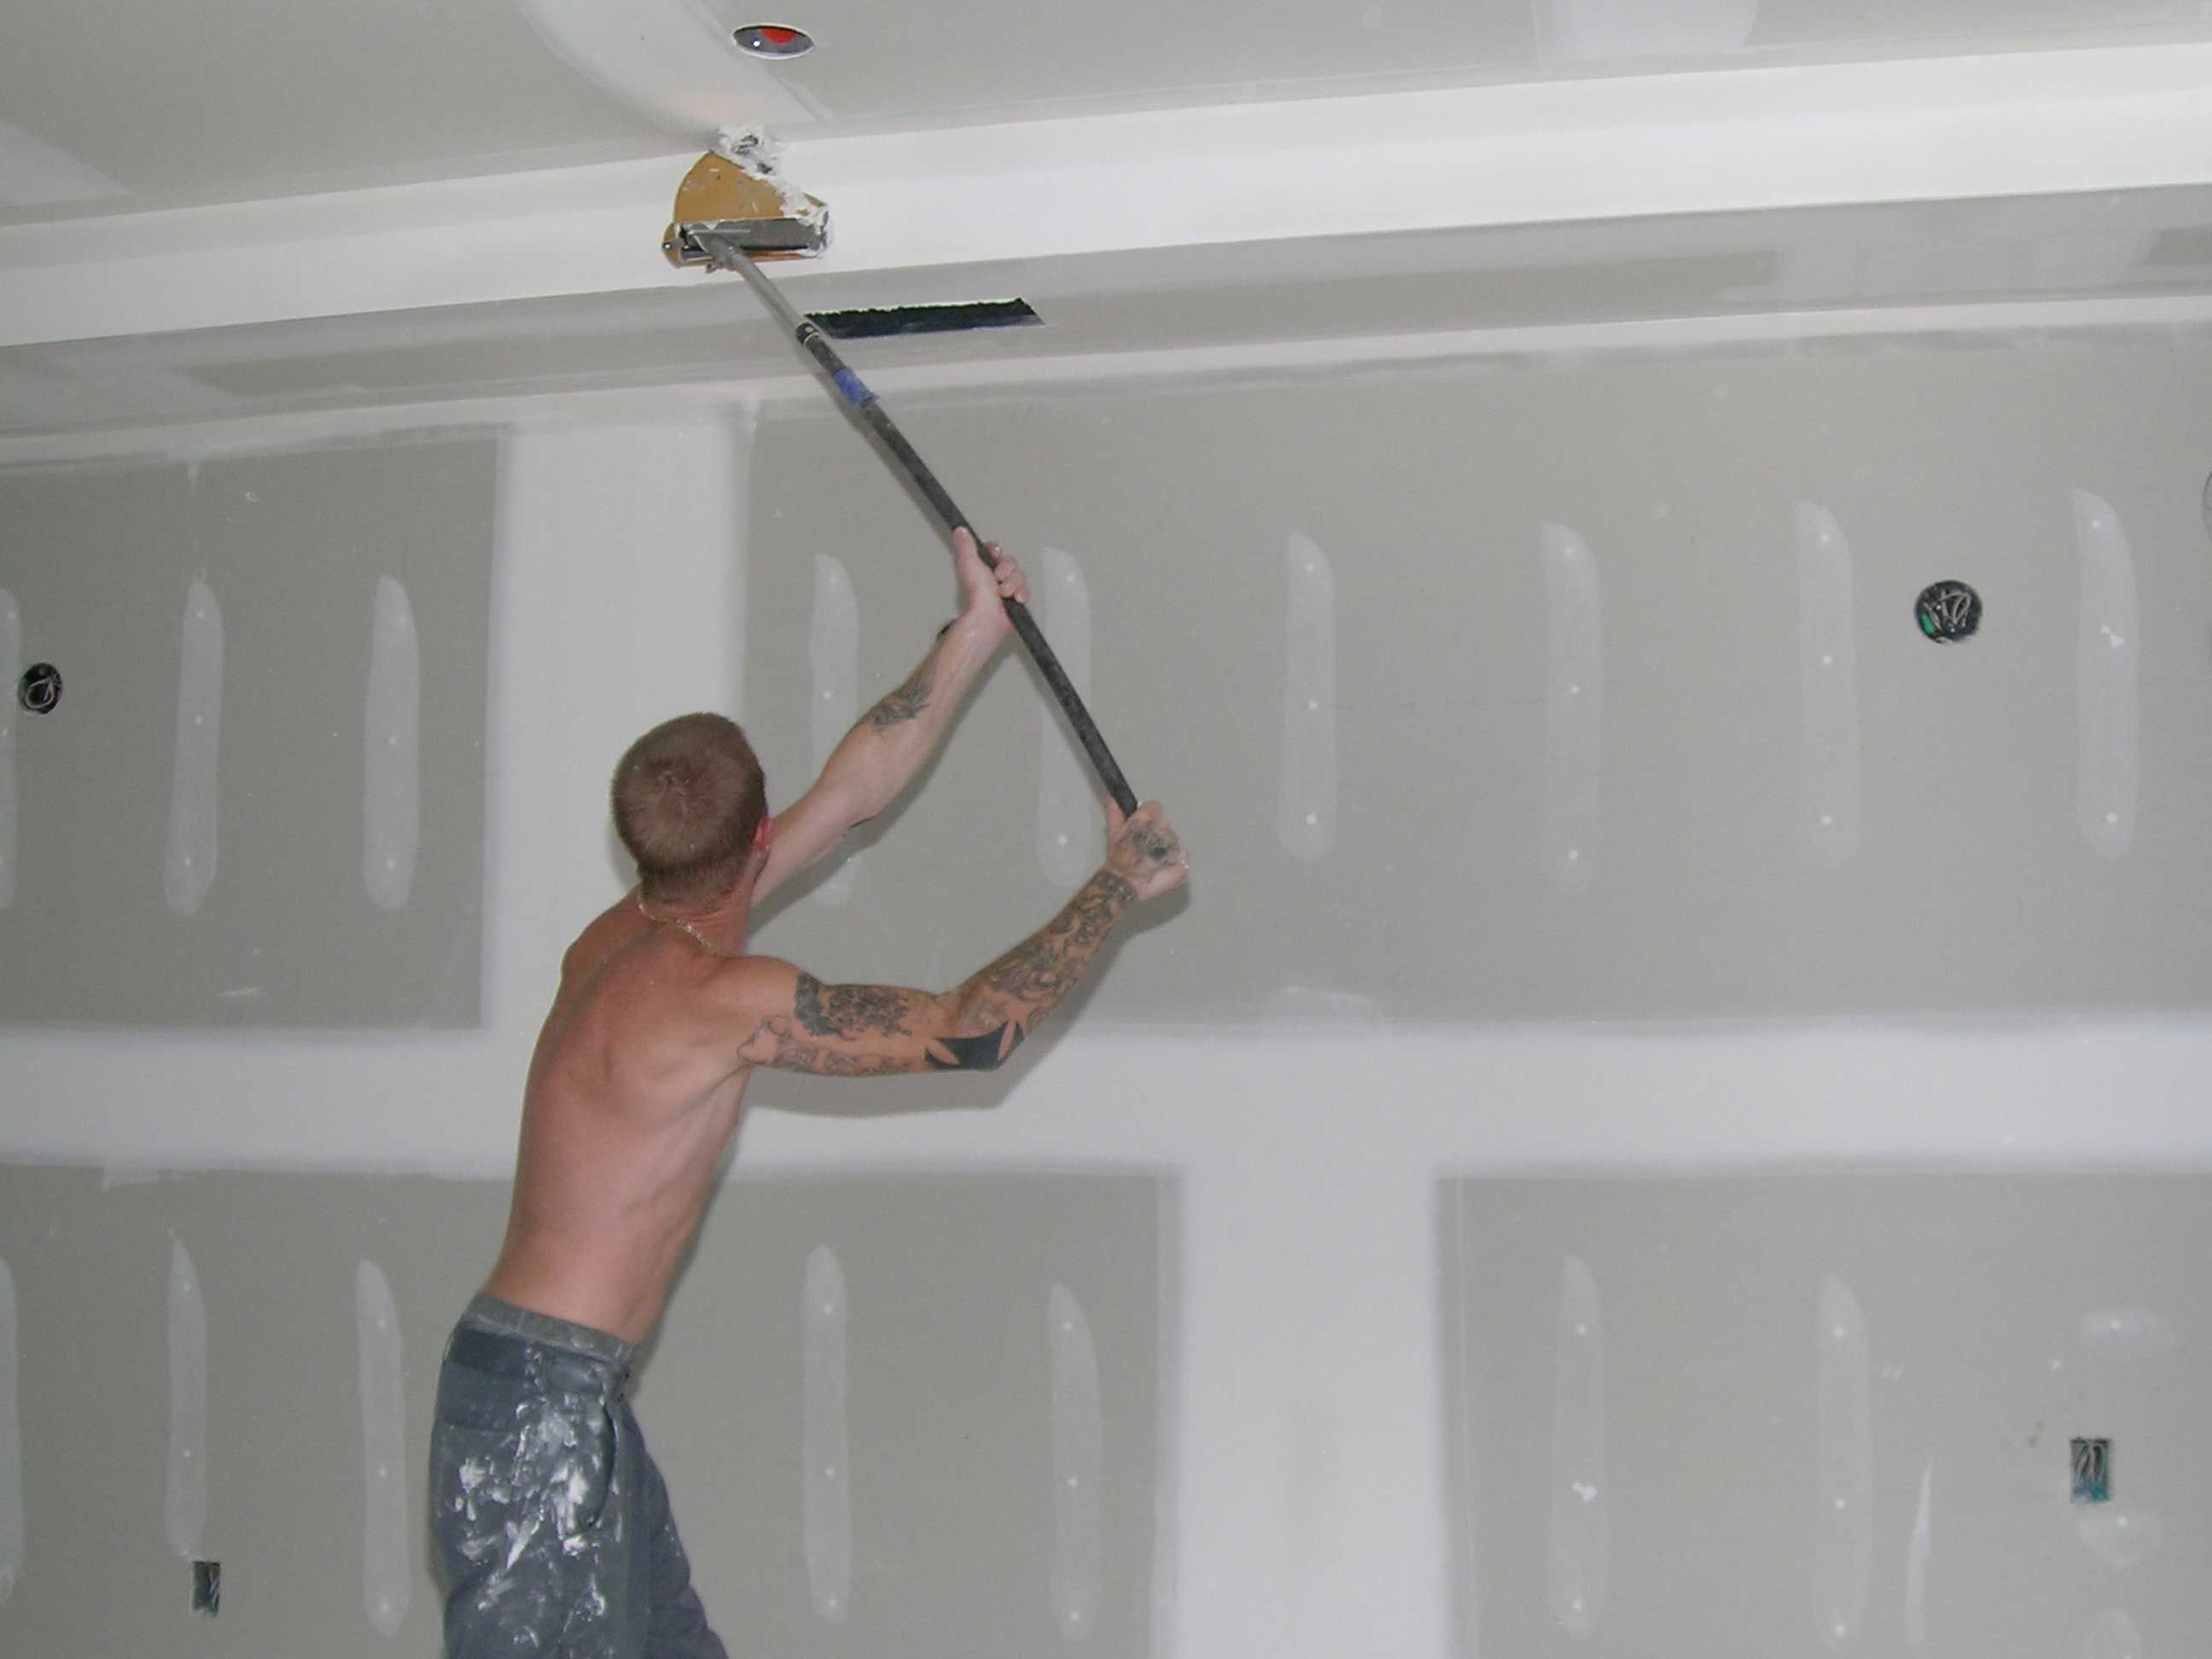
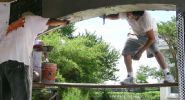
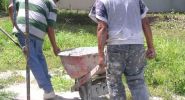
Francisco and Santana hauling mud, human 4x4 style.

The stucco men are adding trim to the base and capitals of the columns to enlarge their visual connections to the the base and the porch structure.  The base will be clad in stone.  We're also enlarging the arch trim detail to improve its proportions.

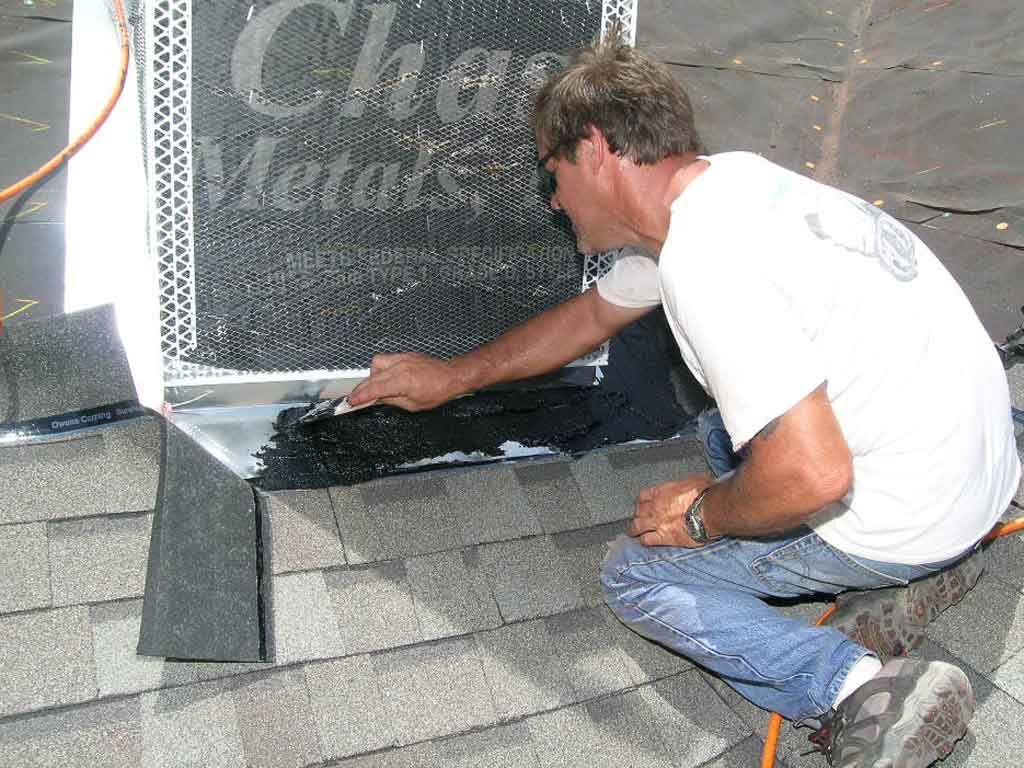
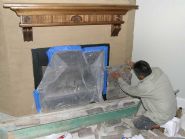
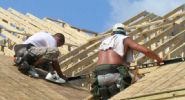
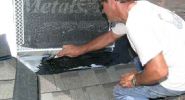
Mark applies roofing cement to the chimney flashing so the shingles will adhere properly at this vulnerable spot.

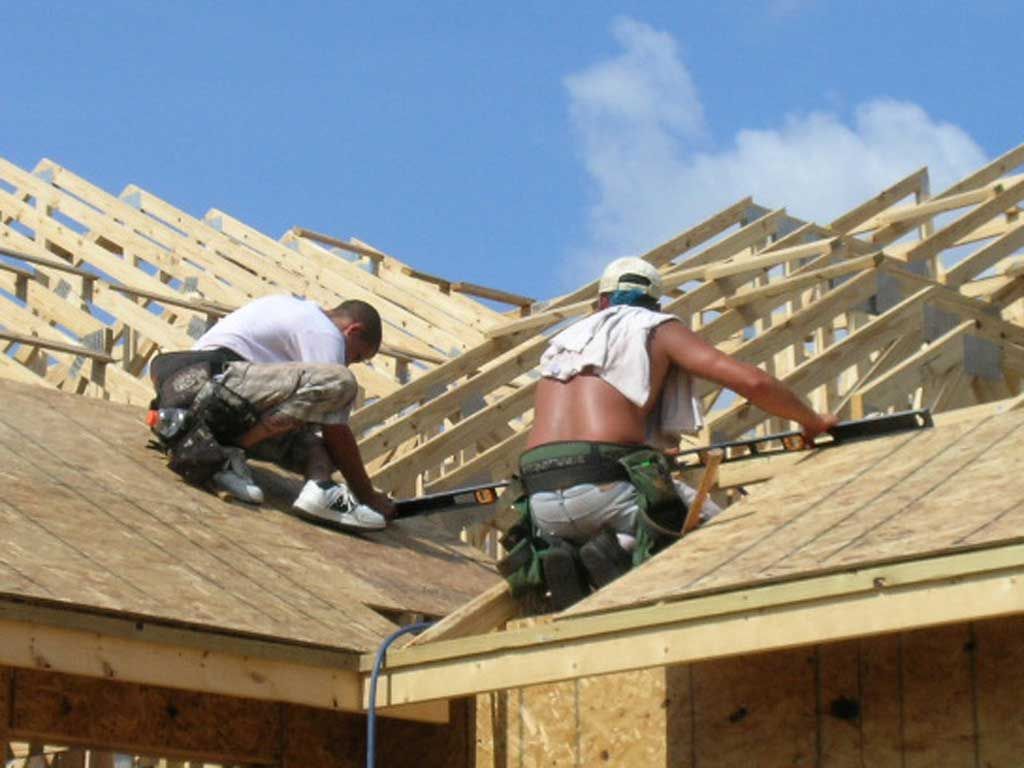
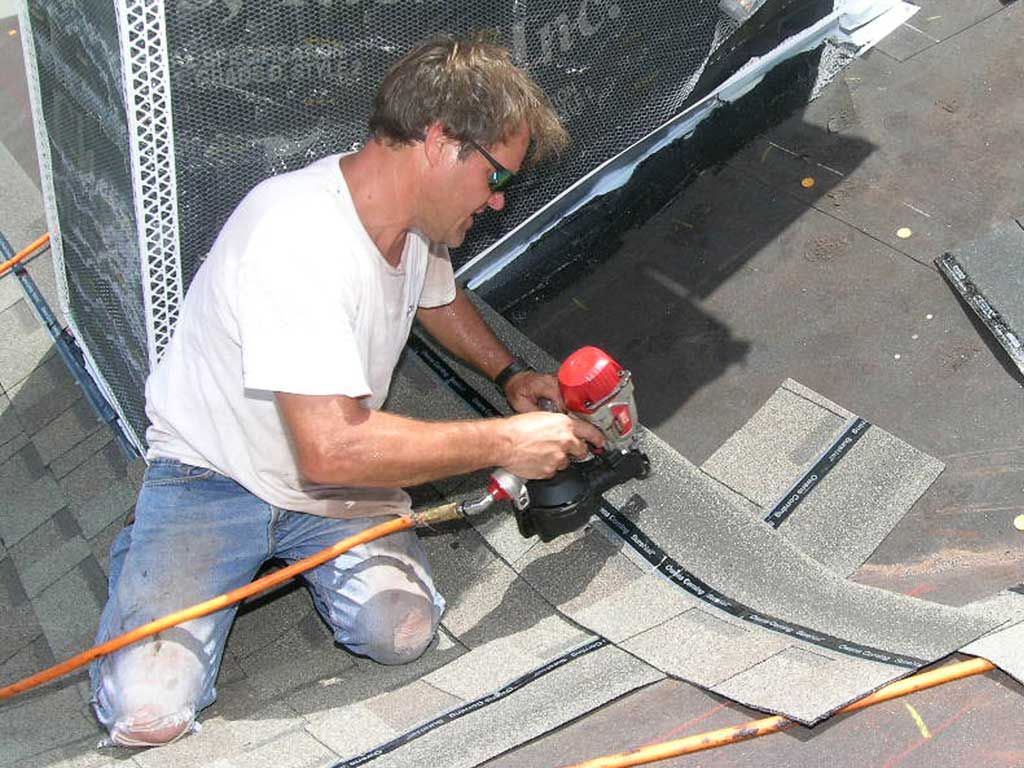
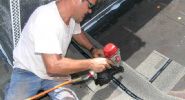
Mark lacing the valley. Each shingle gets 6 nails but nails are kept 6-12" away from the valleys to prevent leaking.

Tommy nailing off starter shingles at the edge. Note the bed of roofing cement which adheres the first shingle to the eve metal which prevents wind from peeling up the roof.
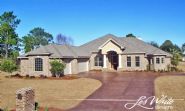
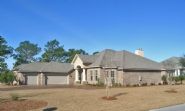
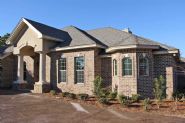
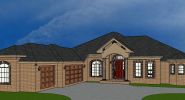
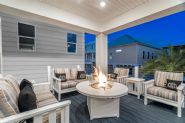
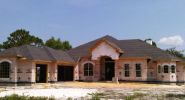
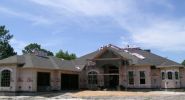
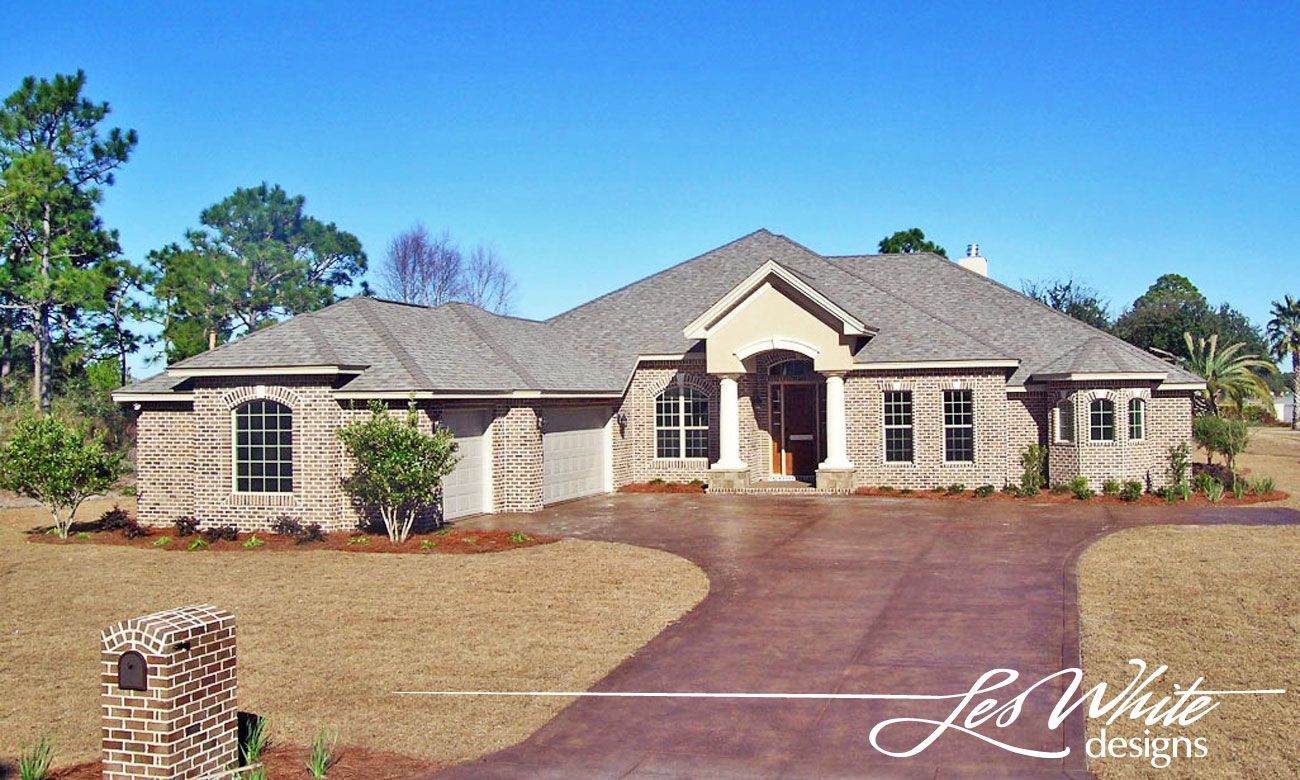
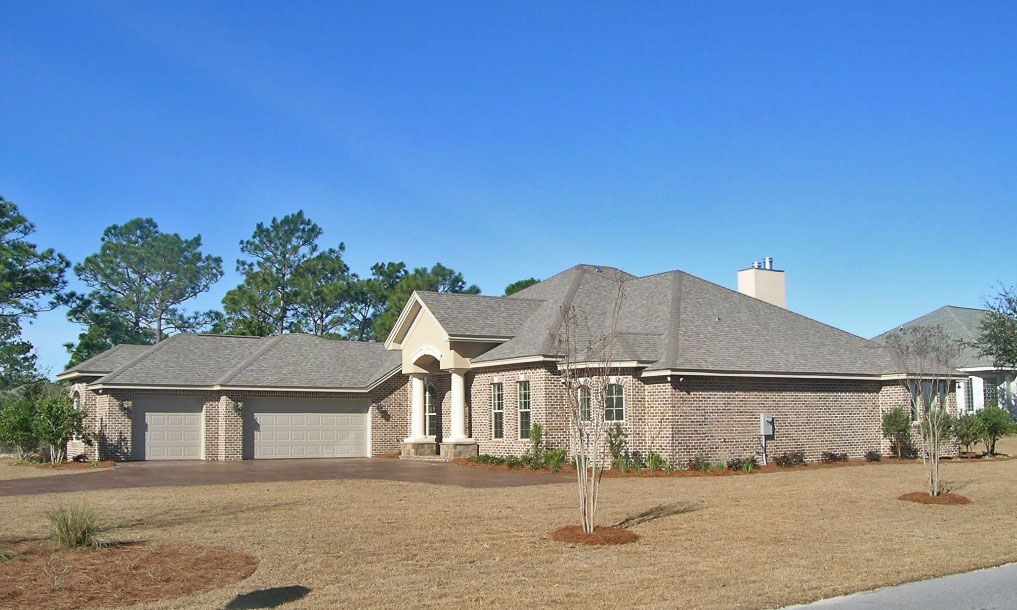
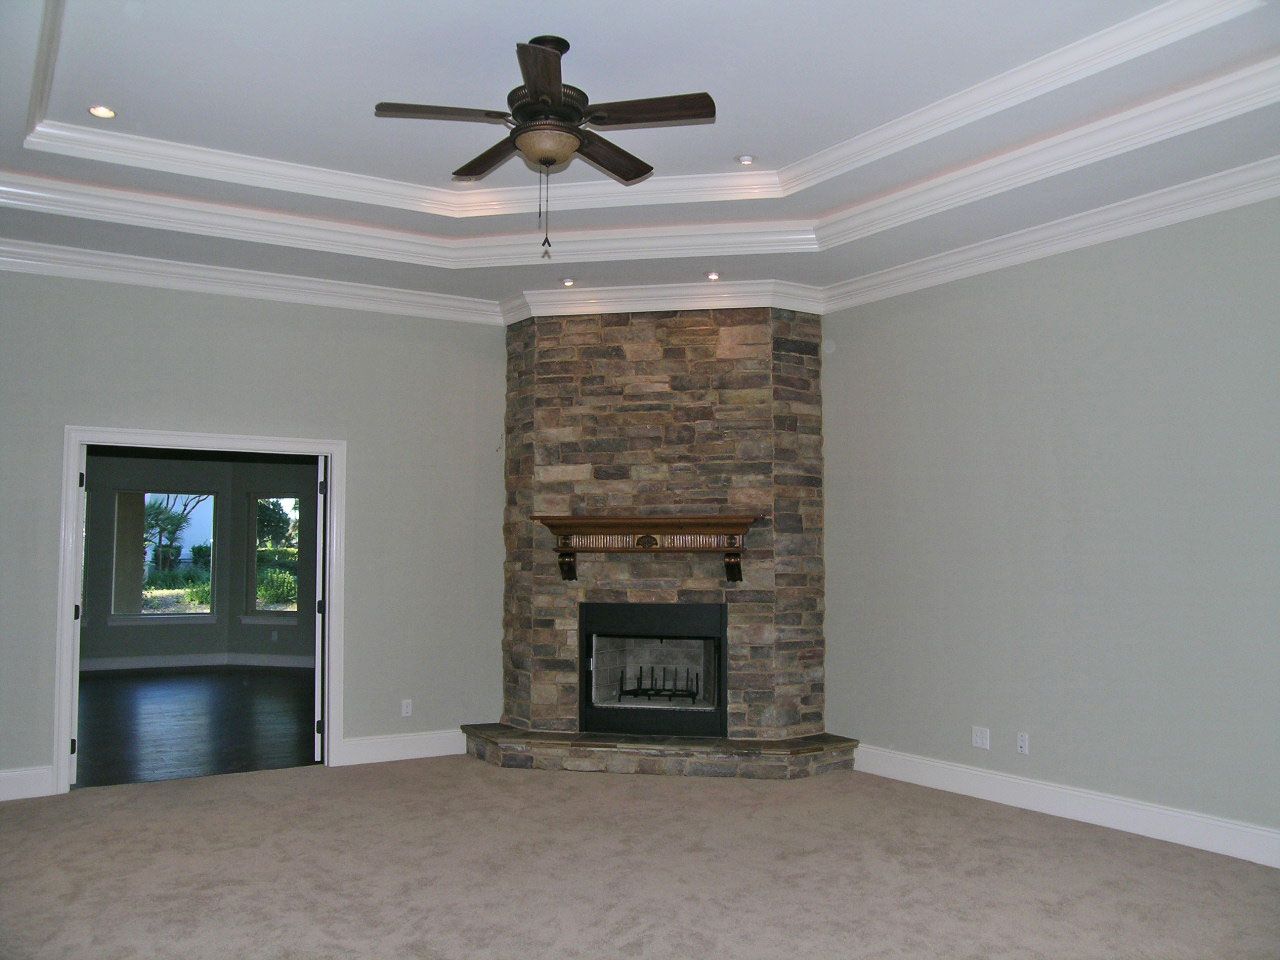
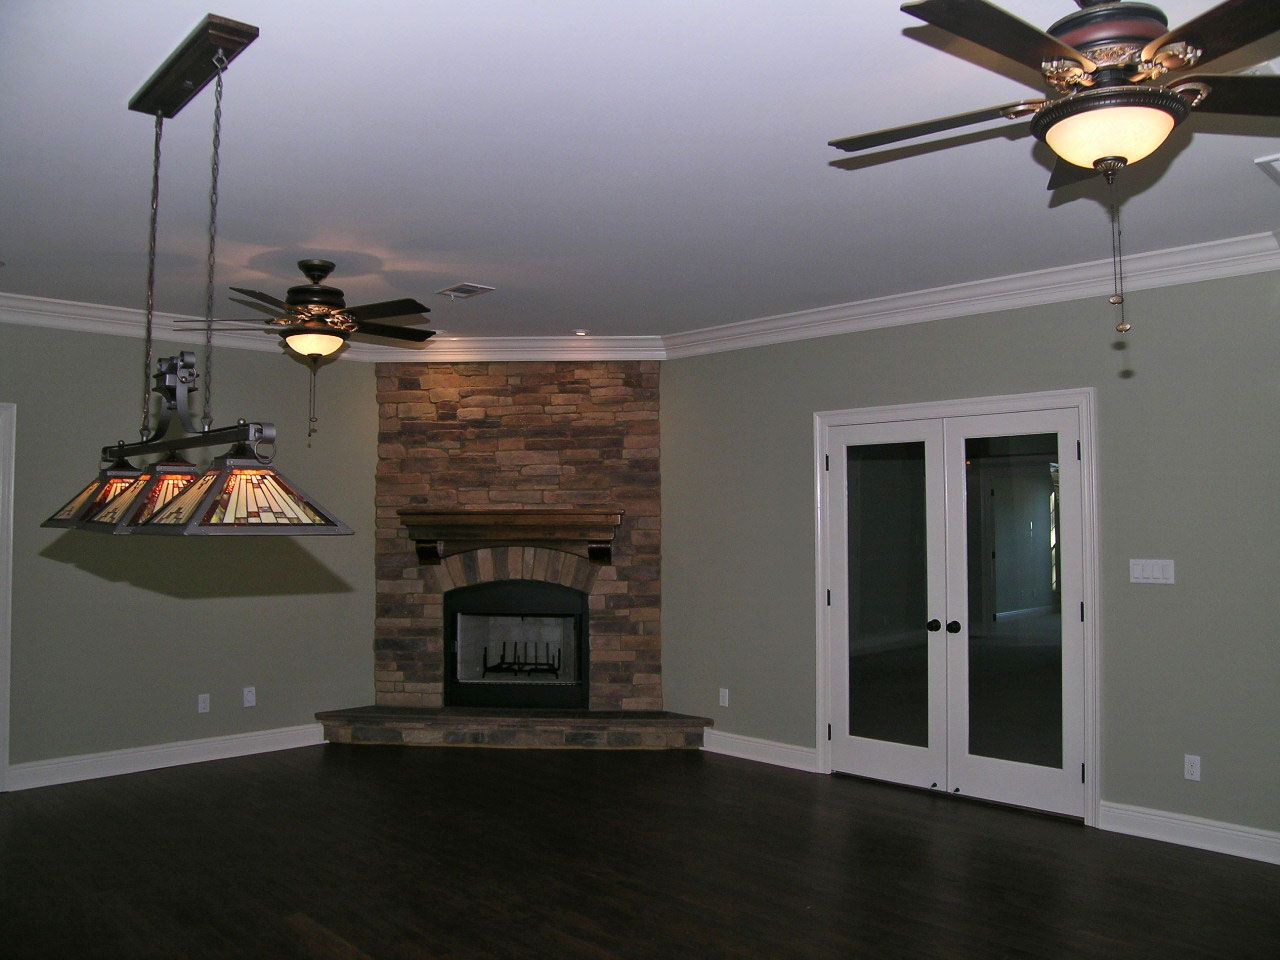
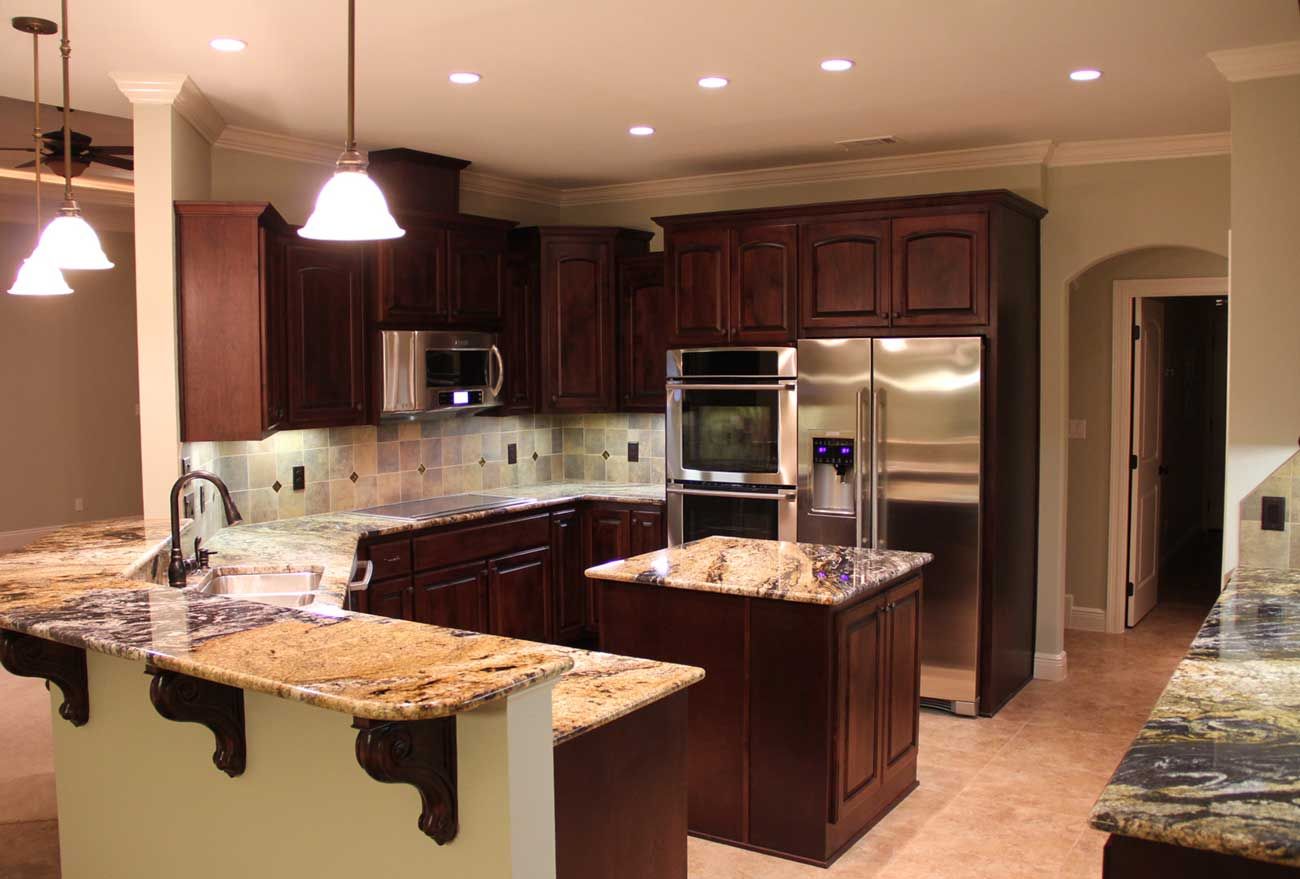
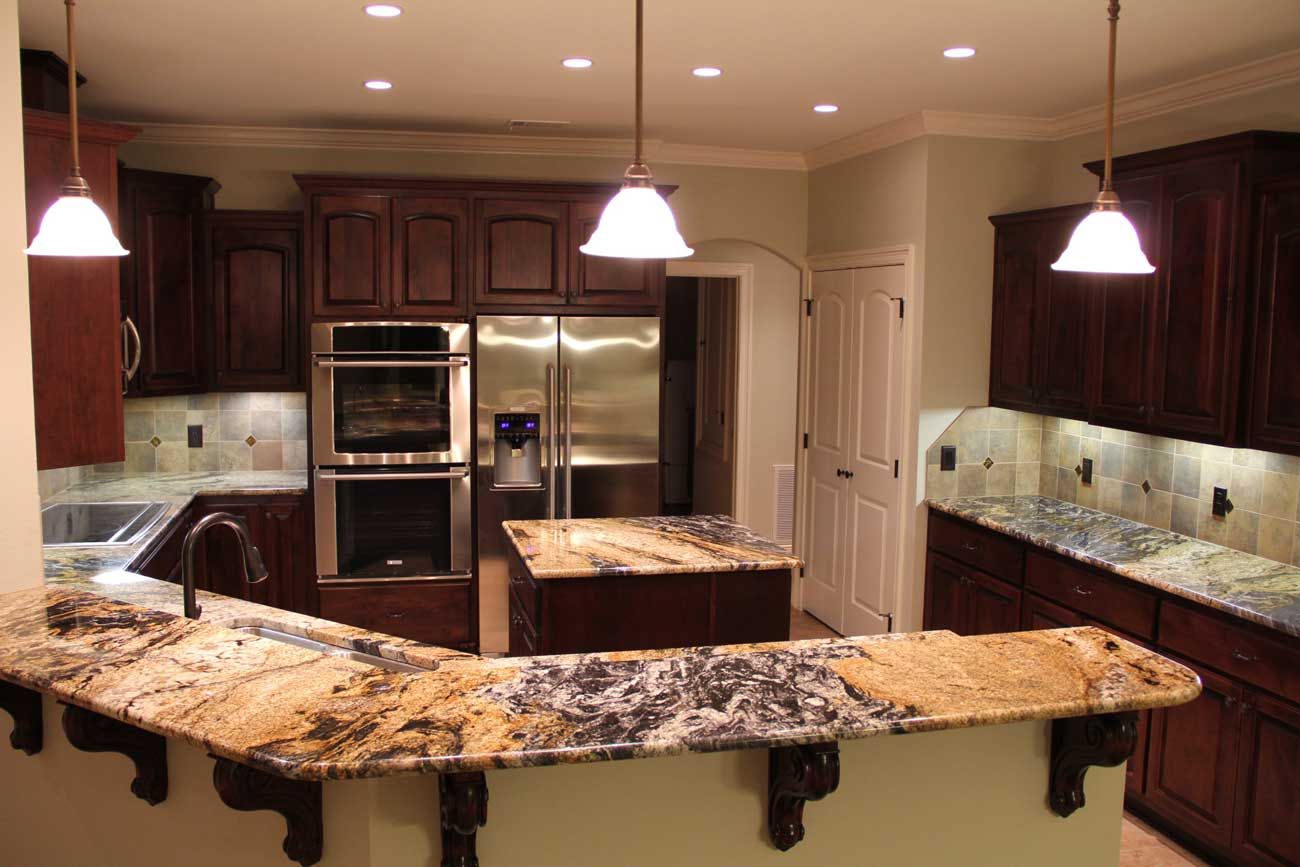
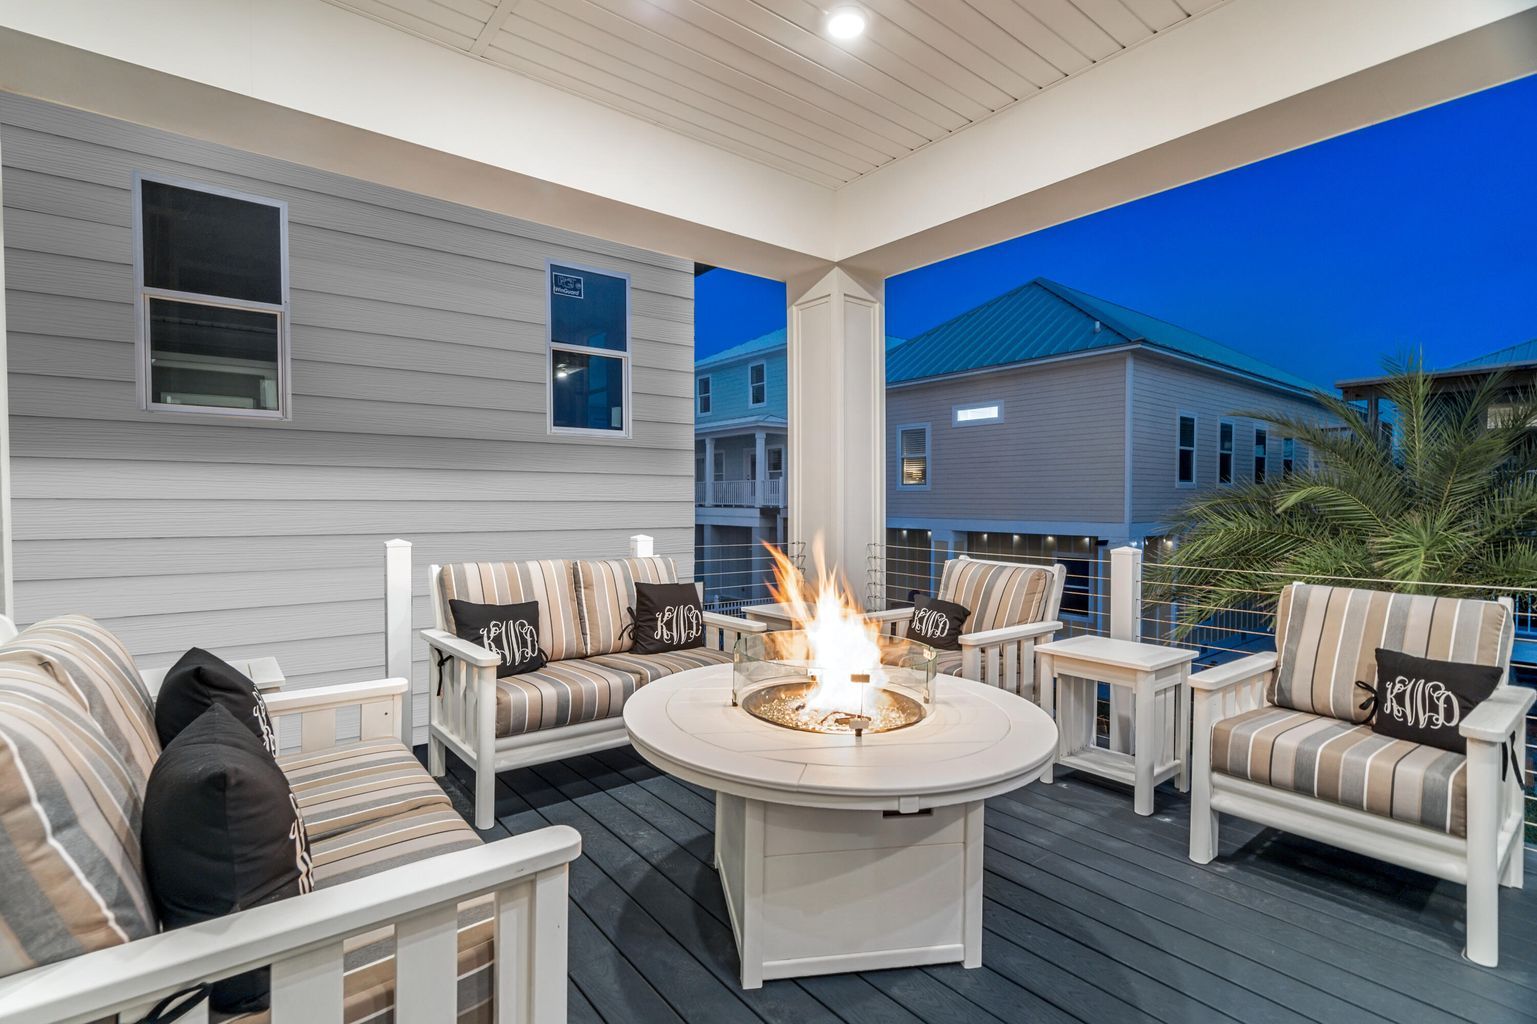
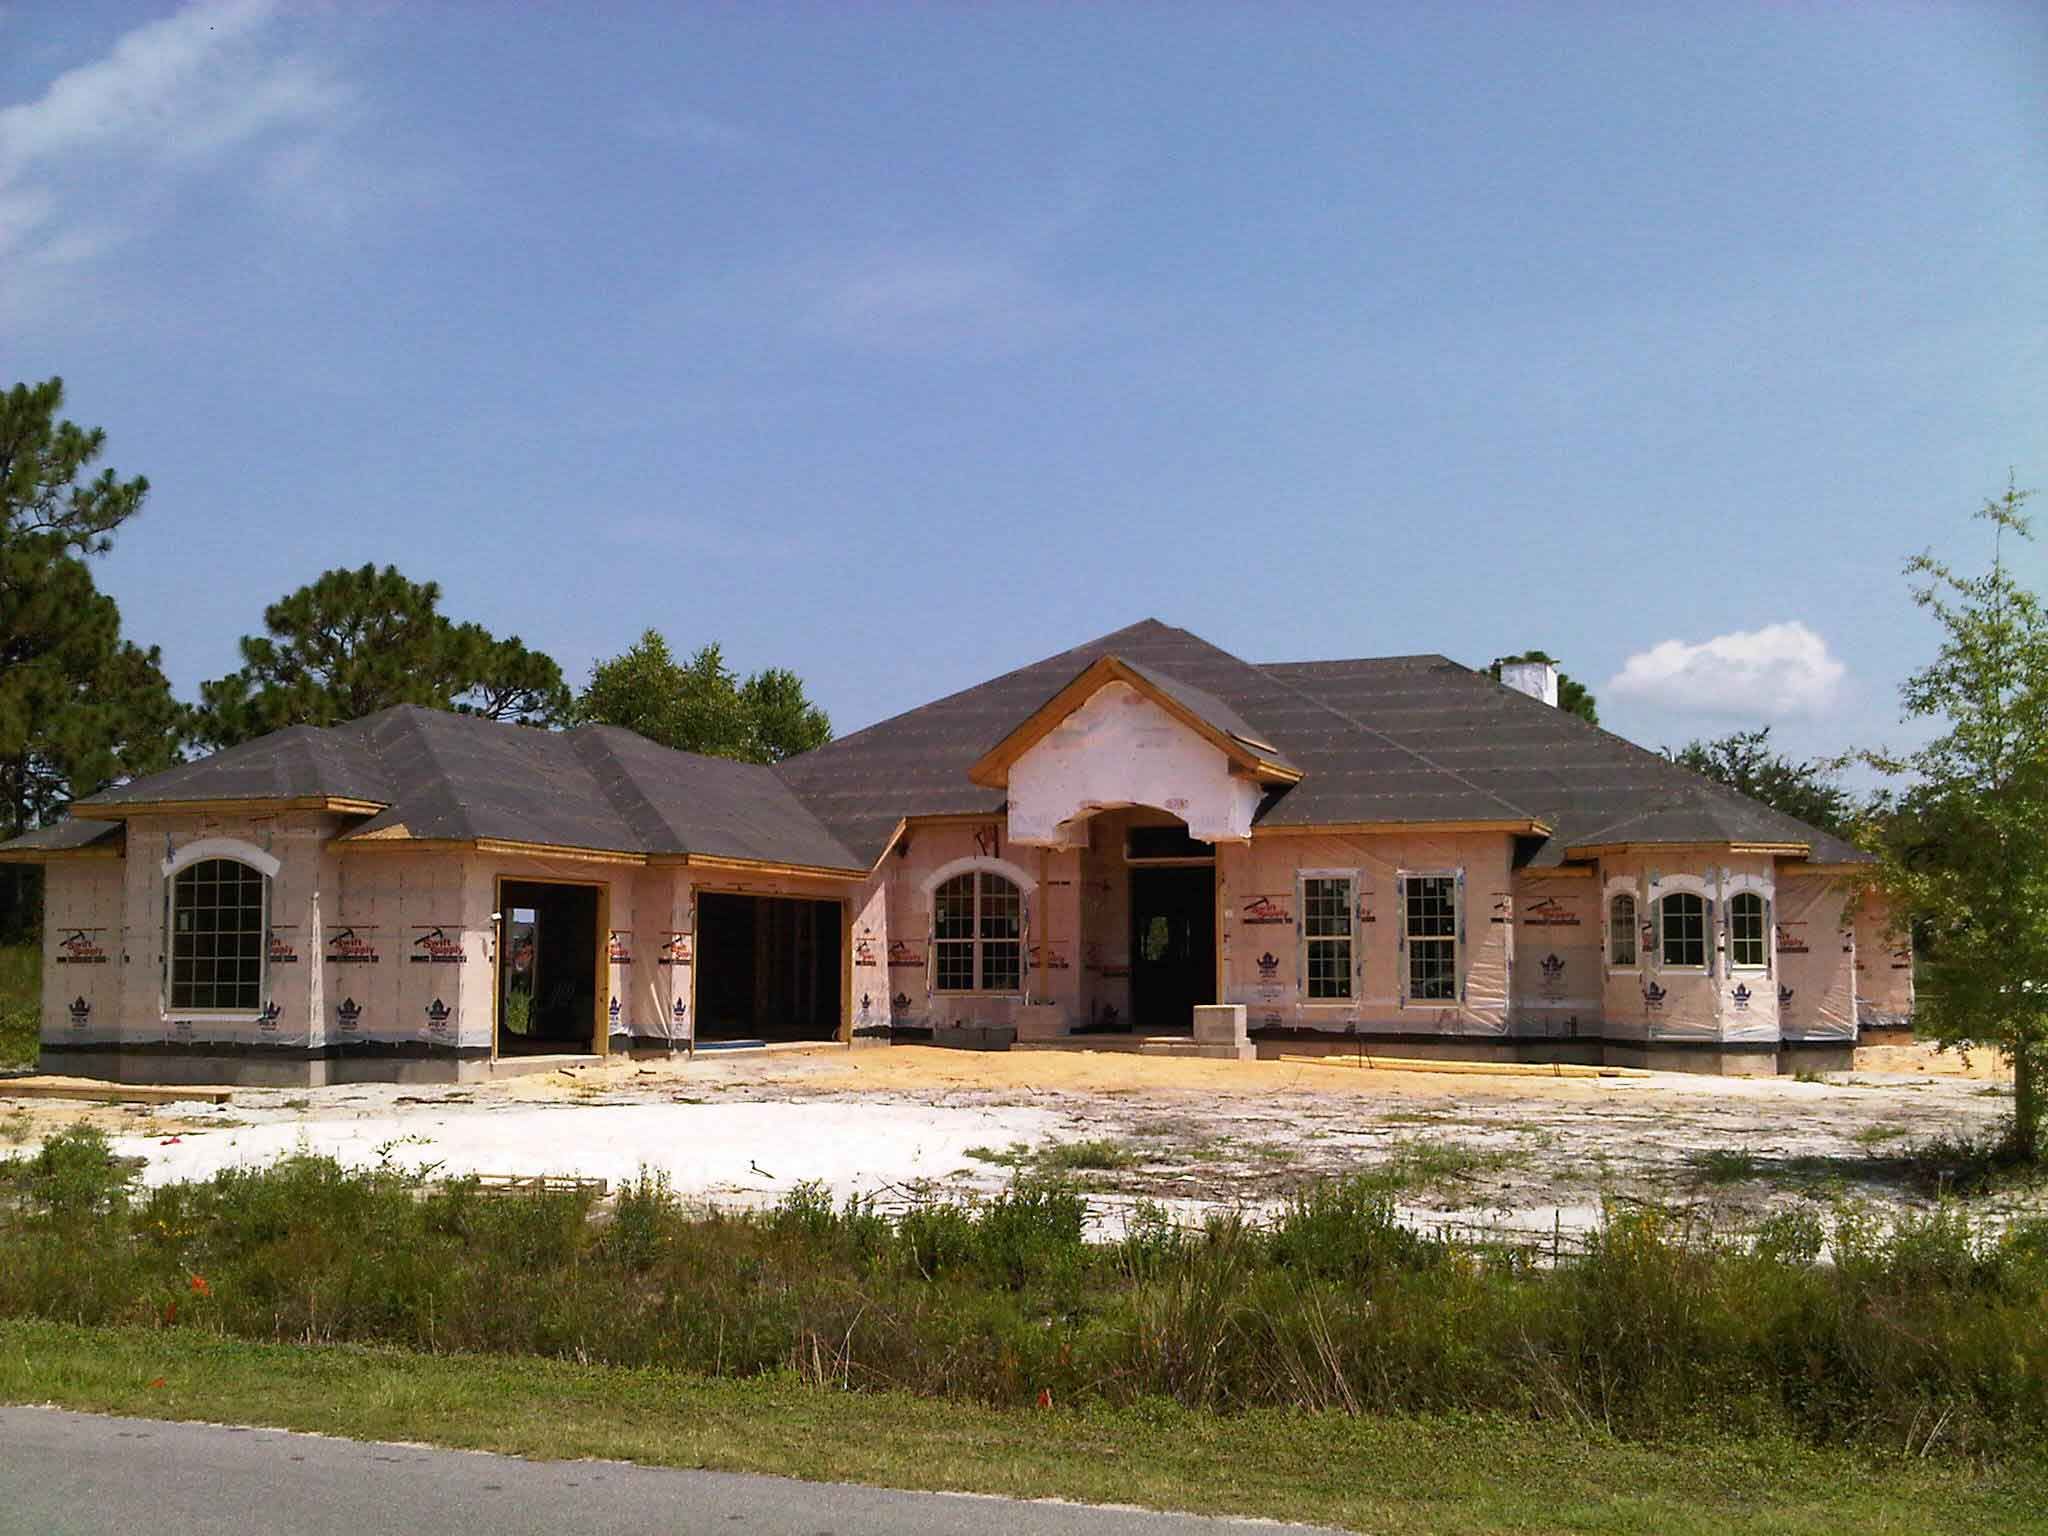
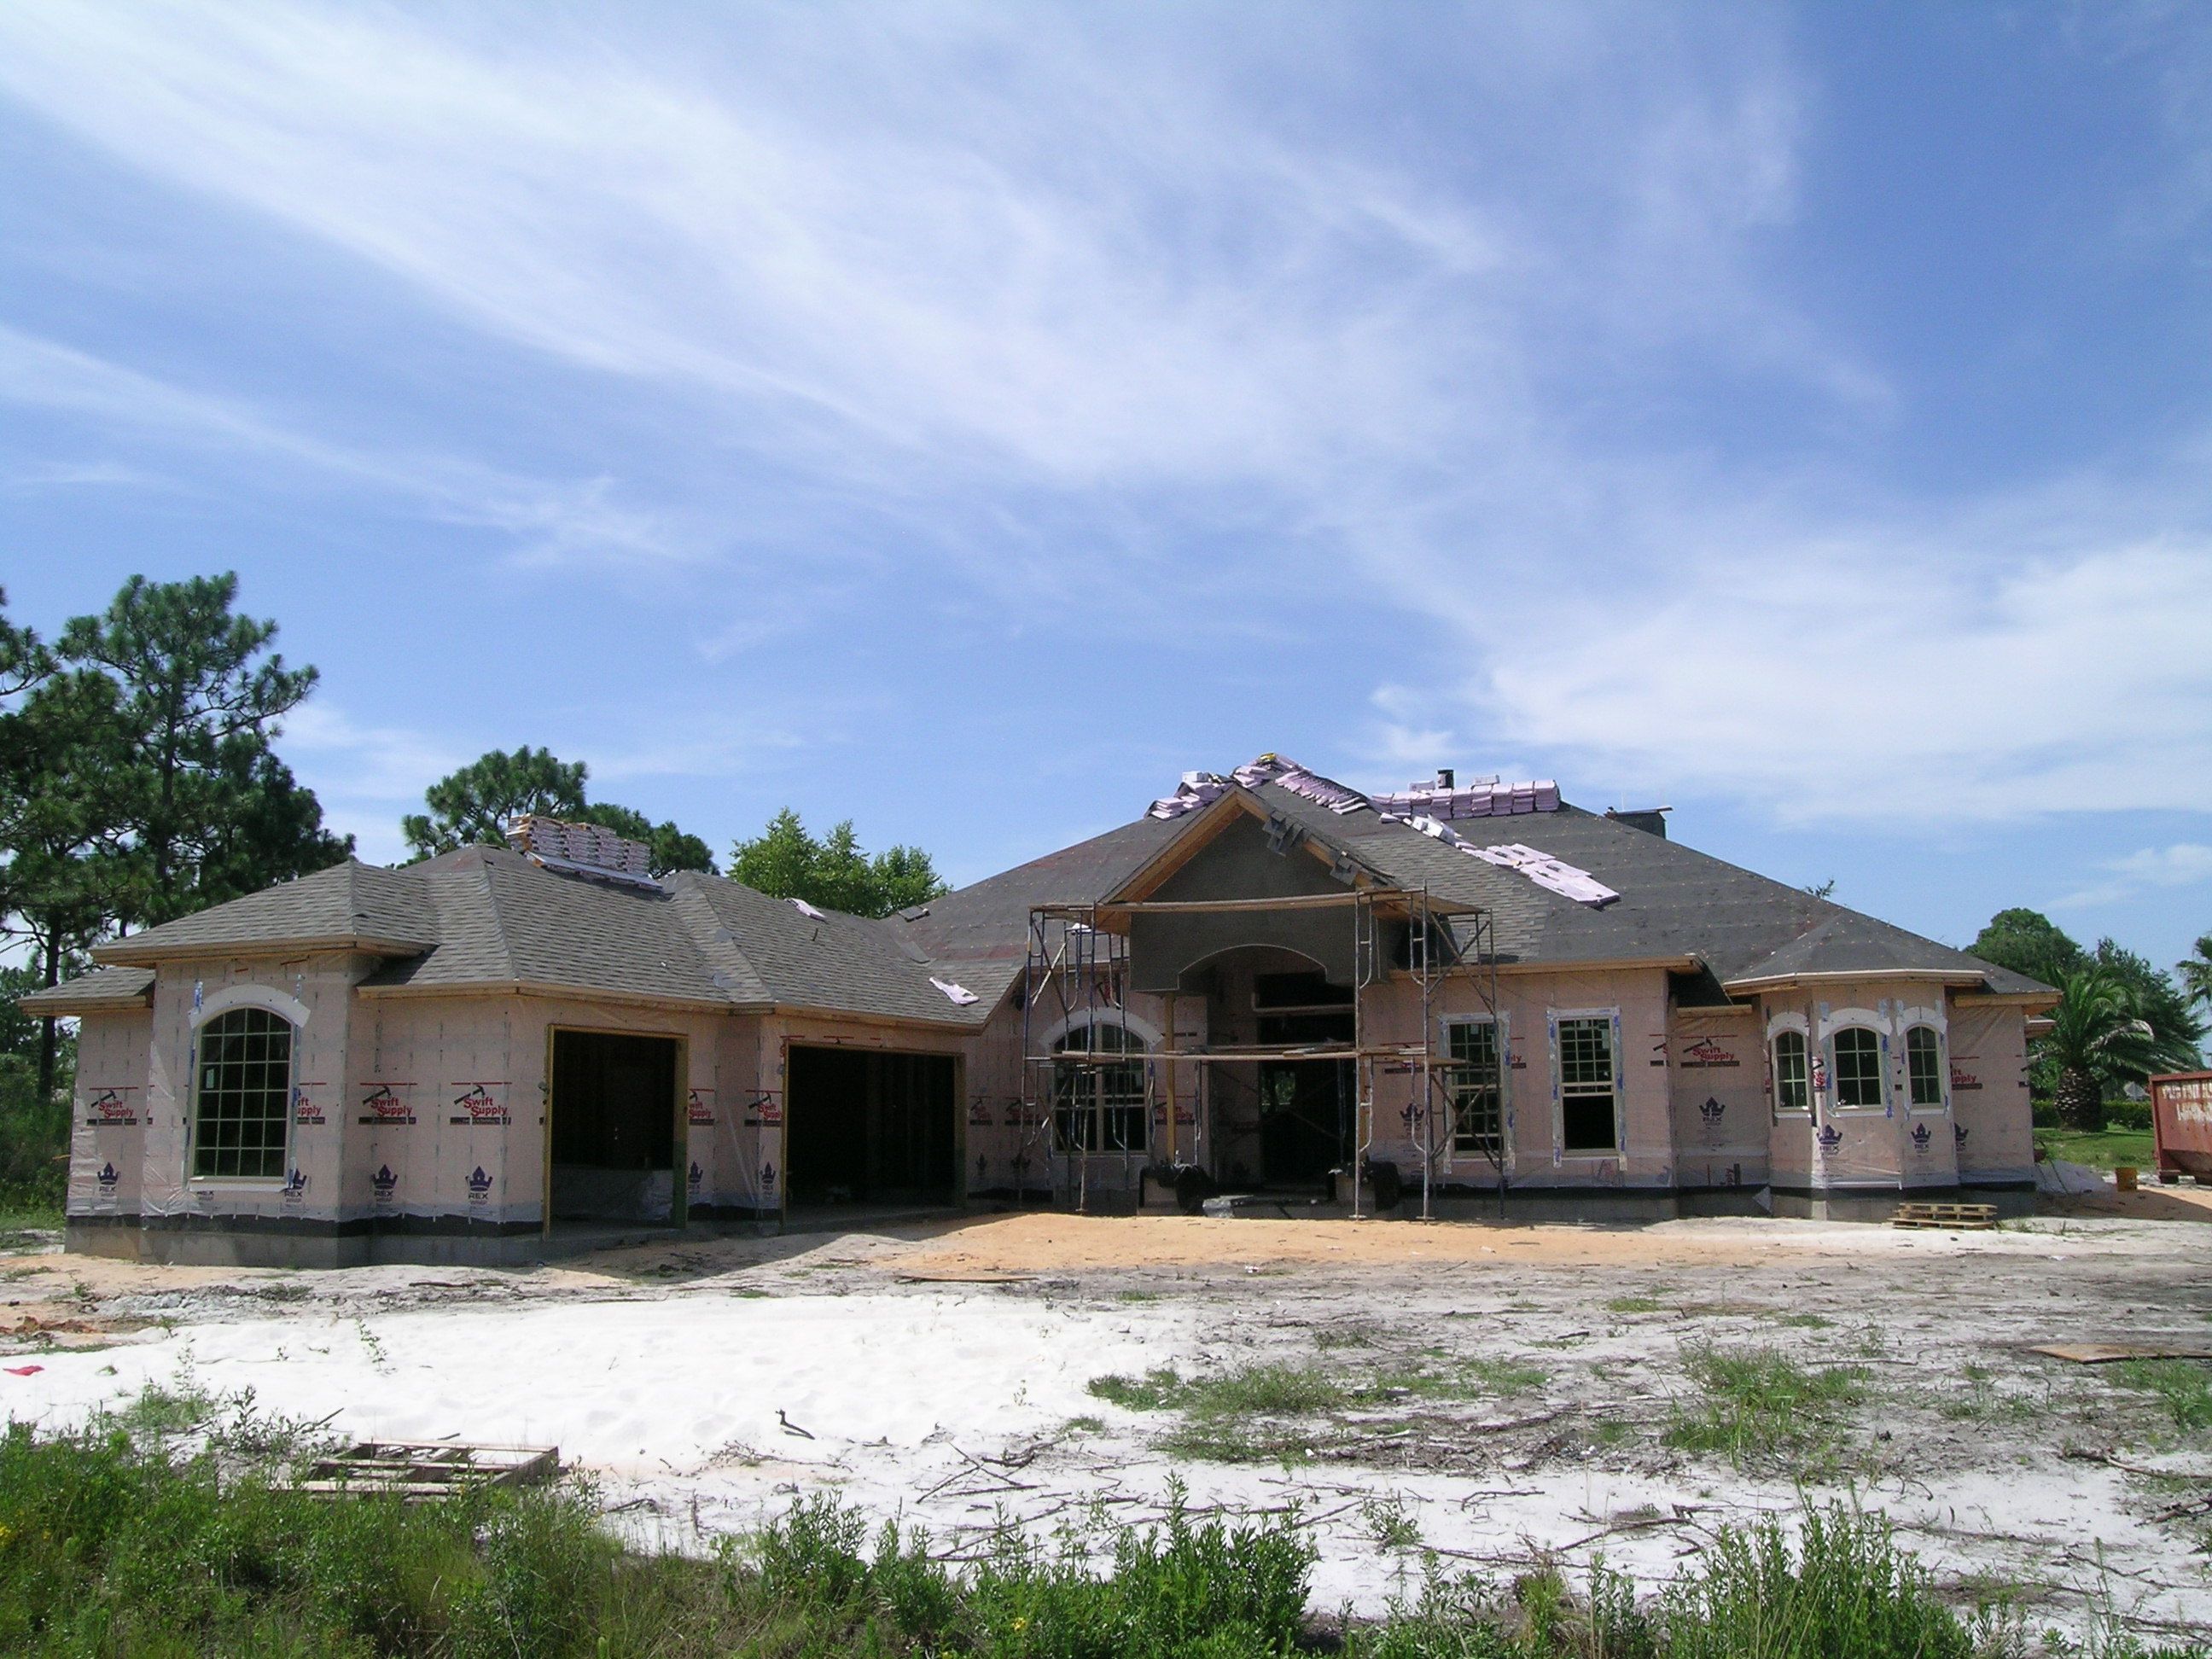
Gomez cuts in the control joints with a diamond saw to prevent uncontrolled cracking.  These joints should be cut in within 12 hours of pouring the driveway otherwise the concrete will have shrunk enough to start cracking on its own.  The driveway has been textured to a slate appearance.  After curing for 30 days we will be staining and sealing it for a beautiful textured finished appearance.
Rufous hummingbird
Haggett new home in Holley by the Sea, Navarre - Thumb Pic 1
New home built in Navarre - Thumb Pic 2
 - Thumb Pic 3
 - Thumb Pic 4
 - Thumb Pic 5
 - Thumb Pic 6
garage floor paint - Thumb Pic 7
 - Thumb Pic 8
 - Thumb Pic 9
 - Thumb Pic 10
 - Thumb Pic 11
 - Thumb Pic 12
 - Thumb Pic 13
 - Thumb Pic 14
 - Thumb Pic 15
 - Thumb Pic 16
 - Thumb Pic 17
 - Thumb Pic 18
 - Thumb Pic 19
 - Thumb Pic 20
 - Thumb Pic 21
 - Thumb Pic 22
 - Thumb Pic 23
 - Thumb Pic 24
 - Thumb Pic 25
 - Thumb Pic 26
 - Thumb Pic 27
 - Thumb Pic 28
 - Thumb Pic 29
 - Thumb Pic 30
 - Thumb Pic 31
 - Thumb Pic 32
 - Thumb Pic 33
 - Thumb Pic 34
 - Thumb Pic 35
 - Thumb Pic 36
 - Thumb Pic 37
 - Thumb Pic 38
 - Thumb Pic 39
 - Thumb Pic 40
 - Thumb Pic 41
 - Thumb Pic 42
 - Thumb Pic 43
 - Thumb Pic 44
 - Thumb Pic 45
 - Thumb Pic 46
 - Thumb Pic 47
 - Thumb Pic 48
 - Thumb Pic 49
 - Thumb Pic 50
 - Thumb Pic 51
 - Thumb Pic 52
 - Thumb Pic 53
 - Thumb Pic 54
 - Thumb Pic 55
 - Thumb Pic 56
 - Thumb Pic 57
 - Thumb Pic 58
 - Thumb Pic 59
 - Thumb Pic 60
 - Thumb Pic 61
 - Thumb Pic 62
 - Thumb Pic 63
 - Thumb Pic 64
 - Thumb Pic 65
 - Thumb Pic 66
 - Thumb Pic 67
 - Thumb Pic 68
 - Thumb Pic 69
 - Thumb Pic 70
 - Thumb Pic 71
 - Thumb Pic 72
 - Thumb Pic 73
 - Thumb Pic 74
 - Thumb Pic 75
 - Thumb Pic 76
 - Thumb Pic 77
 - Thumb Pic 78
 - Thumb Pic 79
 - Thumb Pic 80
 - Thumb Pic 81
 - Thumb Pic 82
 - Thumb Pic 83
 - Thumb Pic 84
 - Thumb Pic 85
 - Thumb Pic 86
 - Thumb Pic 87
 - Thumb Pic 88
 - Thumb Pic 89
safe room by acorn fine homes - Thumb Pic 90
 - Thumb Pic 91
 - Thumb Pic 92
 - Thumb Pic 93
 - Thumb Pic 94
 - Thumb Pic 95
 - Thumb Pic 96
 - Thumb Pic 97
 - Thumb Pic 98
 - Thumb Pic 99
 - Thumb Pic 100
 - Thumb Pic 101
 - Thumb Pic 102
 - Thumb Pic 103
 - Thumb Pic 104
 - Thumb Pic 105
 - Thumb Pic 106
 - Thumb Pic 107
 - Thumb Pic 108
 - Thumb Pic 109
 - Thumb Pic 110
 - Thumb Pic 111
 - Thumb Pic 112
 - Thumb Pic 113
 - Thumb Pic 114
 - Thumb Pic 115
 - Thumb Pic 116
 - Thumb Pic 117

Haggett residence

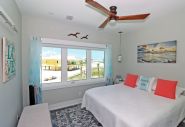
Steven and Lisa Haggett are both USAF chief master sergeants soon to be retiring this year. I designed their 3274 SF retirement home for construction in Hidden Creek Estates while they were still on duty at the Pentagon. This home has storm-tuff features, a safe room, and a home theater. They'll both be working in civil service jobs at Hurlbert field in mission critical jobs so the safe room ensures that they won't have to evacuate and will be available for duty during hurricane threats, not to mention totally safe from bodily harm.

This home is VA financed.

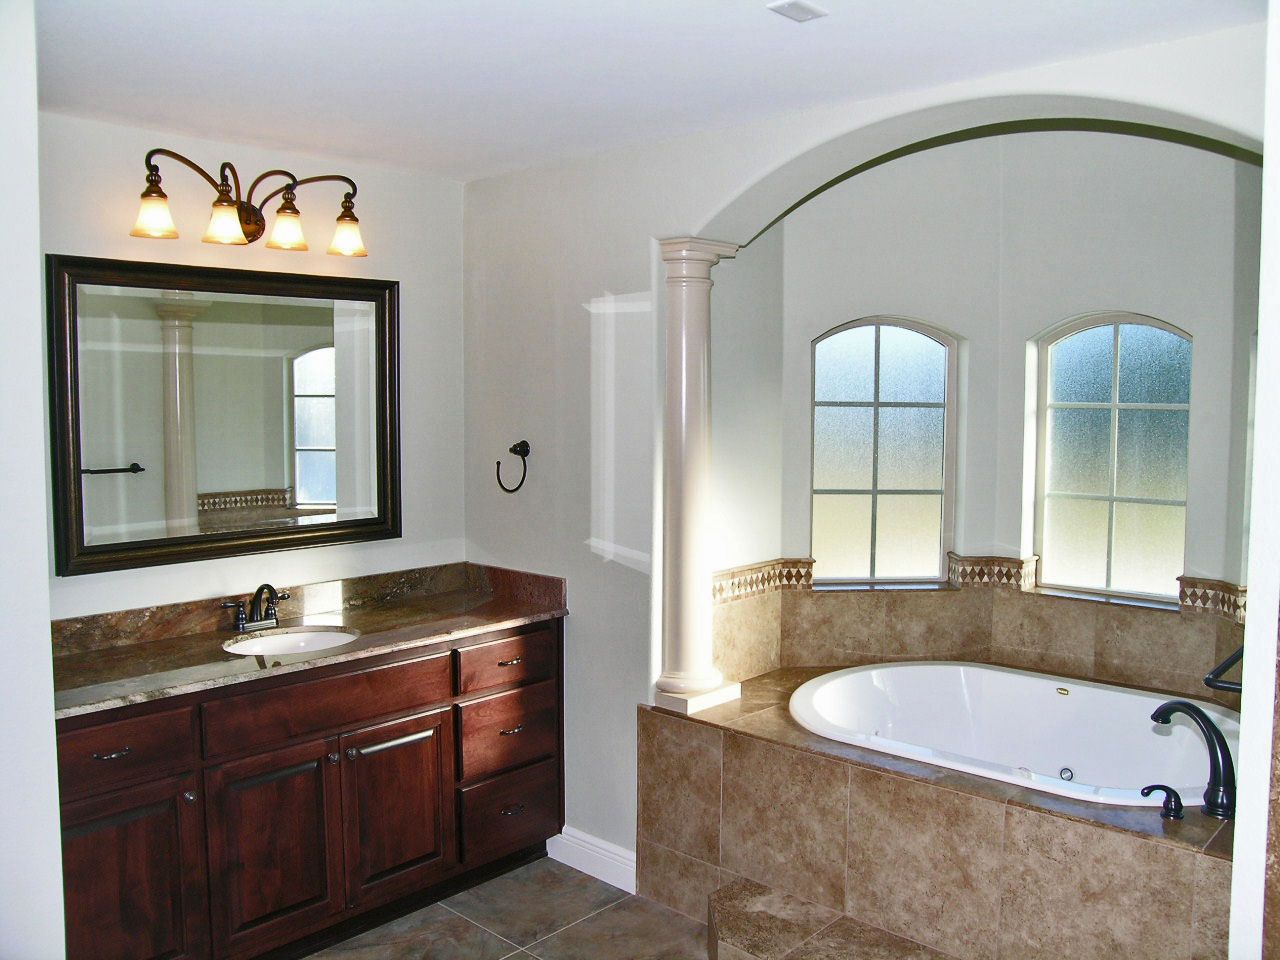
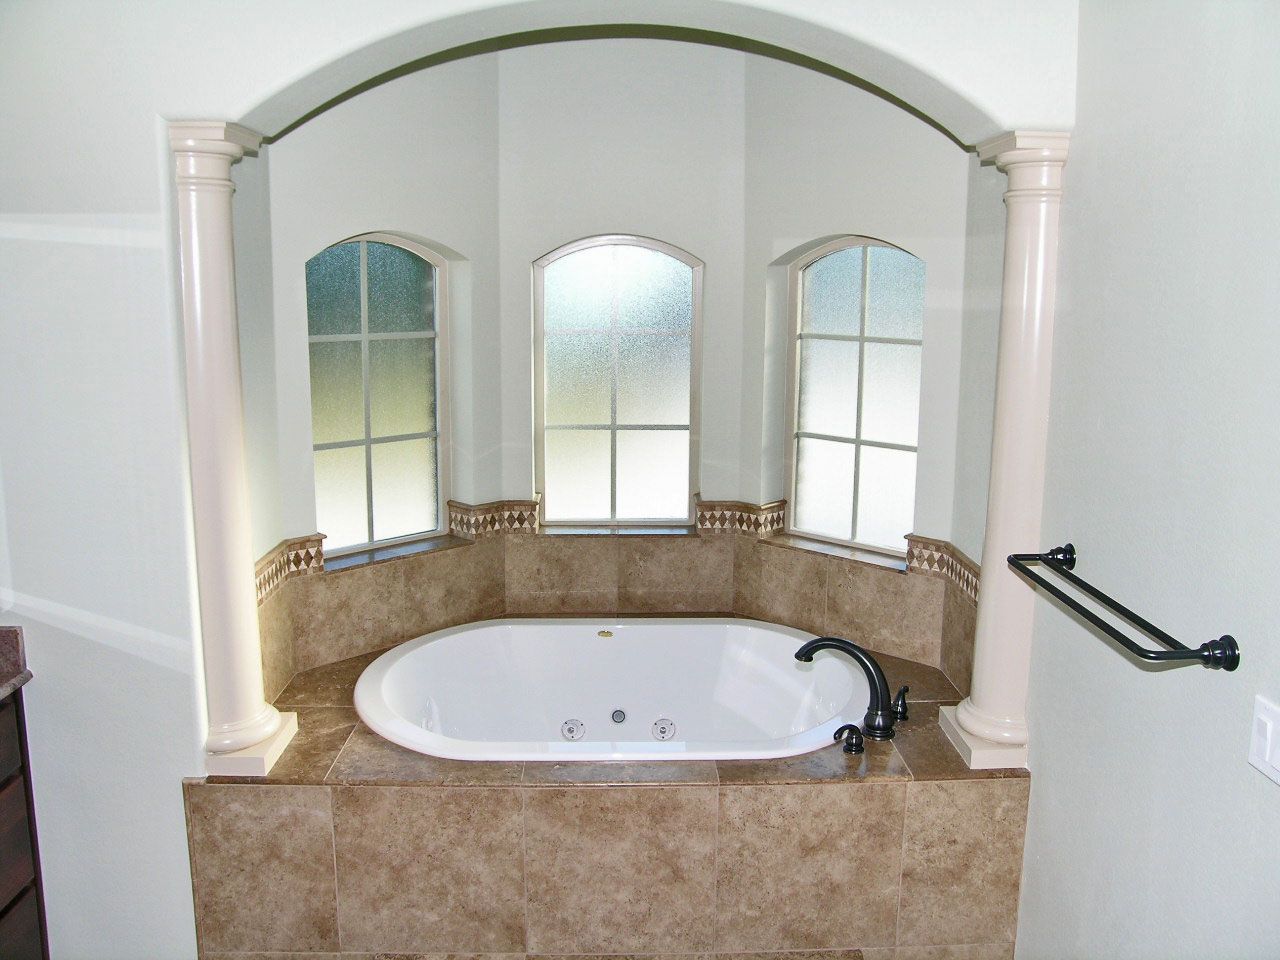
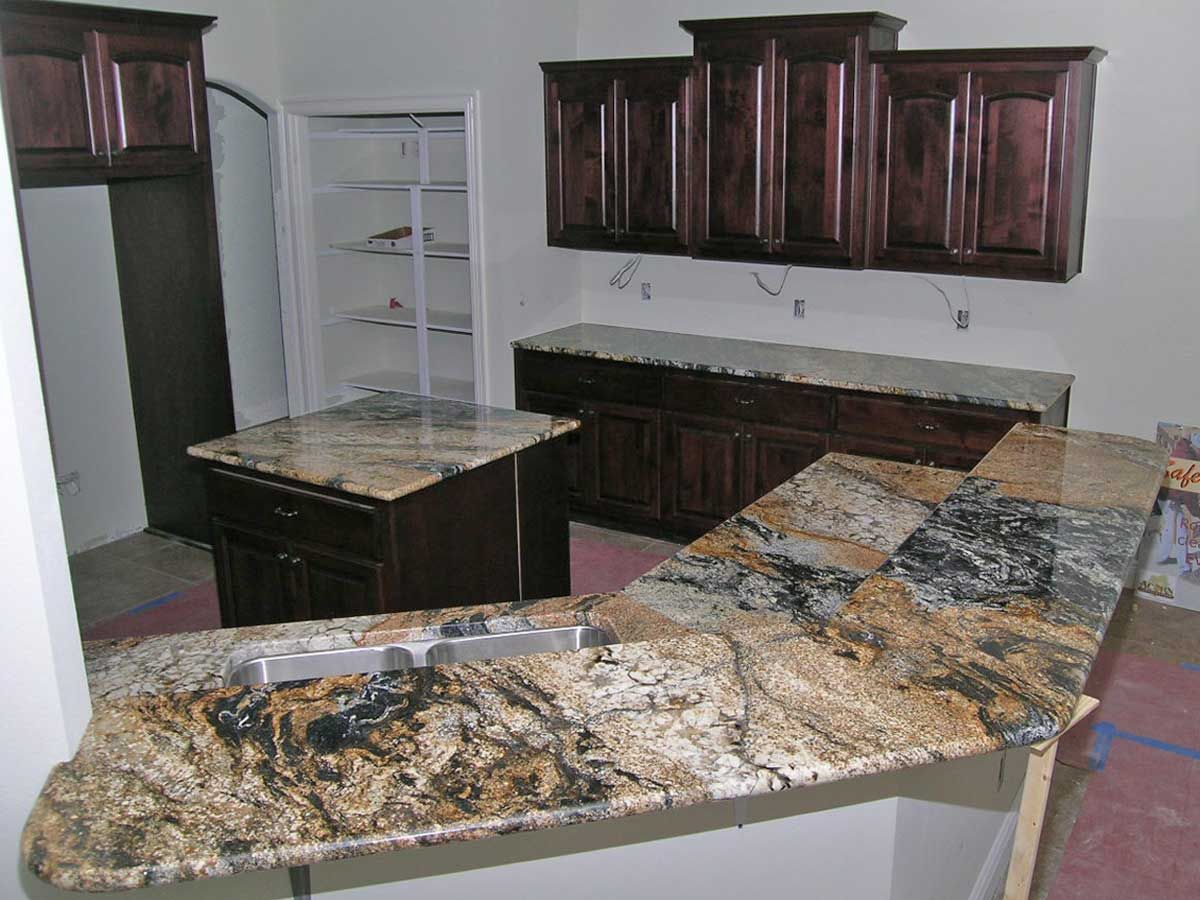
"I'm a control freak and I was pretty nervous at the beginning, having my retirement home built while I was still on active duty, out of town, and sometimes out of the country.  Les handled everything and went the extra mile to make sure I got what I wanted and then some.  Les and his wife, Tammy, recommended fixtures, tile, granite, stone, and misc selections for us which we liked better than what we would have picked out on our own.  Les sent pictures so we could see what was being recommended.   Our house turned out absolutely fantastic!  Like I said, I'm a control freak and this whole process far and away exceeded my expectations.  We were in the loop with pictures and communications the whole time.  I've heard all the horror stories about having a home built and non of those came true for me.  This is our last house and we can't wait to start enjoying the rest of our lives in it."

~ Steve Haggett

Les White, Acorn Construction General Contractor, #RG0055853
Copyright © 2024 Acorn Construction