
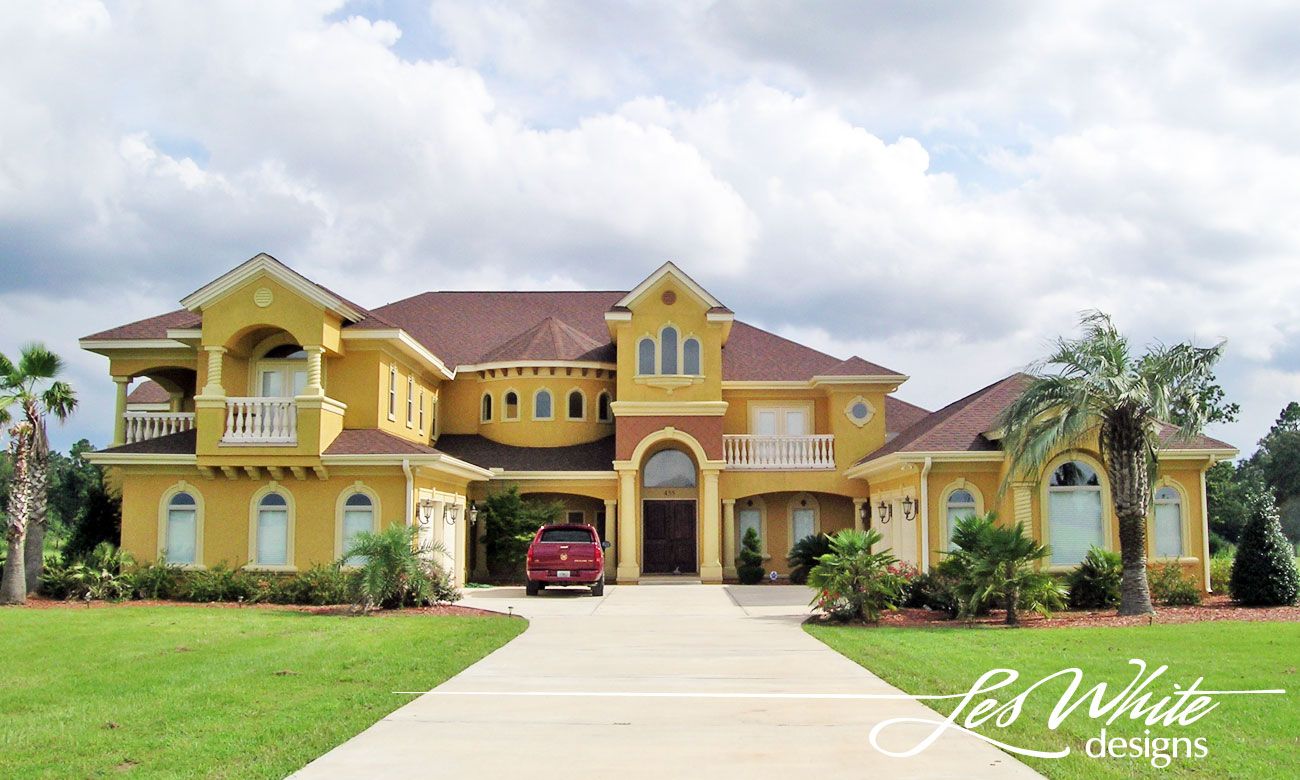
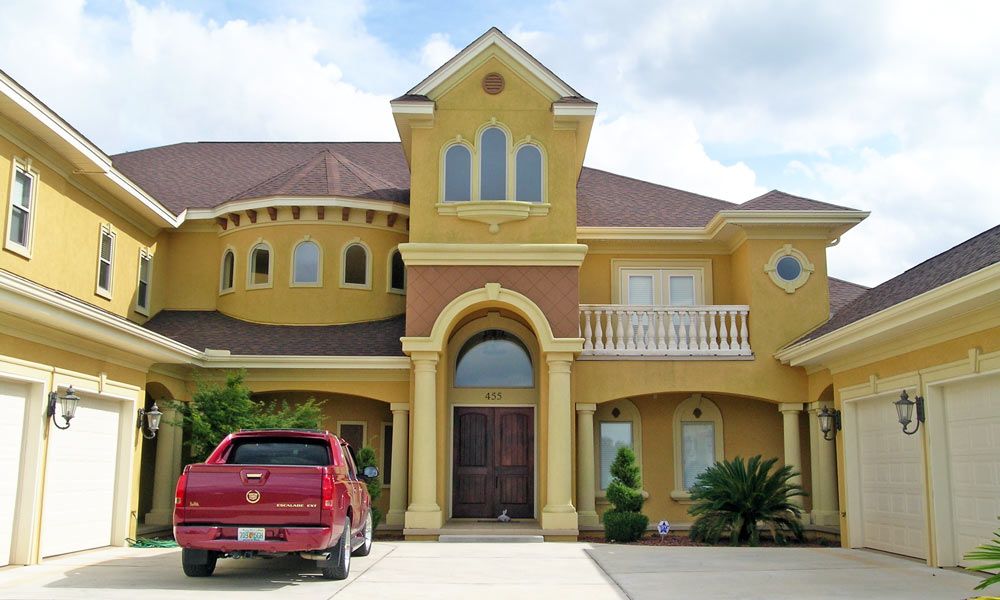
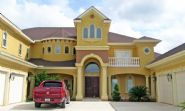
Gallery Of Homes: Castelar
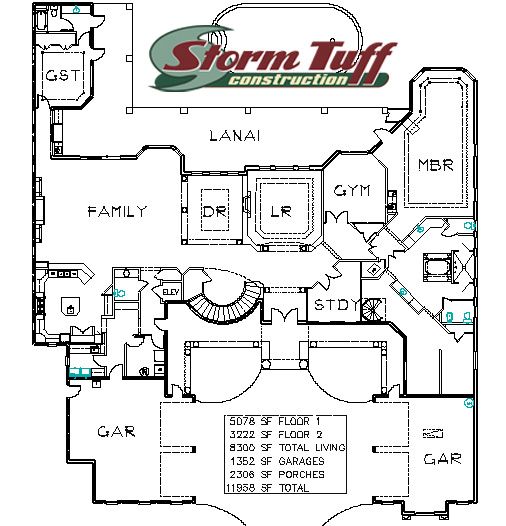


First floor plan. Learn more about Storm-Tuff construction.
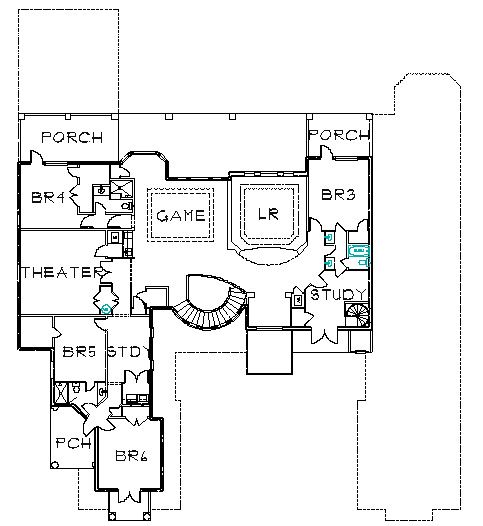
Second floor plan
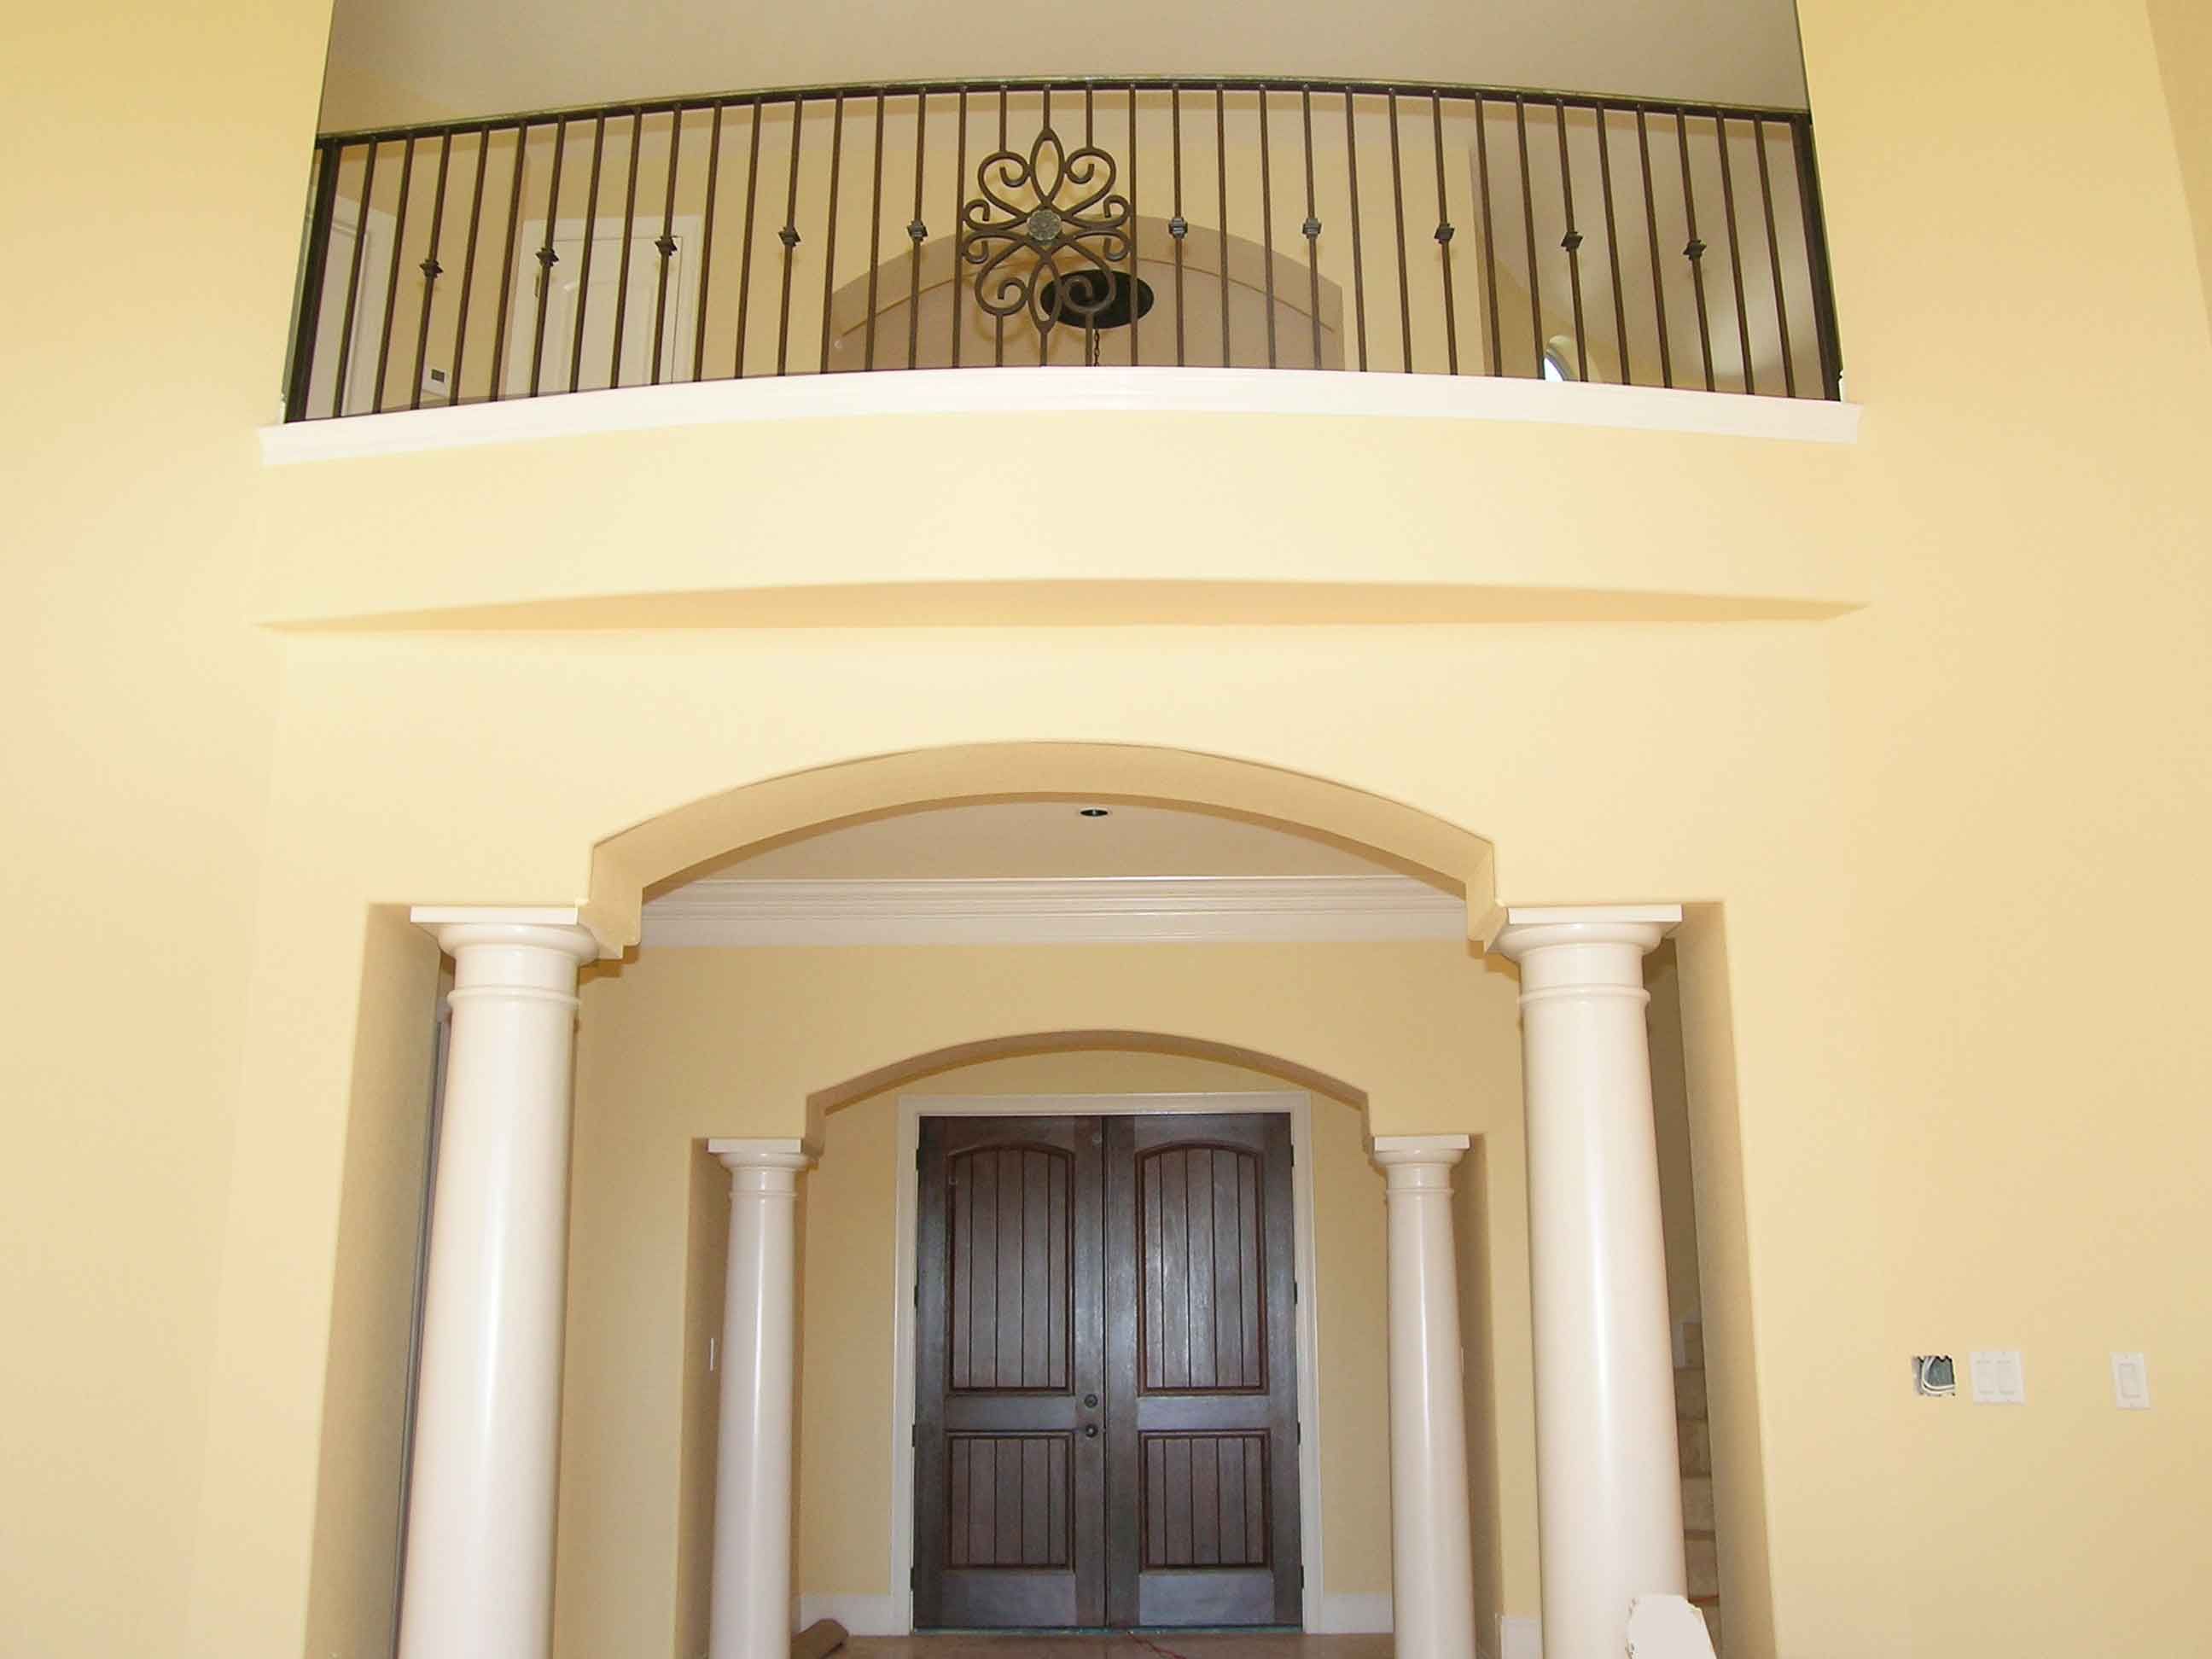
Foyer looking back from living room. Railing by Brownsville Ornamental Iron Works.
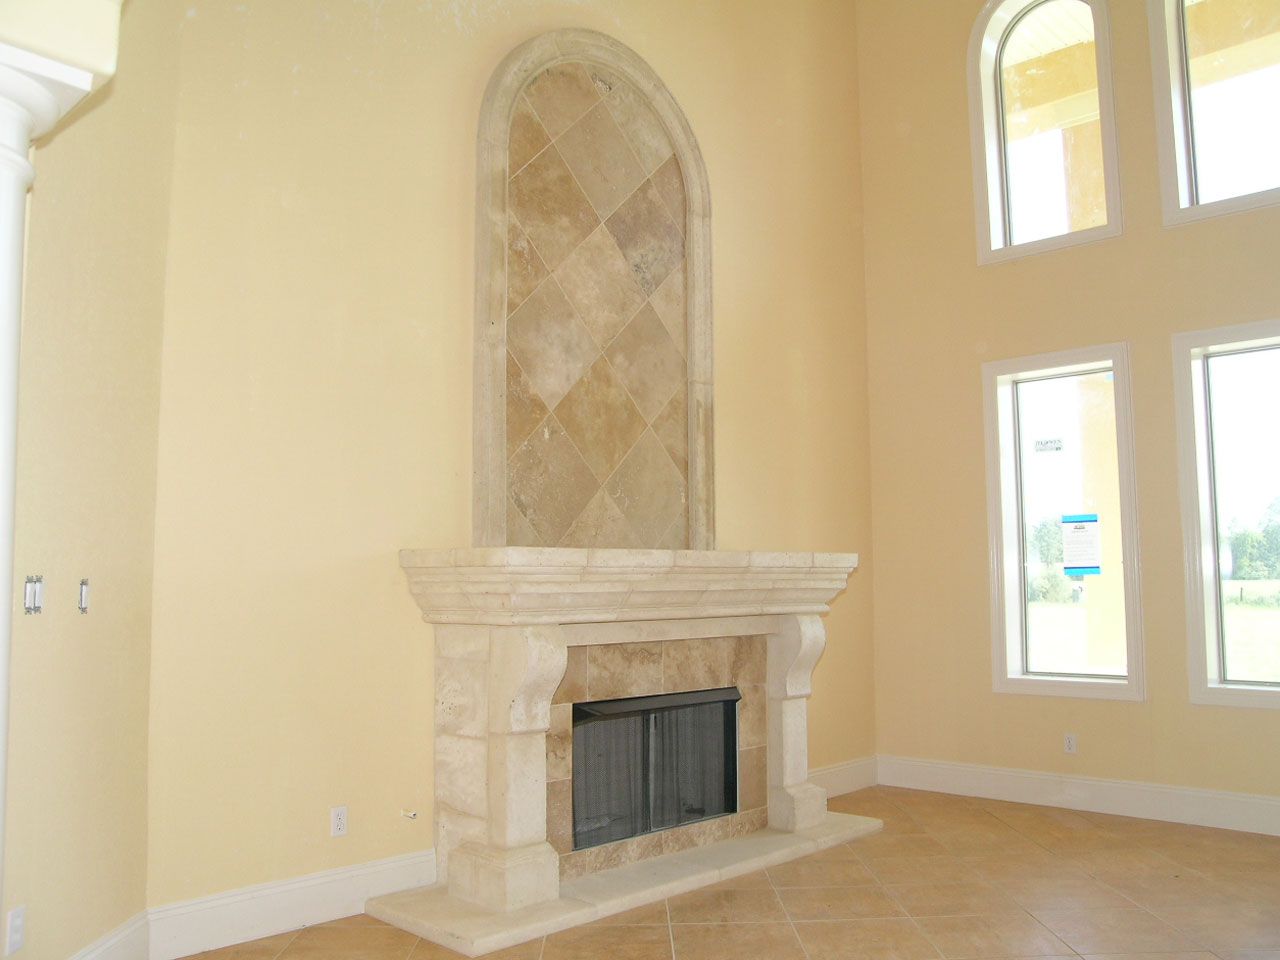
Living room fireplace. Fireplace surround by Coastal Stoneworks.
Dining room
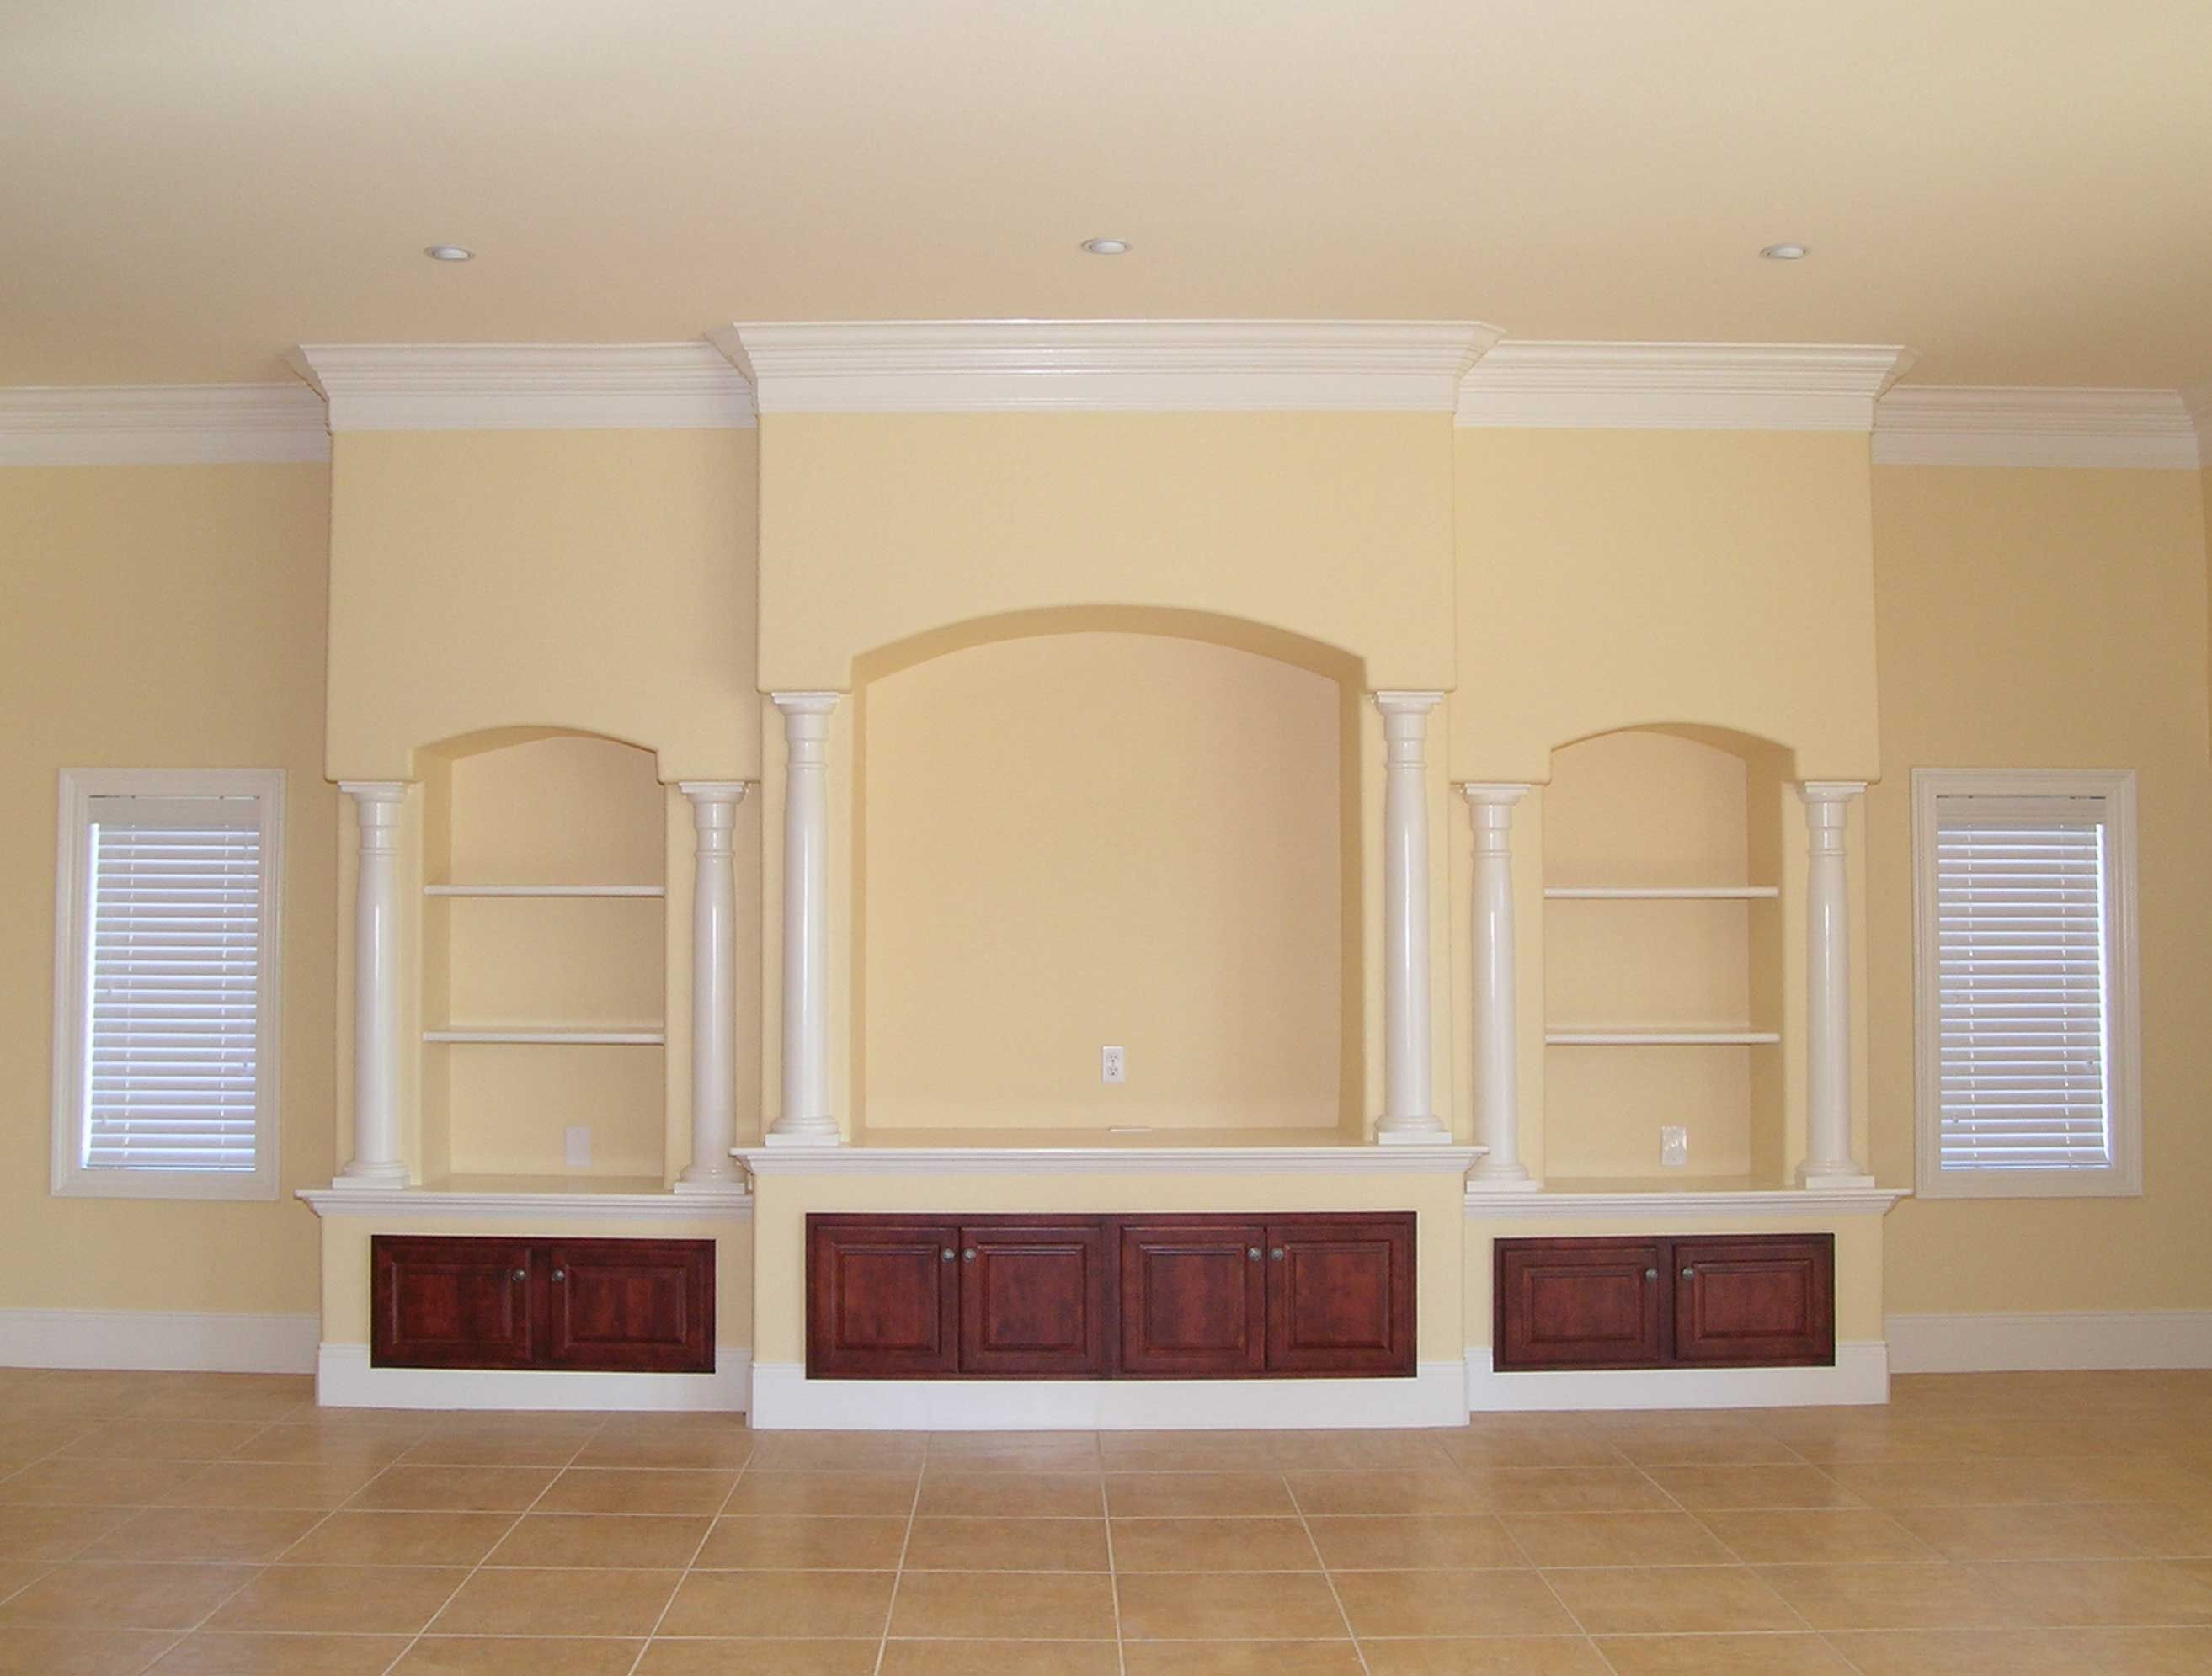
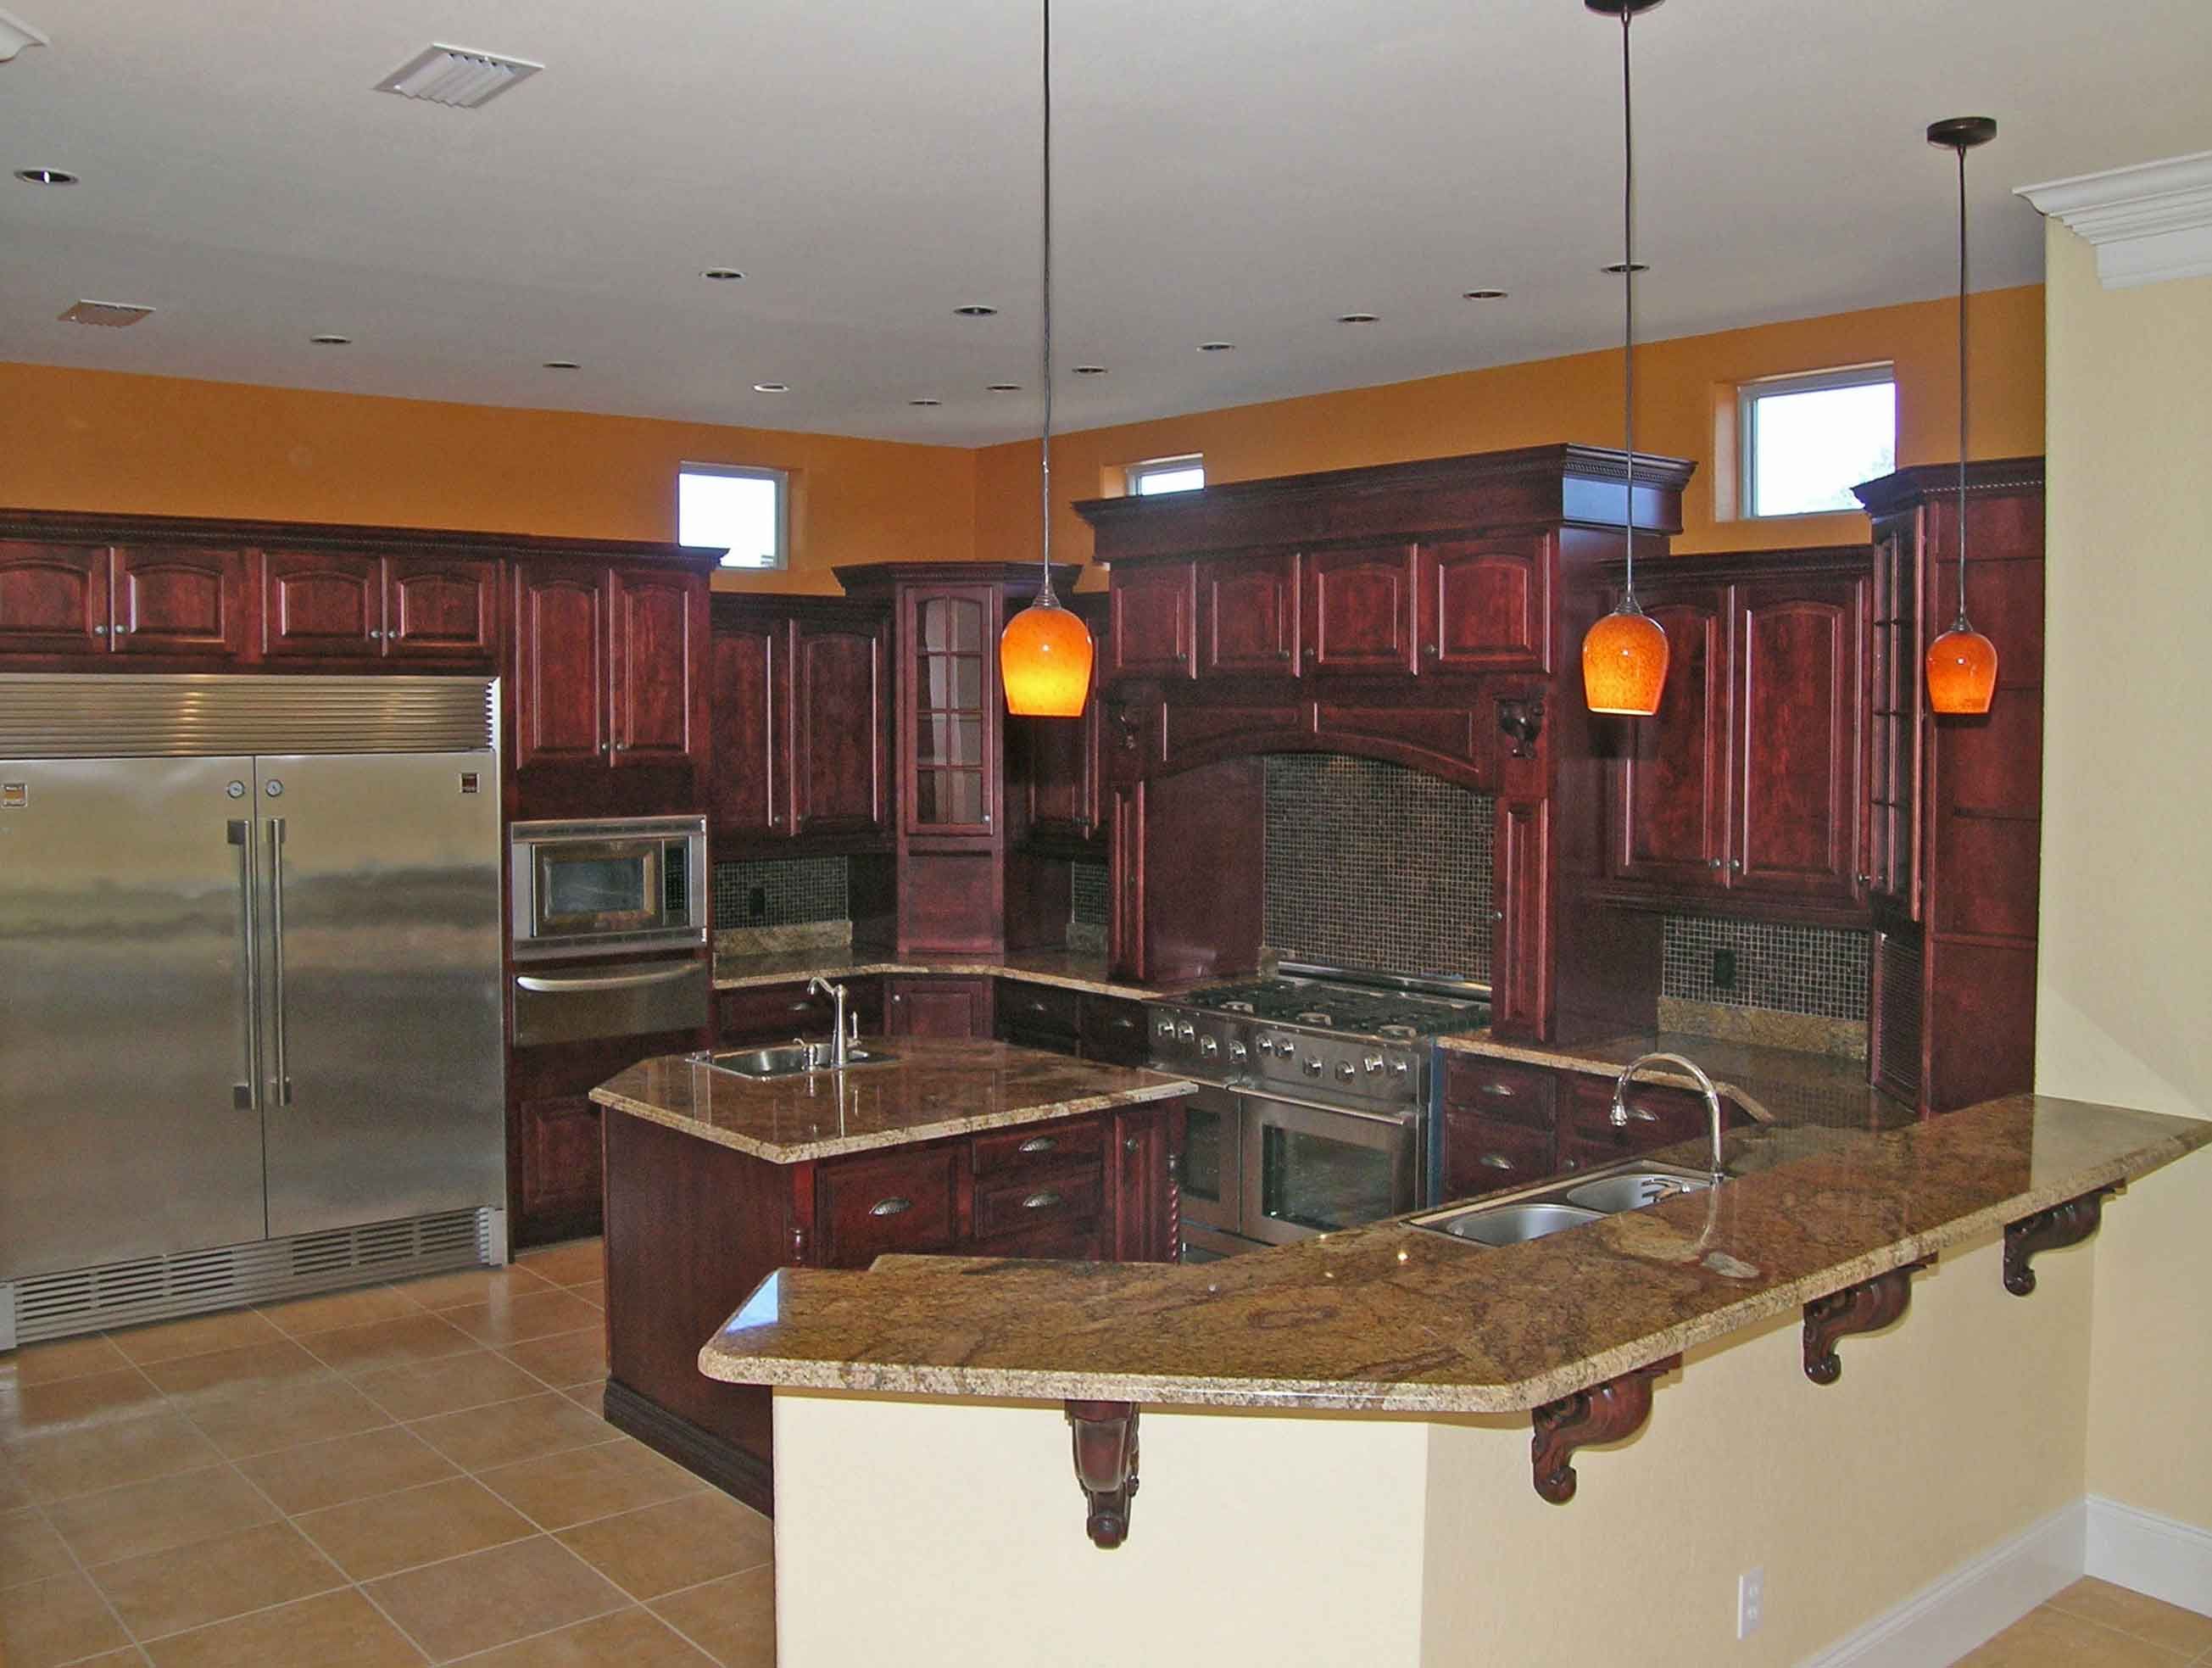
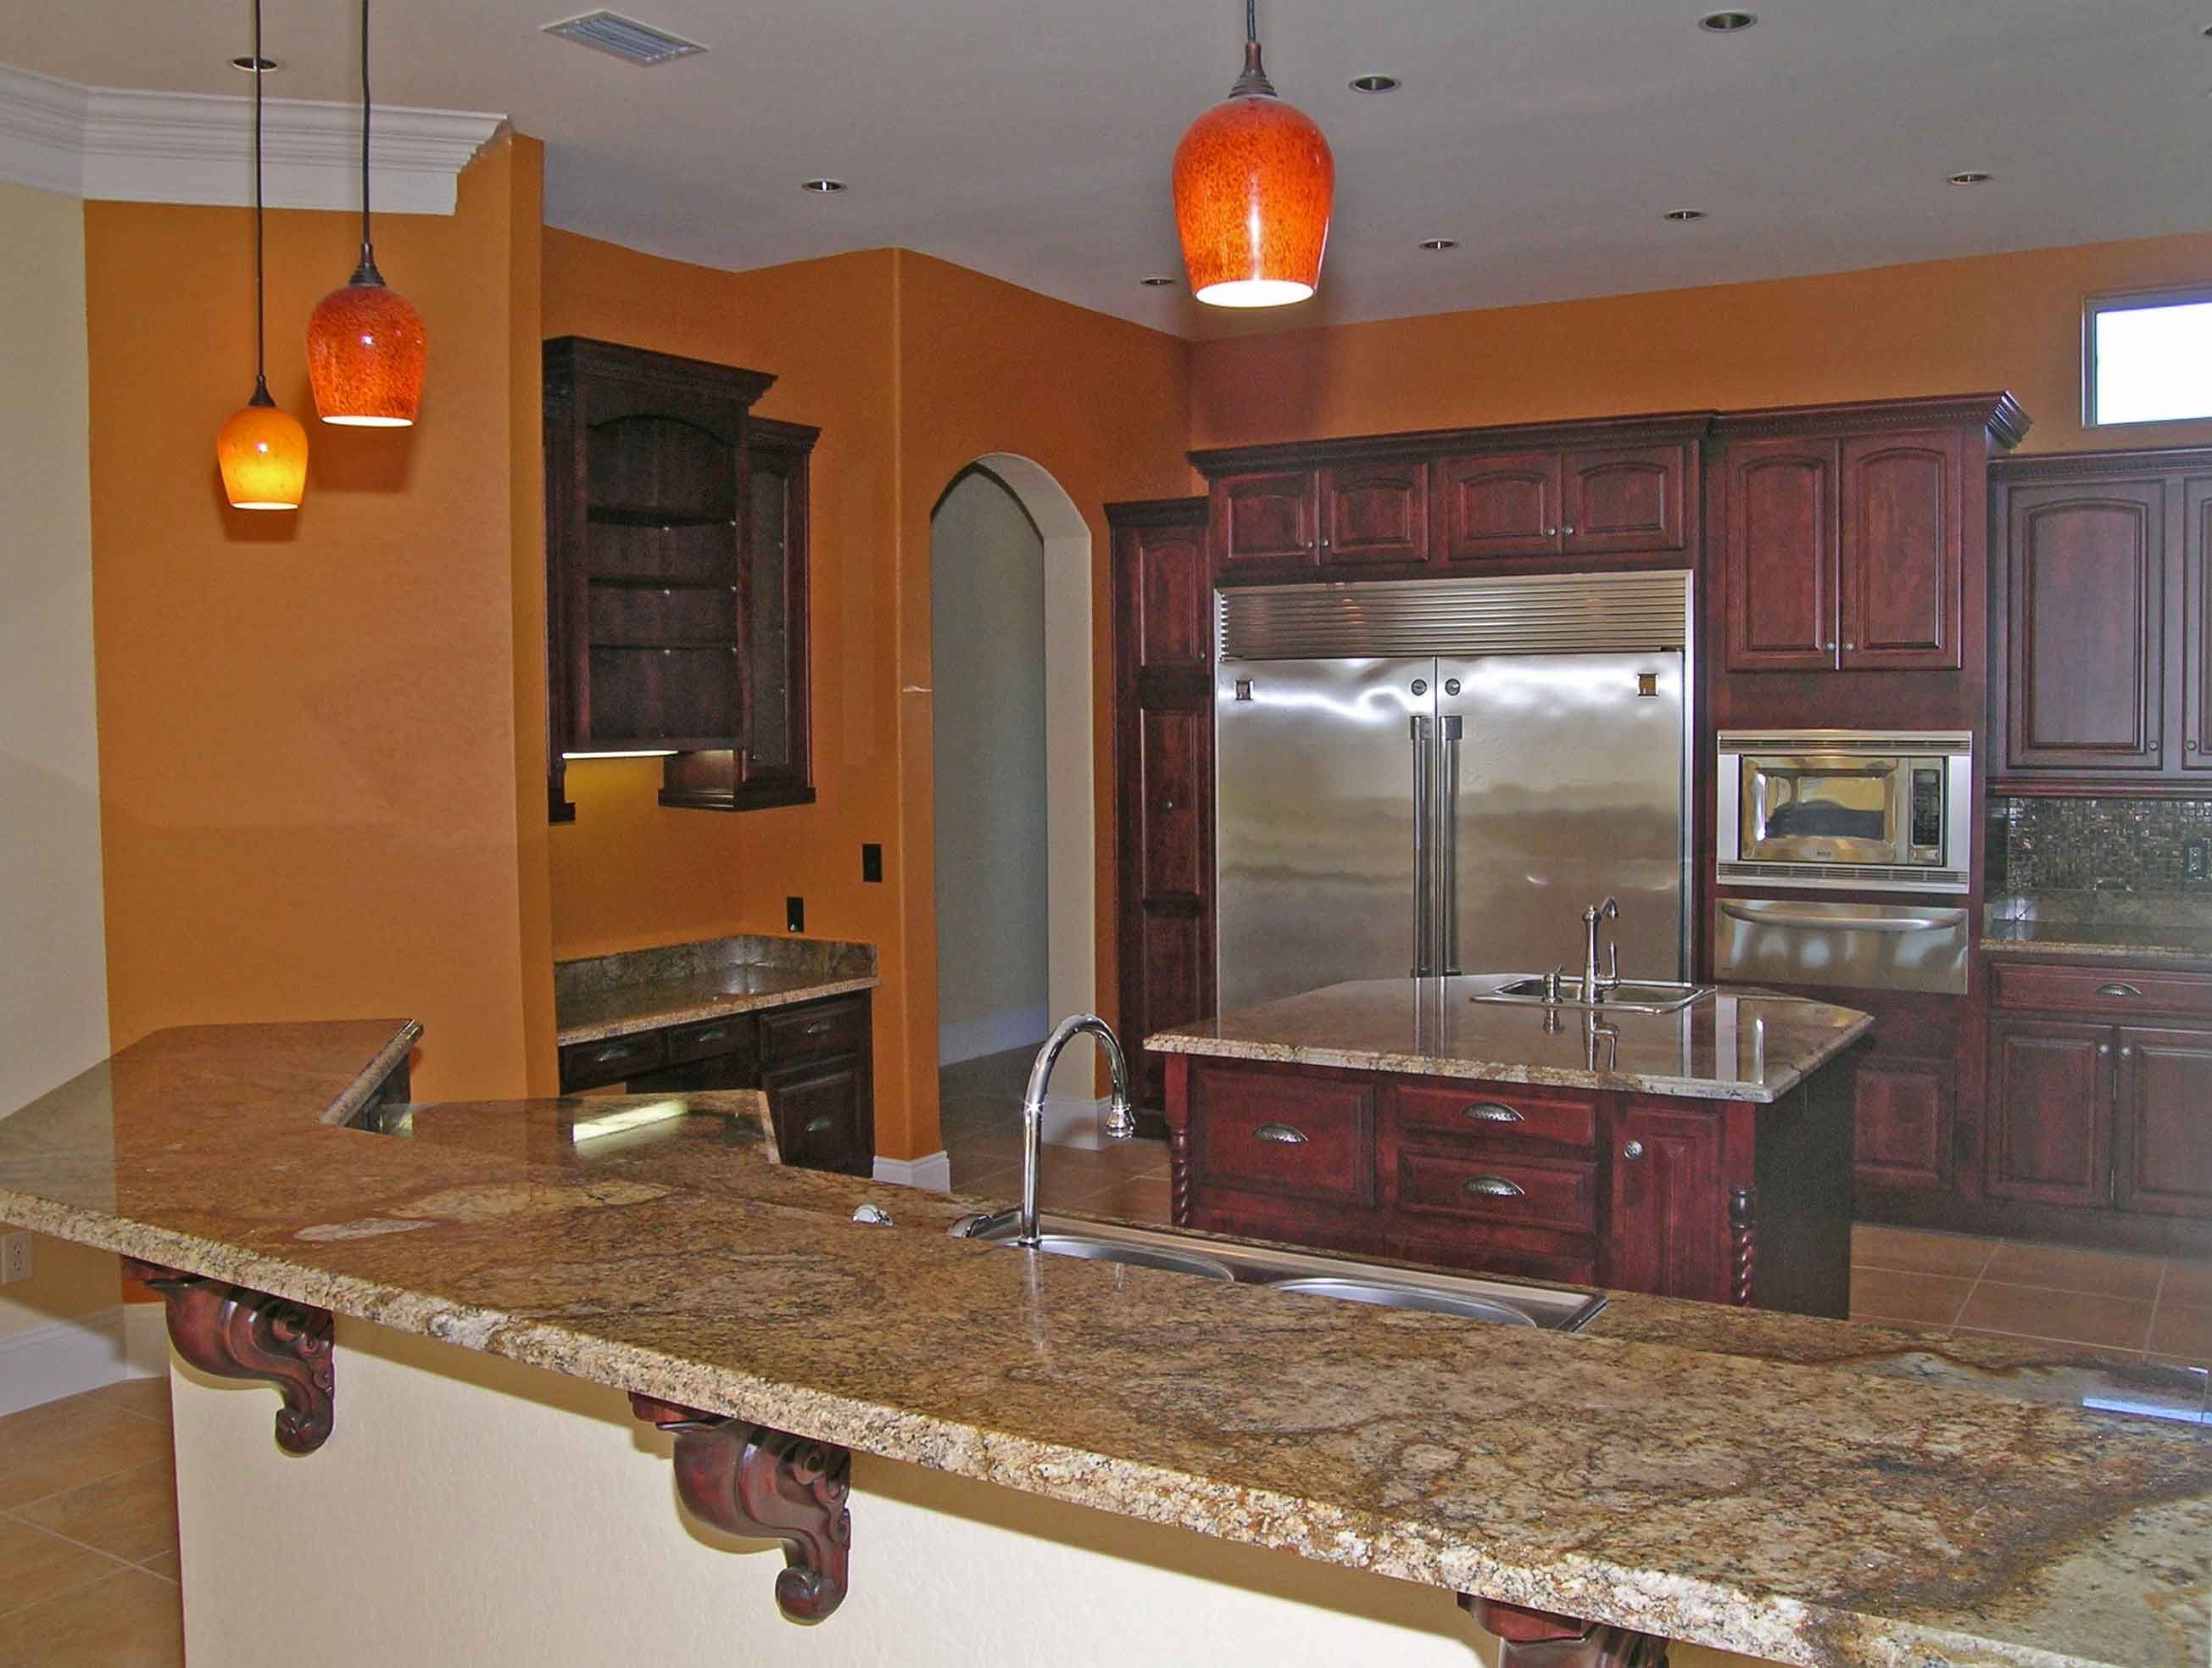
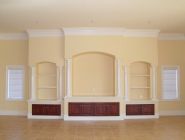
Entertainment center in family room
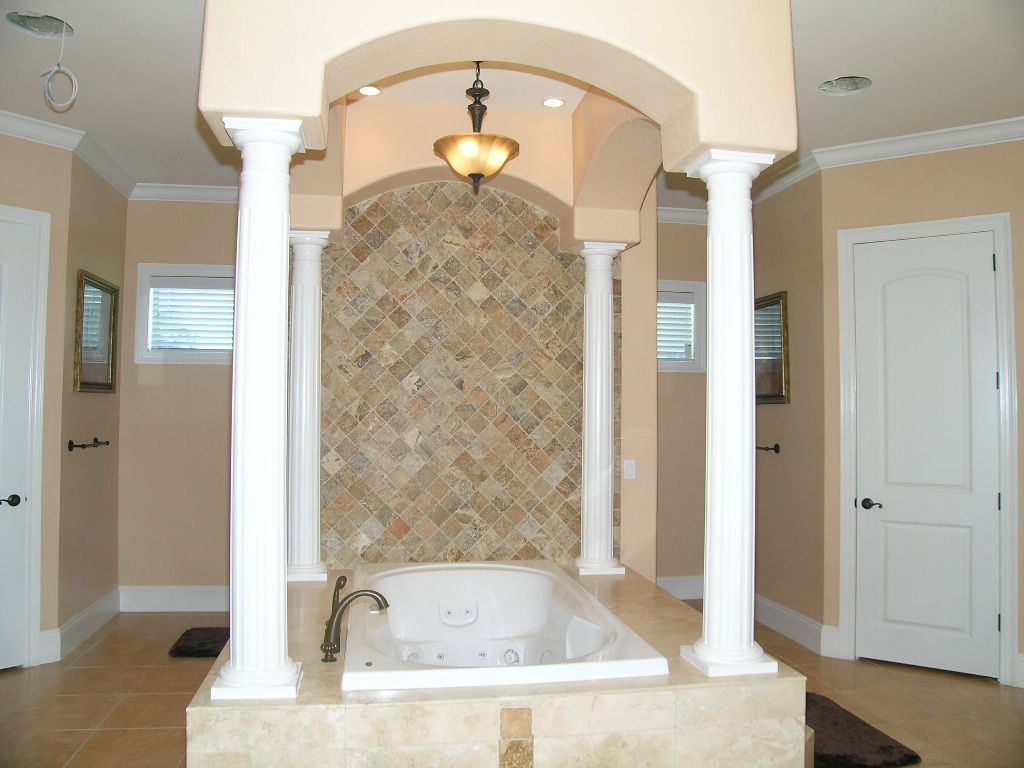
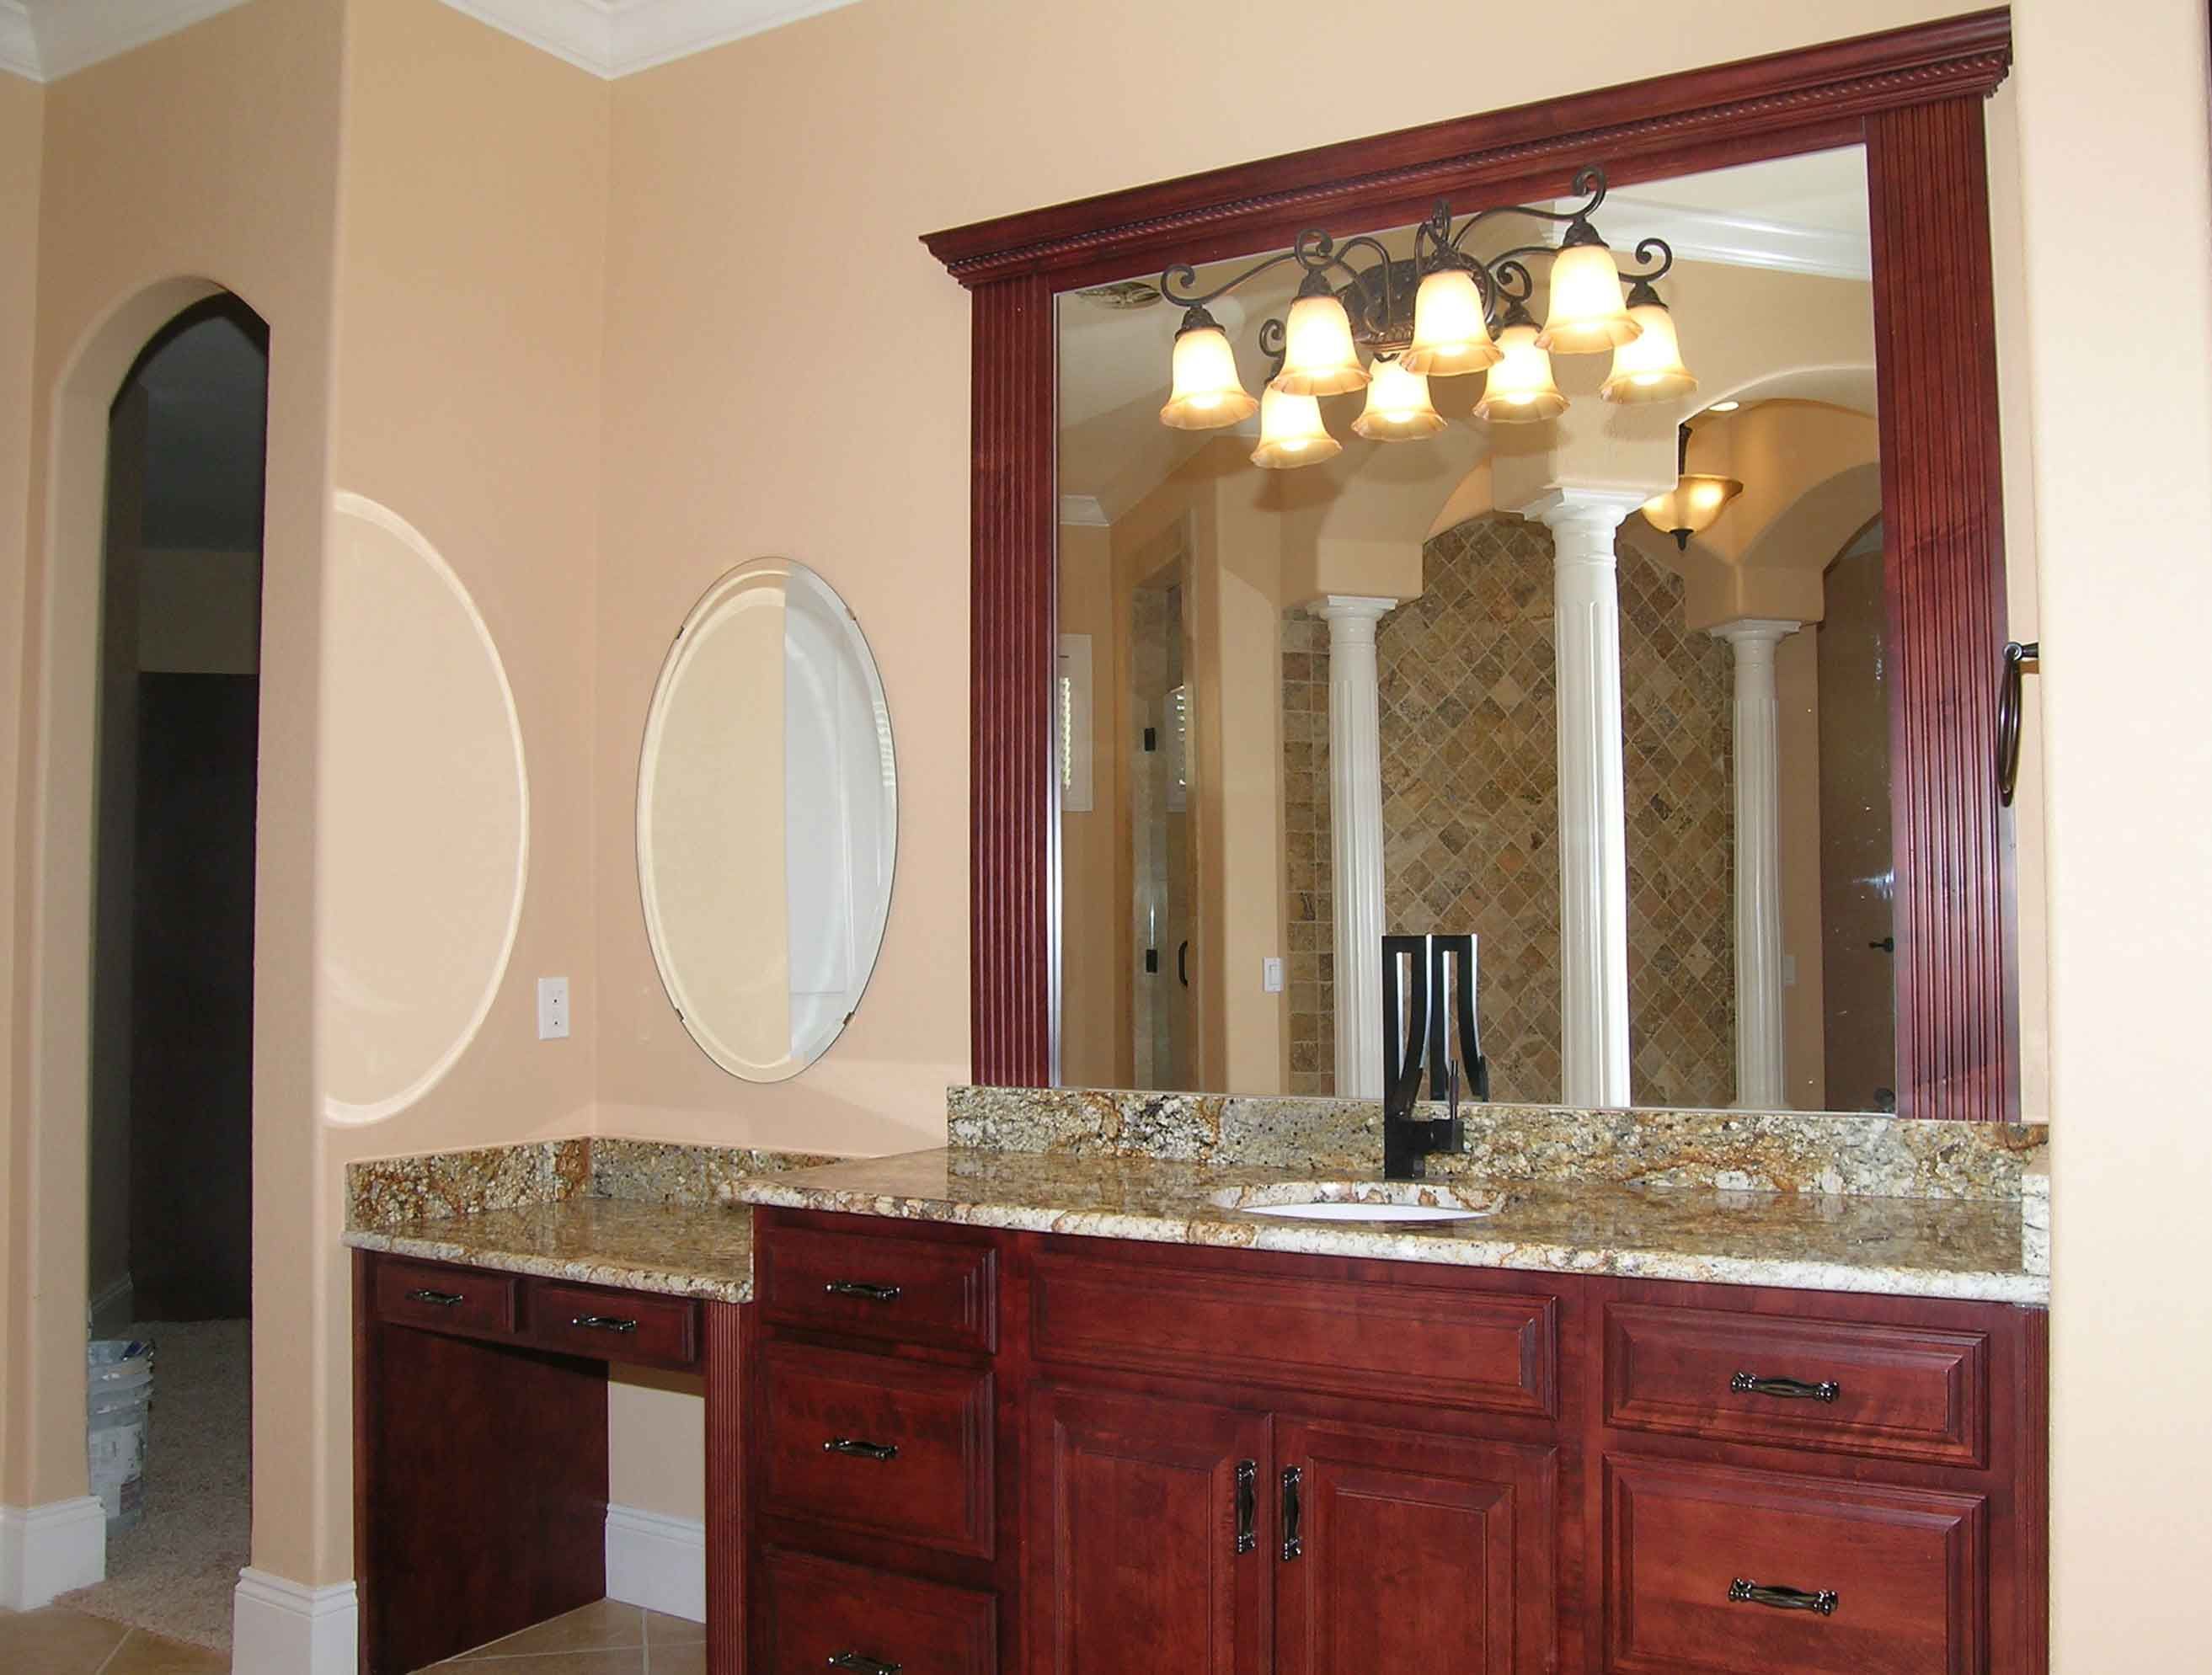
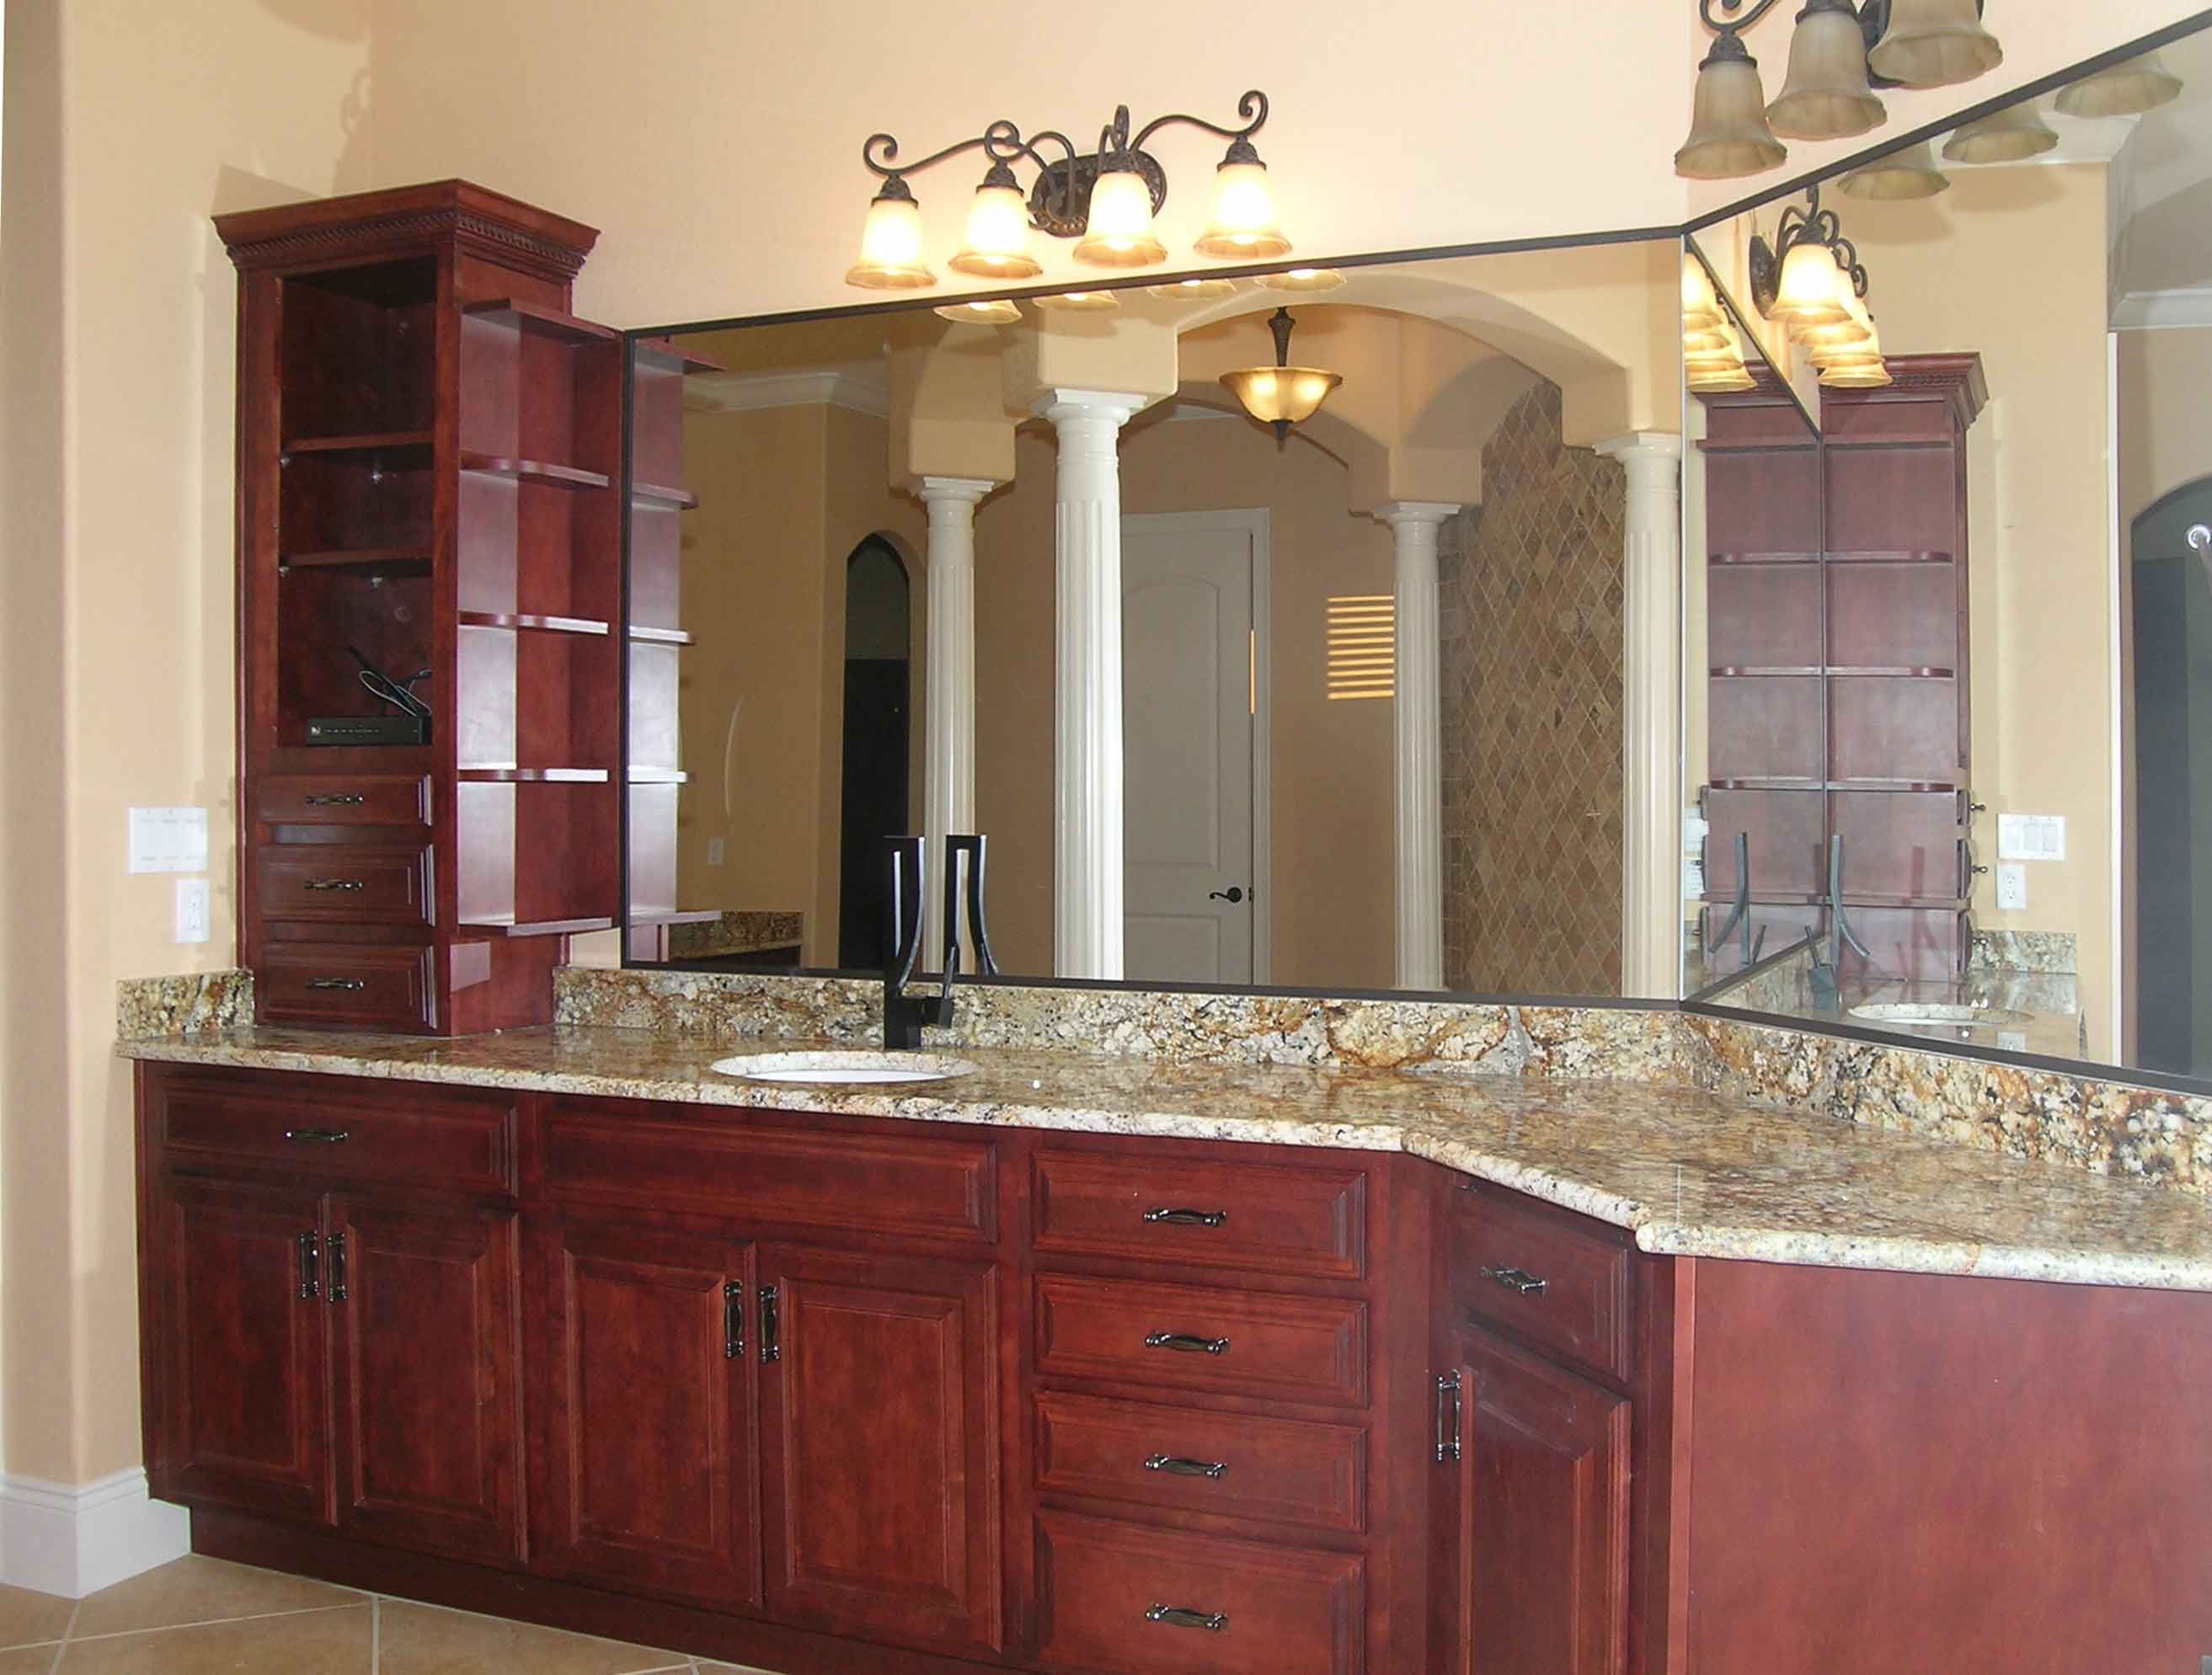
Master bath
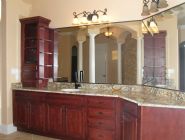
Her vanity
His vanity
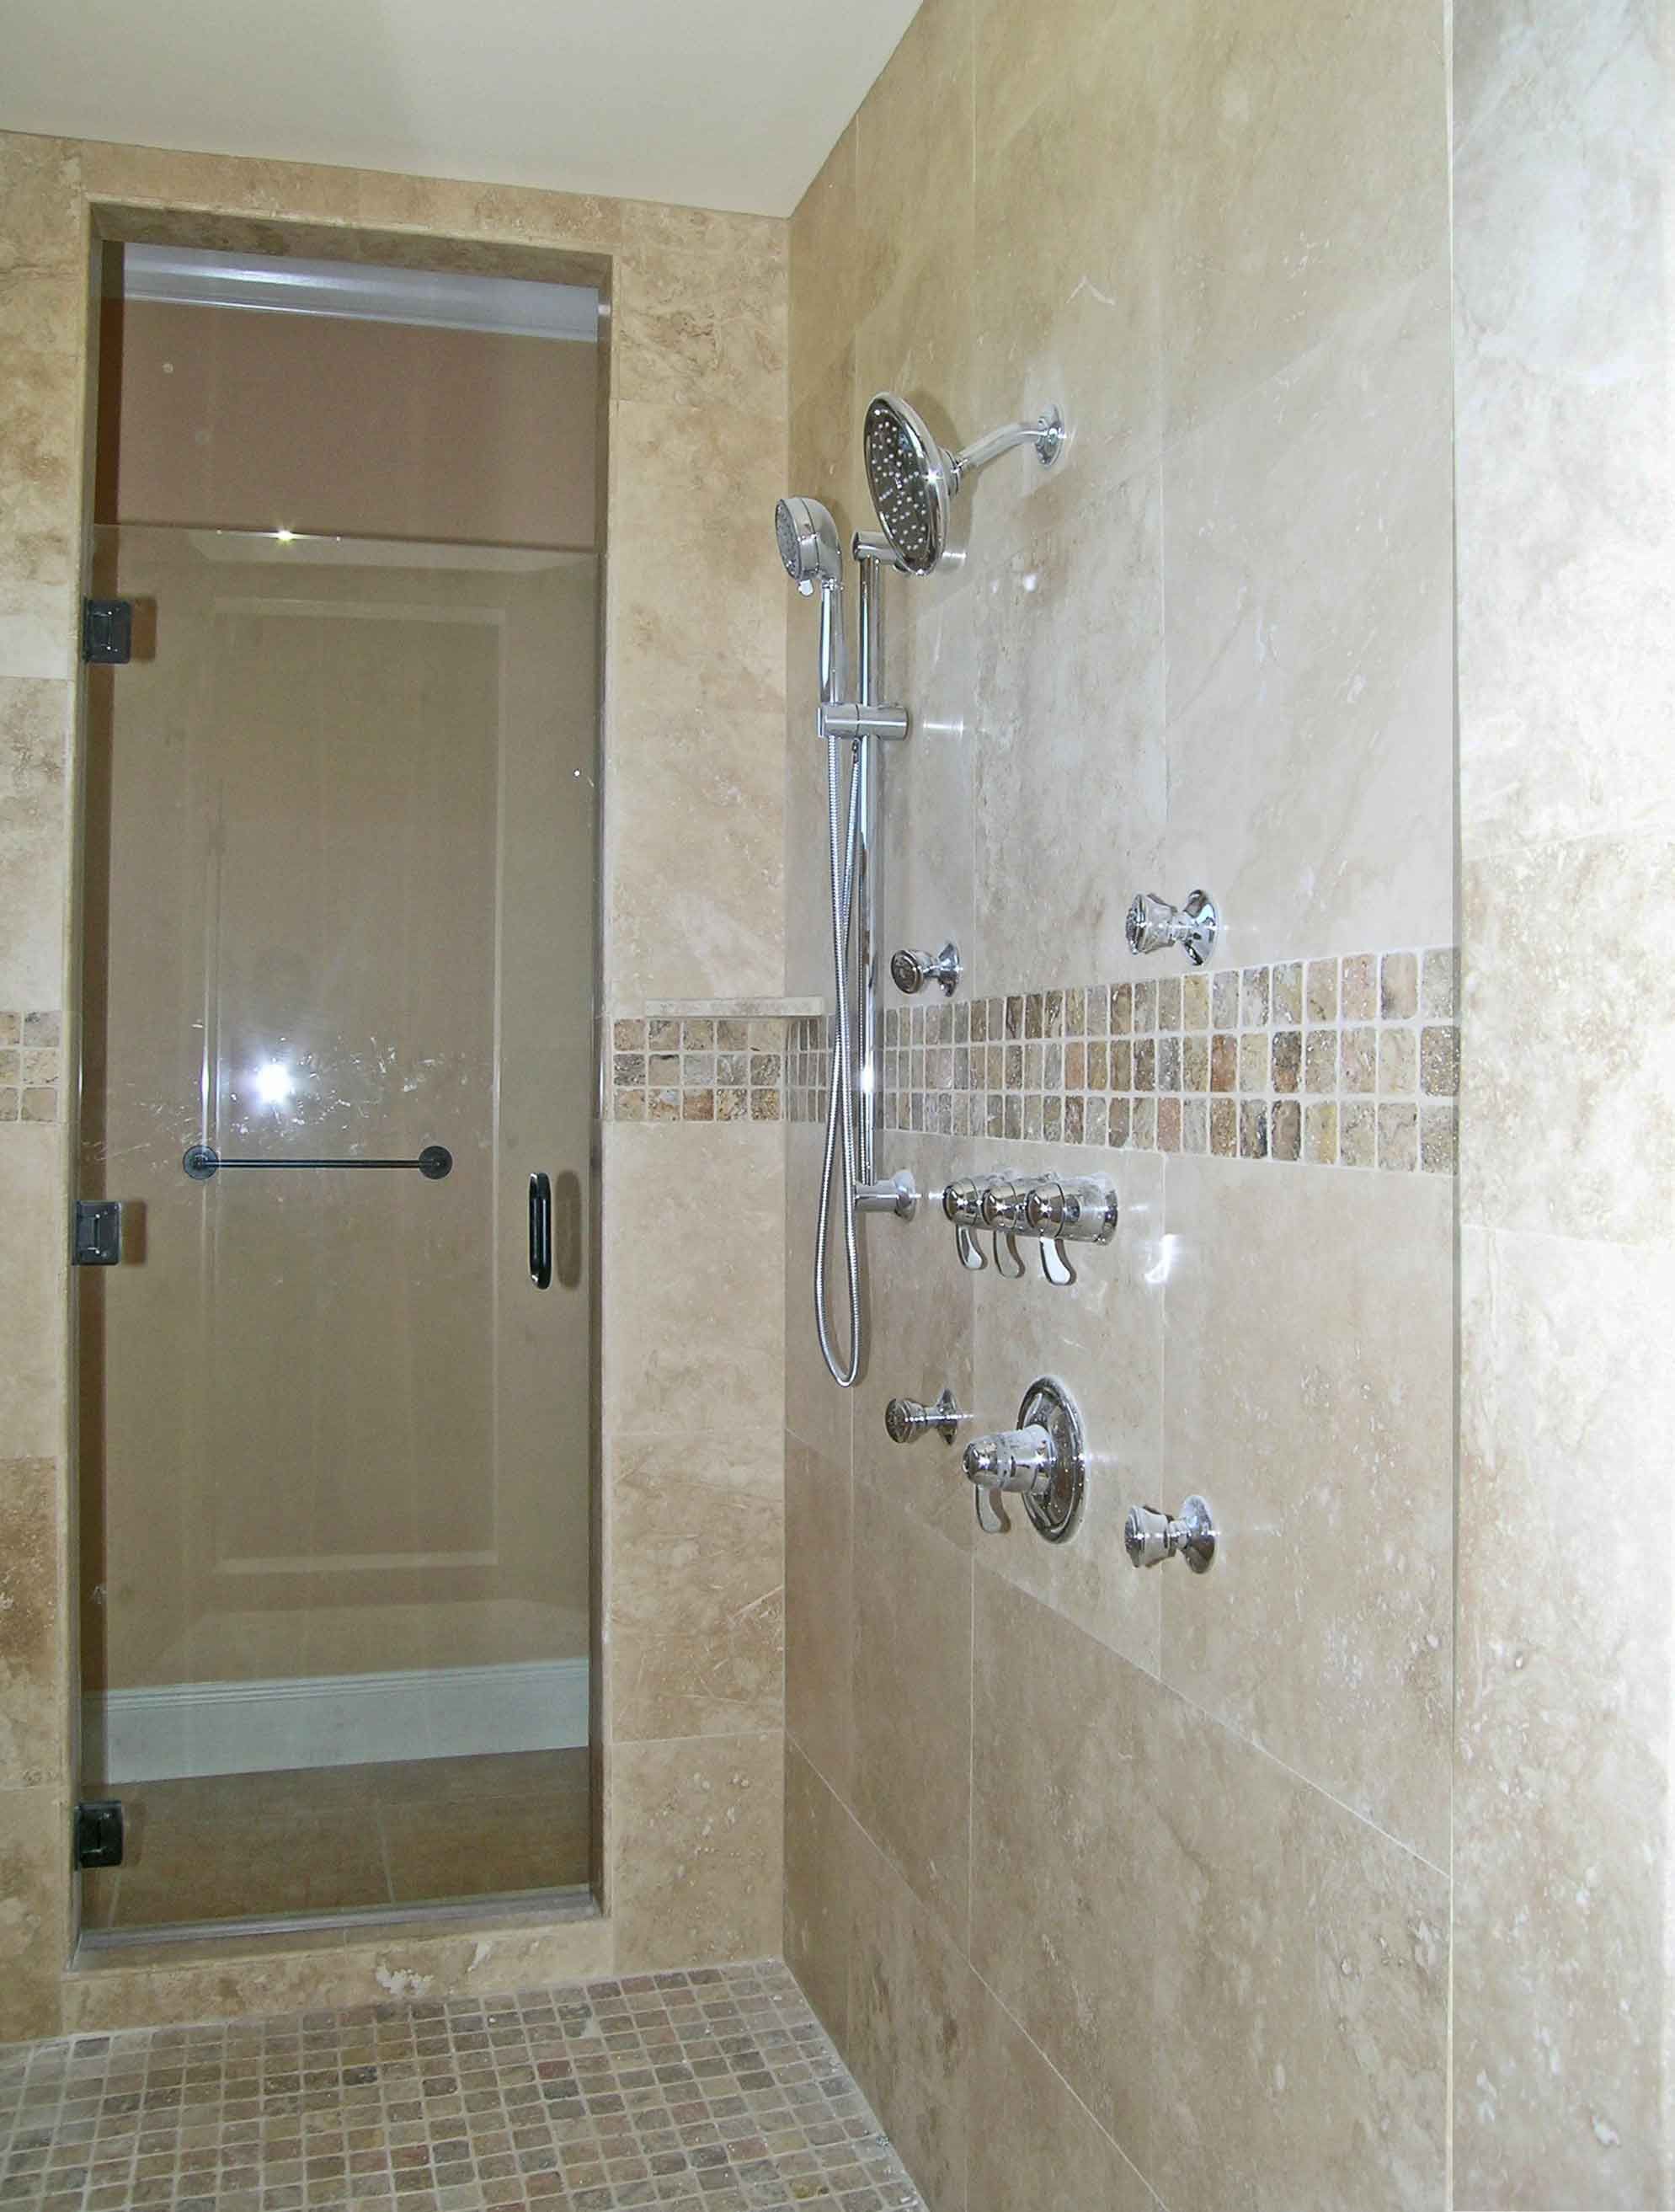
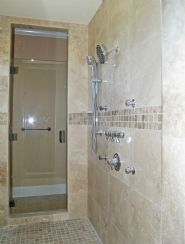
Master shower
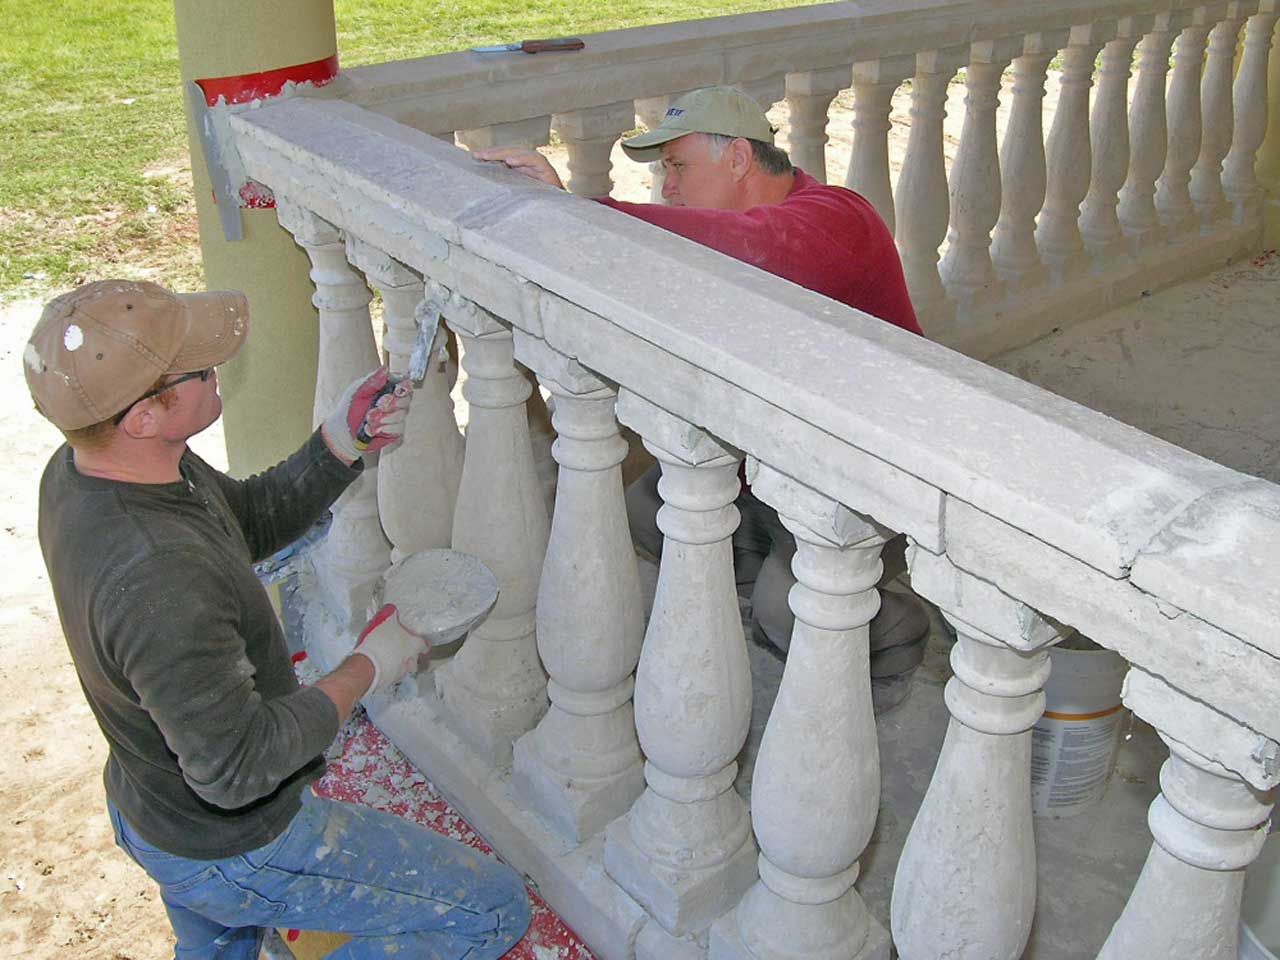
Emil and John installing the stone railing.
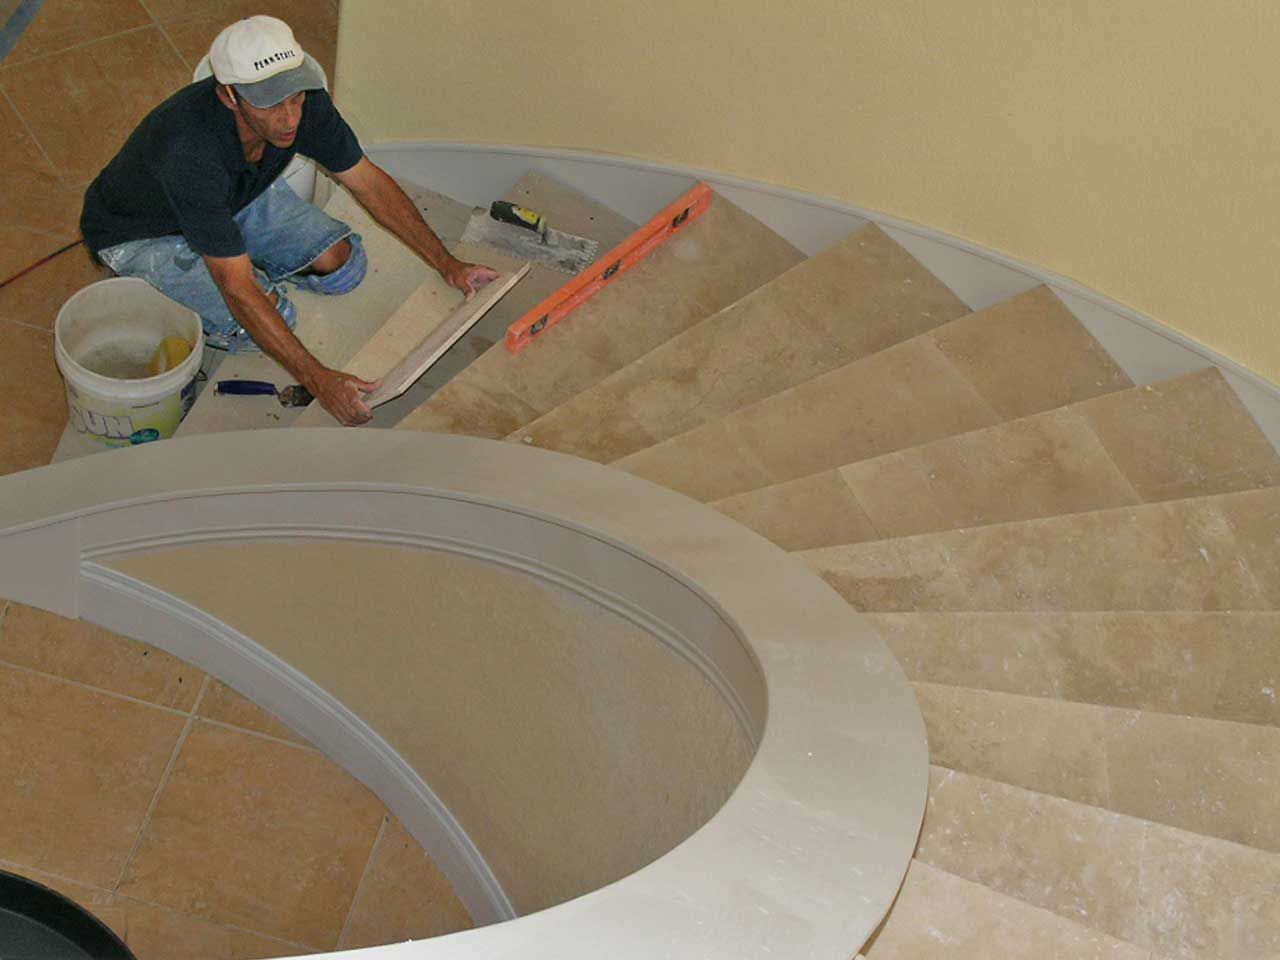
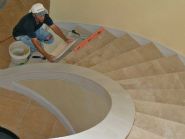
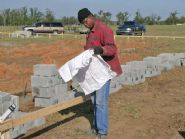
David setting precision cut travertine on the stairs.
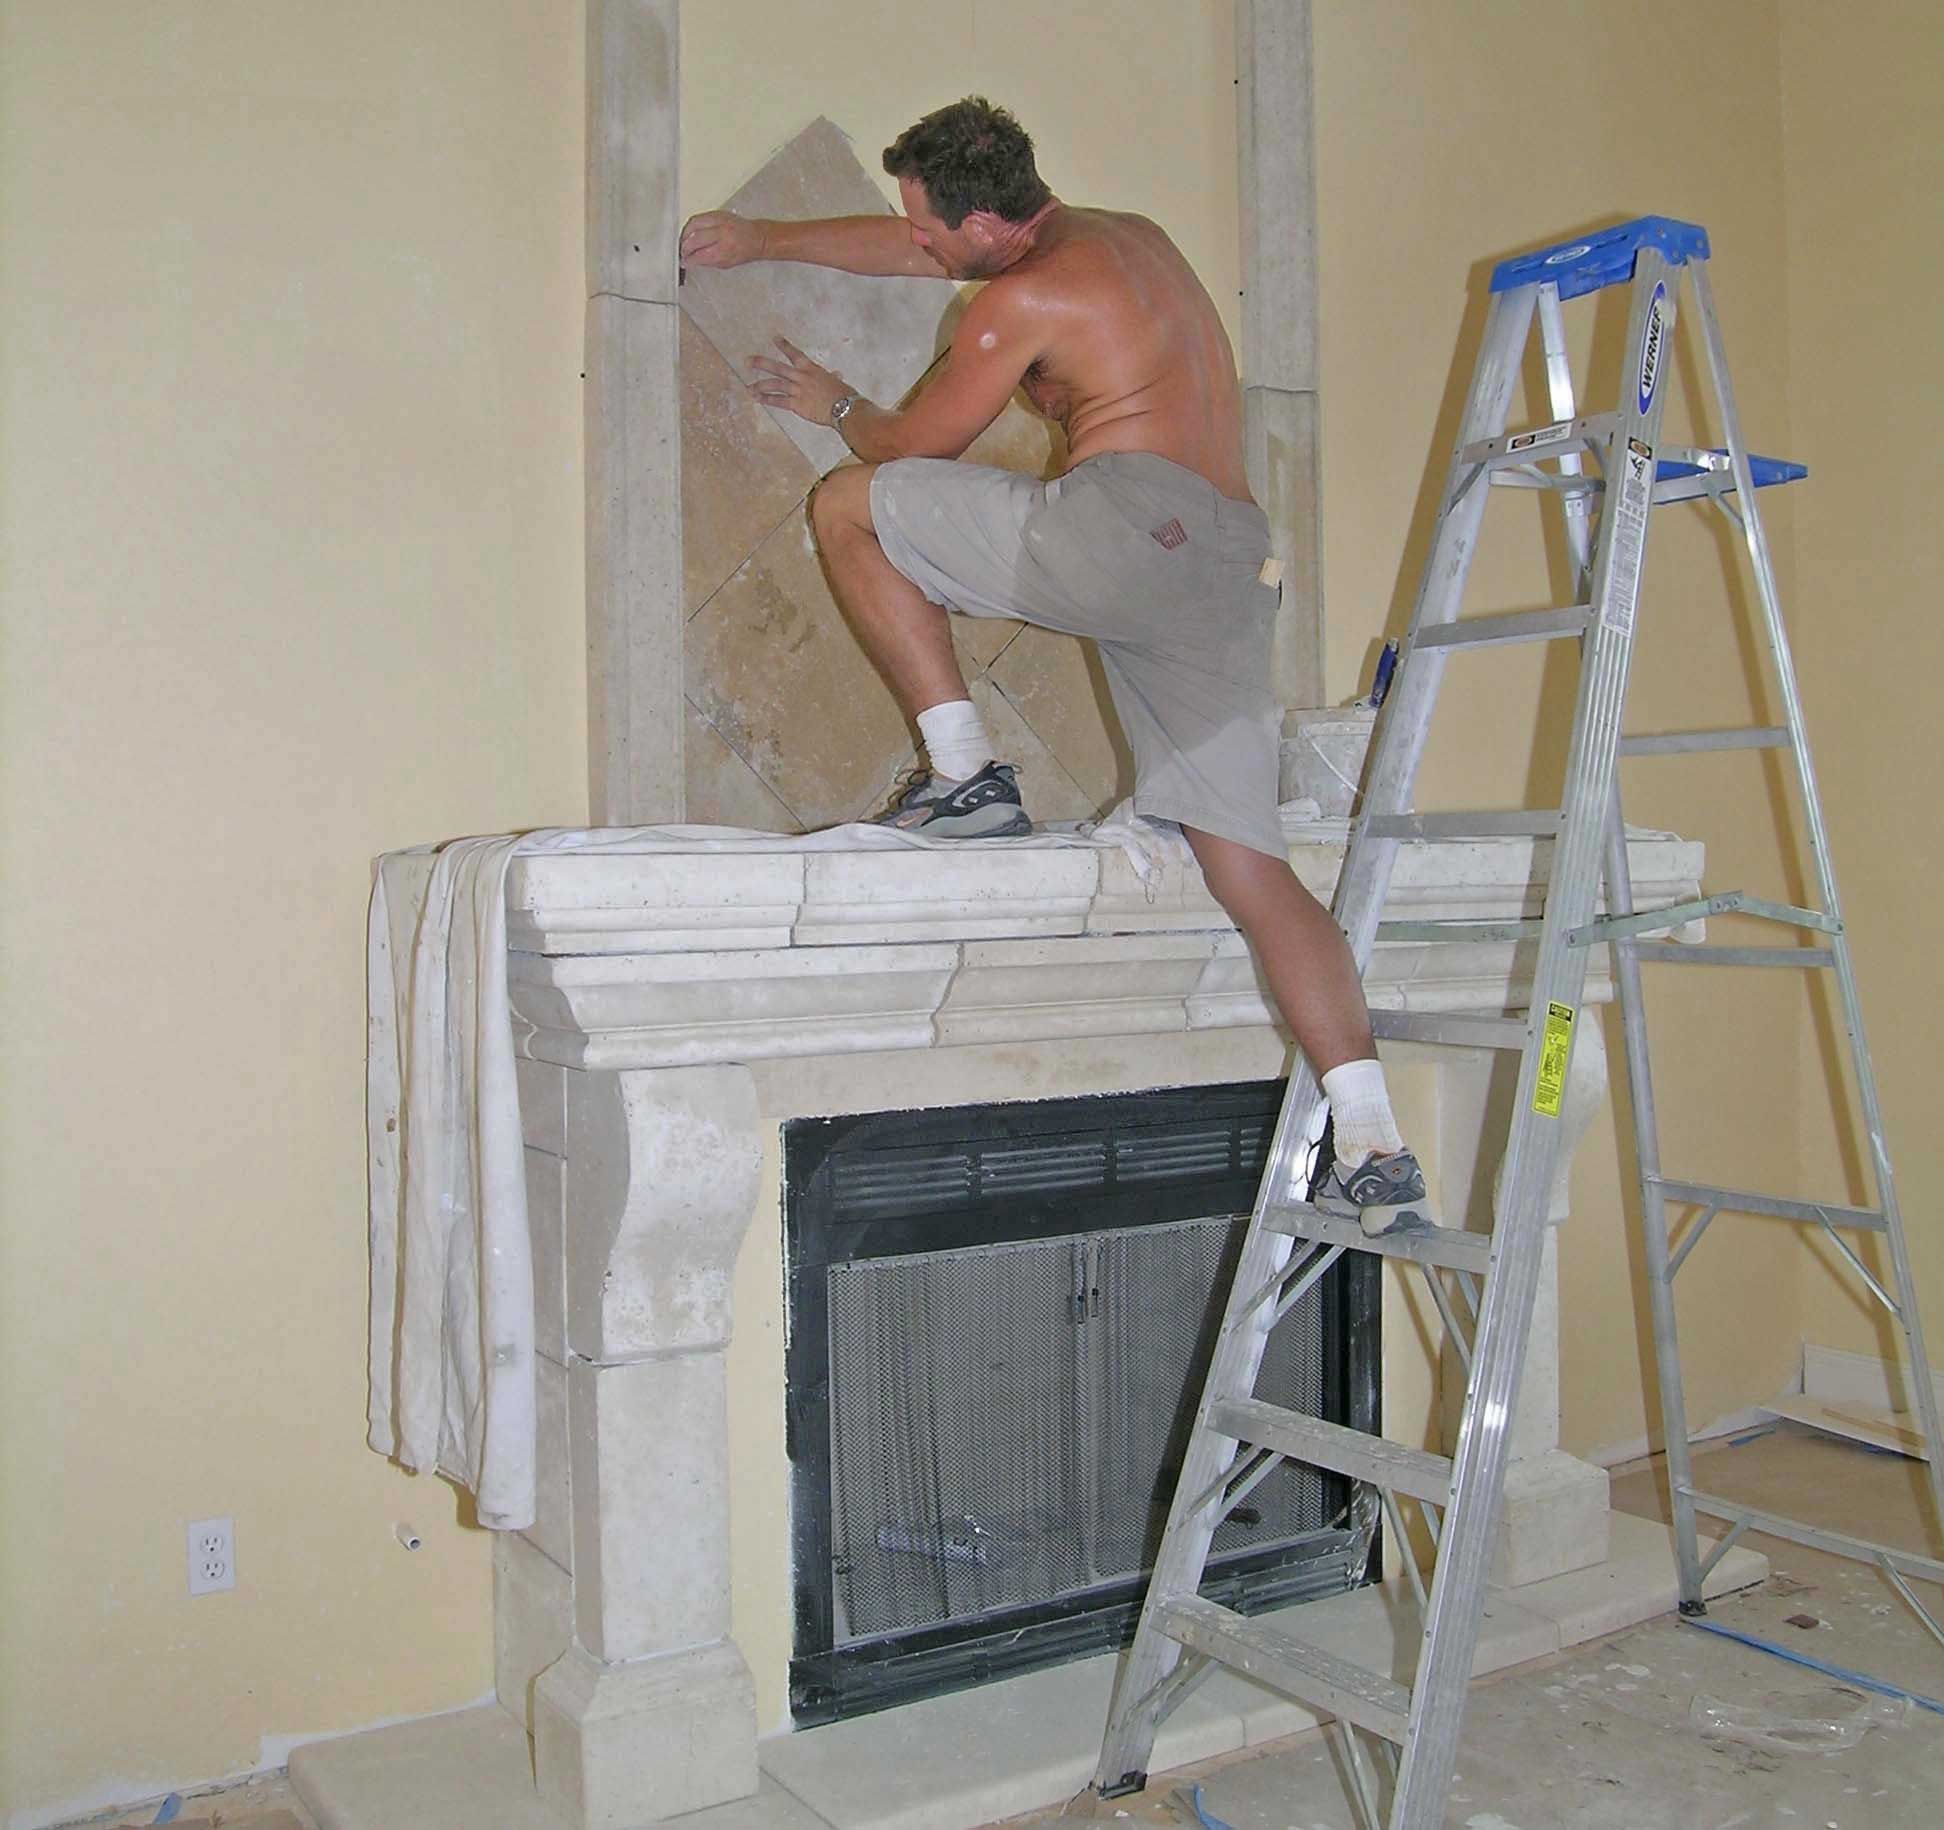
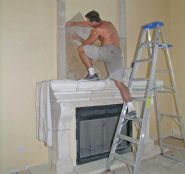
Bob of Coastal Stoneworks setting tile on his masterpiece.
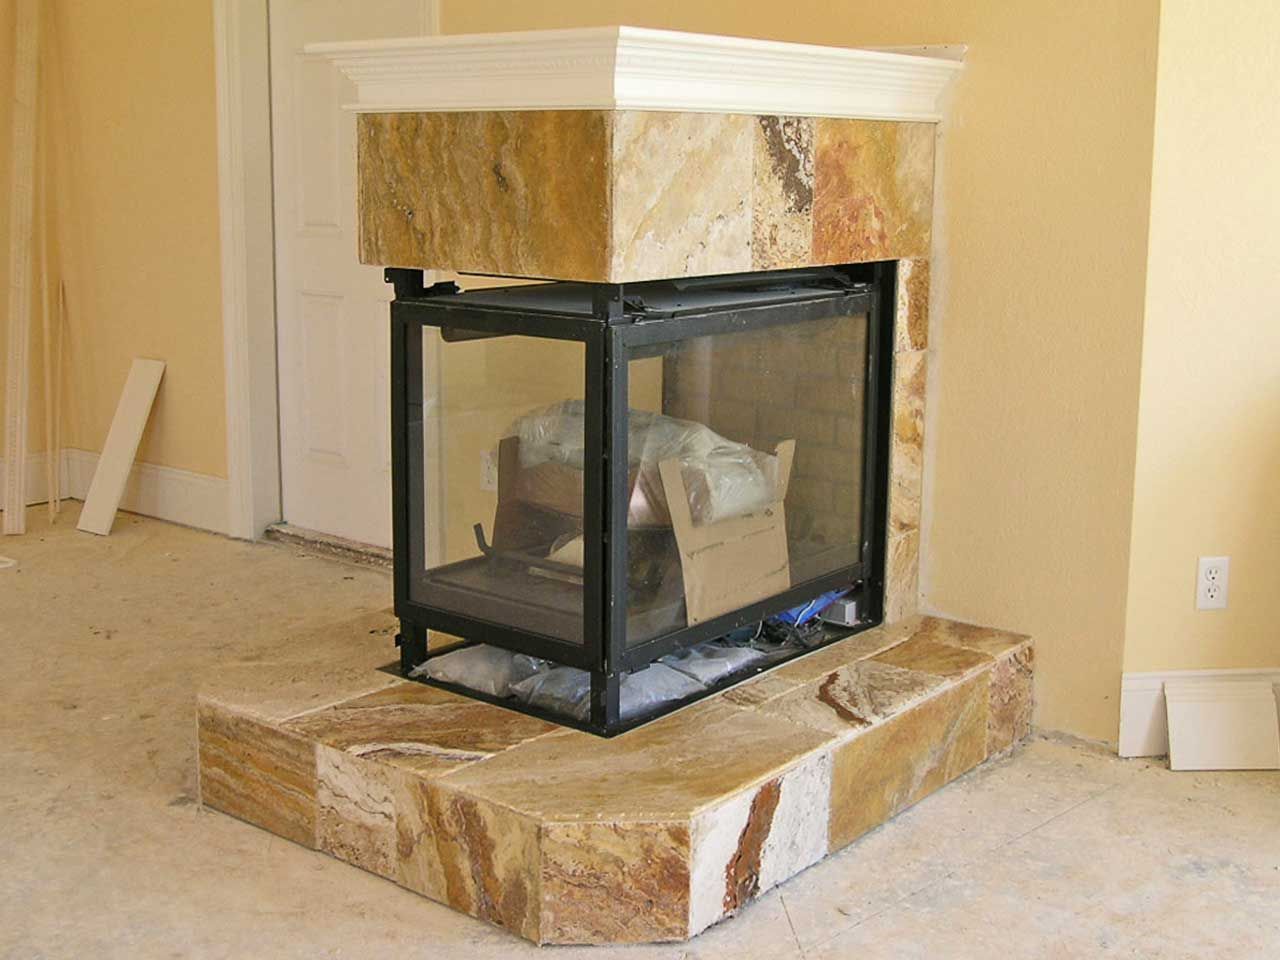
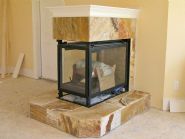
Master suite 3 sided fireplace with natural stone hearth.
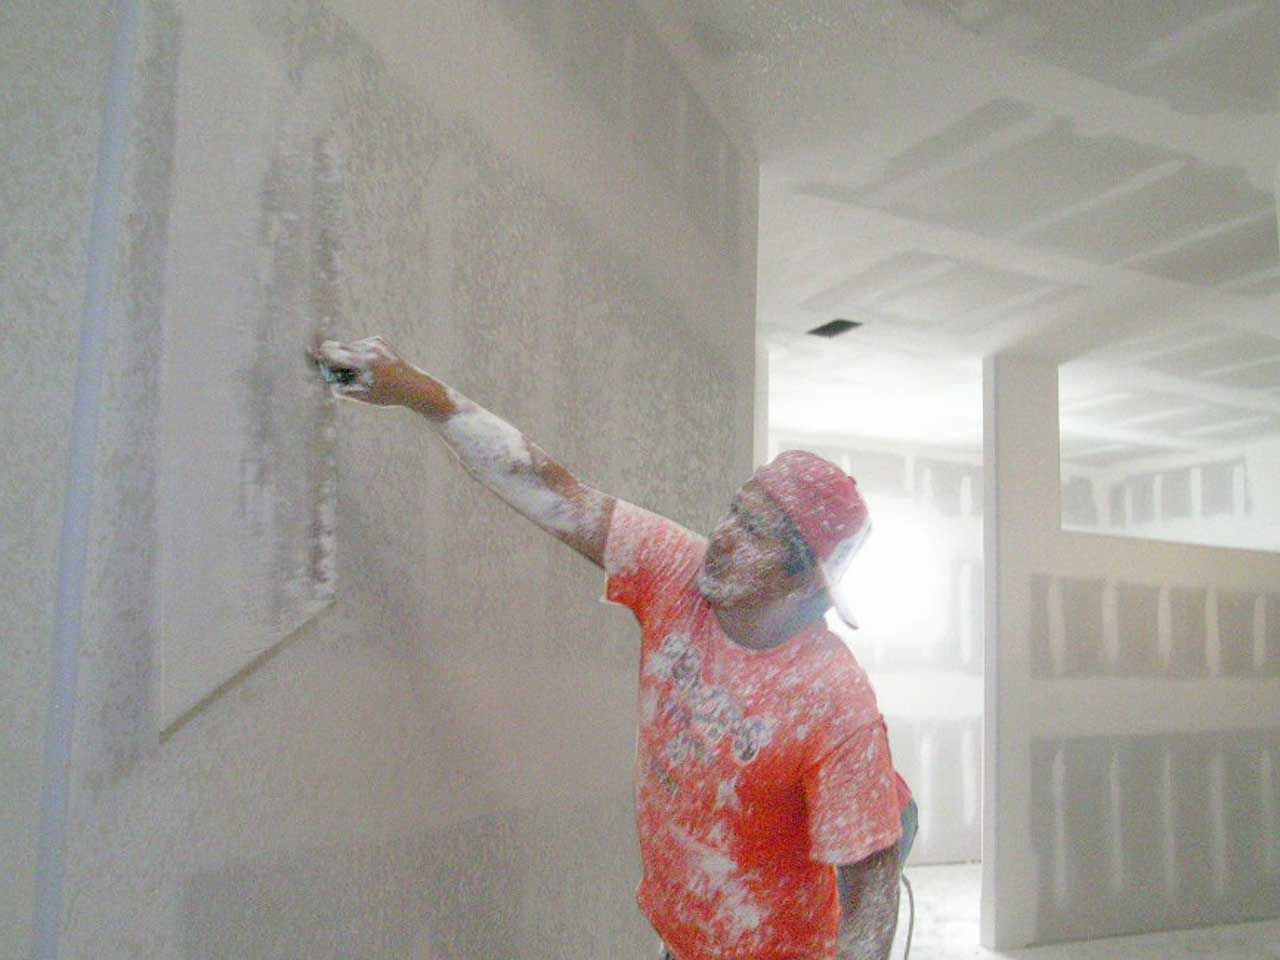
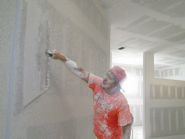
Carlita sprays on the wall texture. It looks like Jesus might have said something wrong.
Jesus knocks down the texture with a broad blade after it has set up a little to create the finished knock-down appearance.
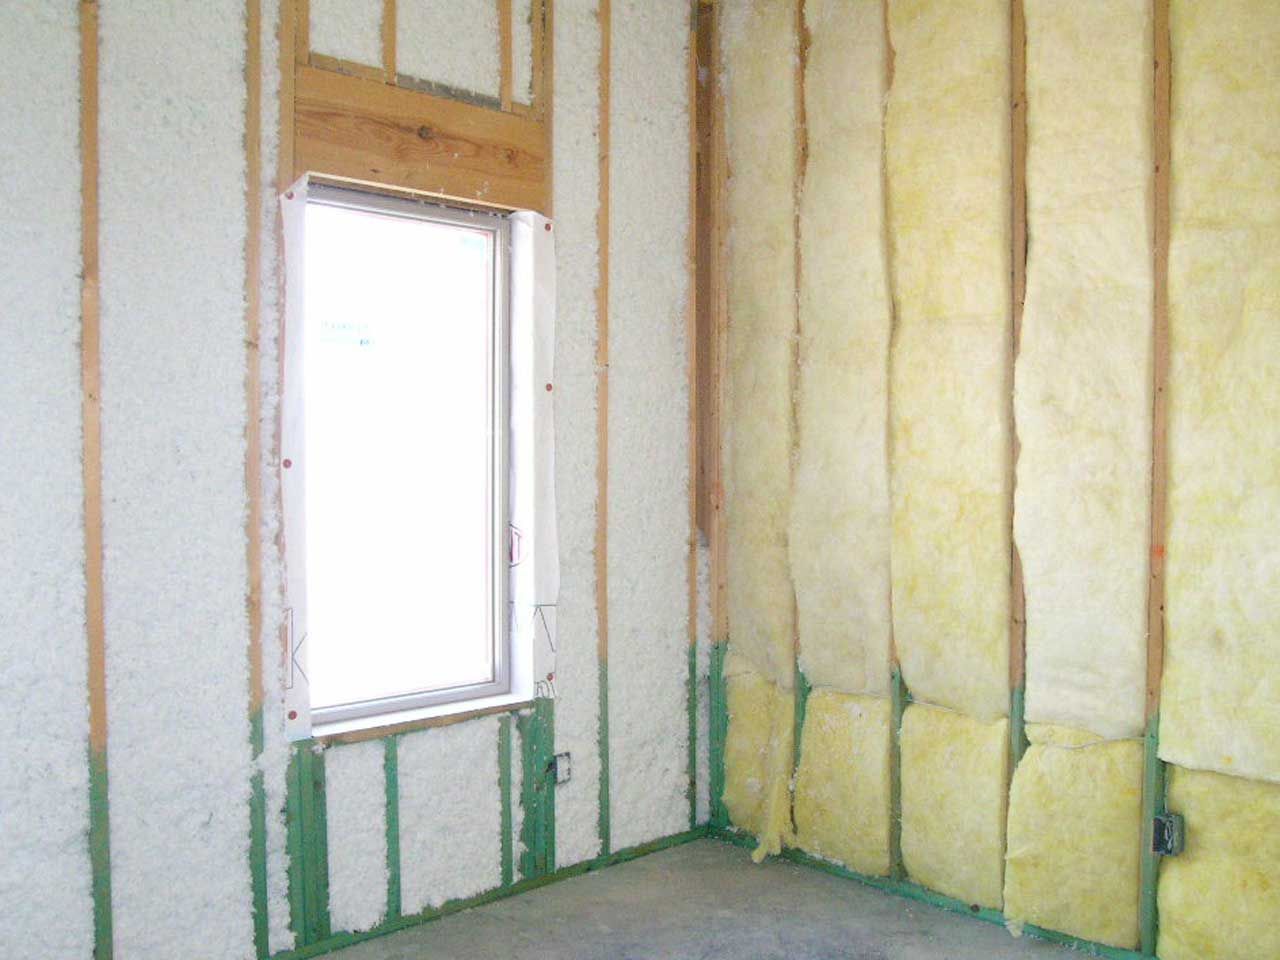
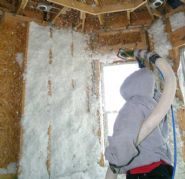
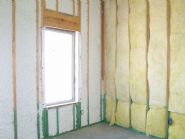
Blown in batt insulation fills every nook and cranny of the wall cavity. The fiberglass is mixed with an adhesive to make it stick to the walls. I bet the installers have to take a long shower when they get home.
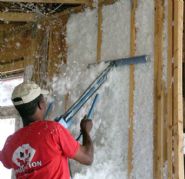
Excess material is removed with a rotary rasp.
The wall on the left has blown in batts. The wall on the right has fiberglass sound batts for interior wall sound deadening between rooms. You can see how much more complete the blown in batts fill in between studs.
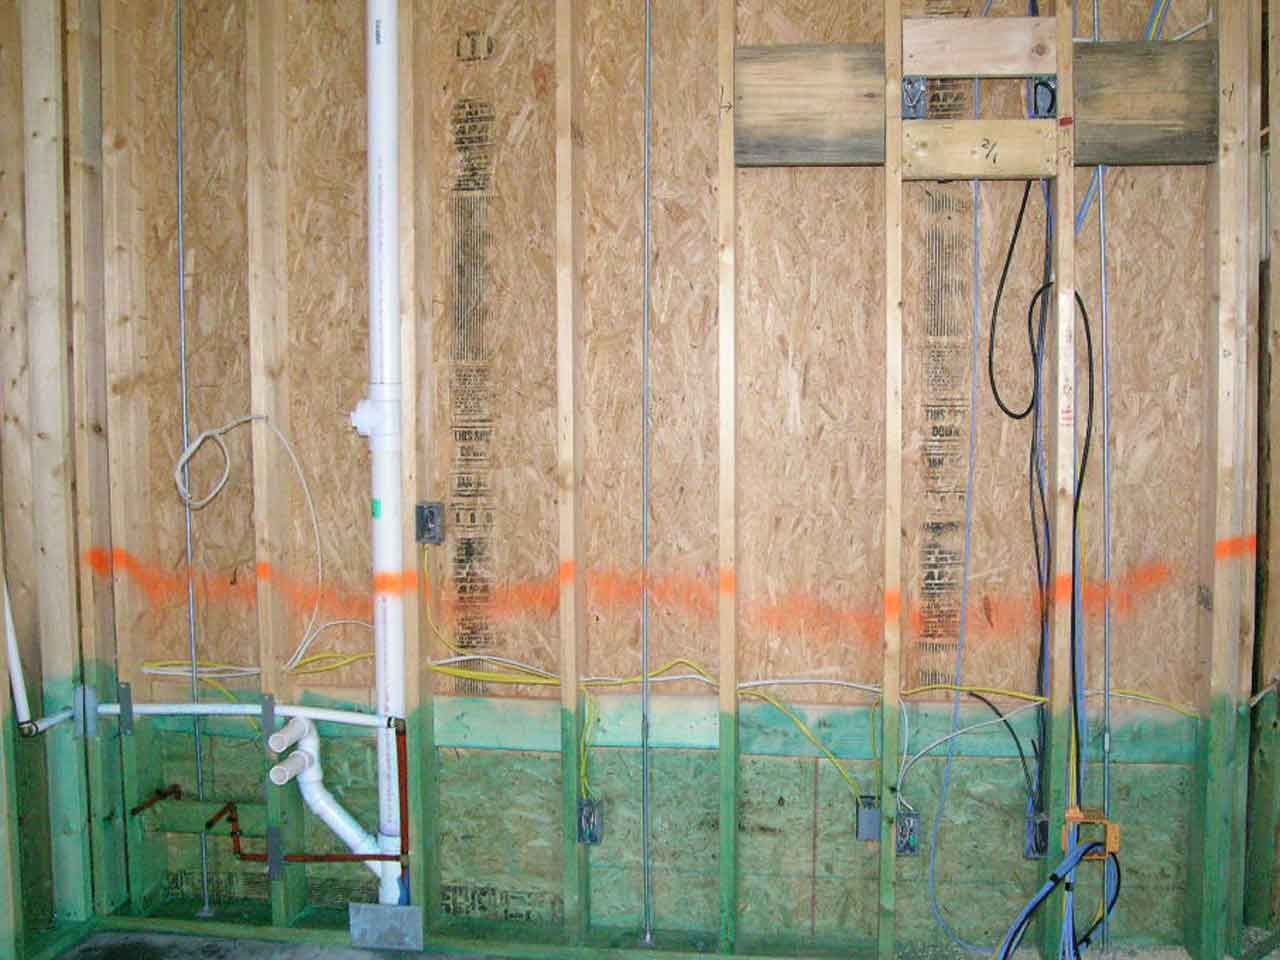
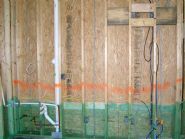
The green dye is the secondary termite treatment which renders the bottom 2' of the wall poisonous to termites. I photograph all the walls prior to drywall so I know where everything is for future reference. This wall shows a set up for a wall mounted TV in the master suite. The wall is blocked for a TV bracket and the video cables are run inside the wall. I have painted a red stripe on the wall to show the insulators where to install the sound batt insulation. Note the steel nail guard plate at the lower left wall in front of the pipe which prevents the drywallers and trim carpenters from driving nails through the pipe.
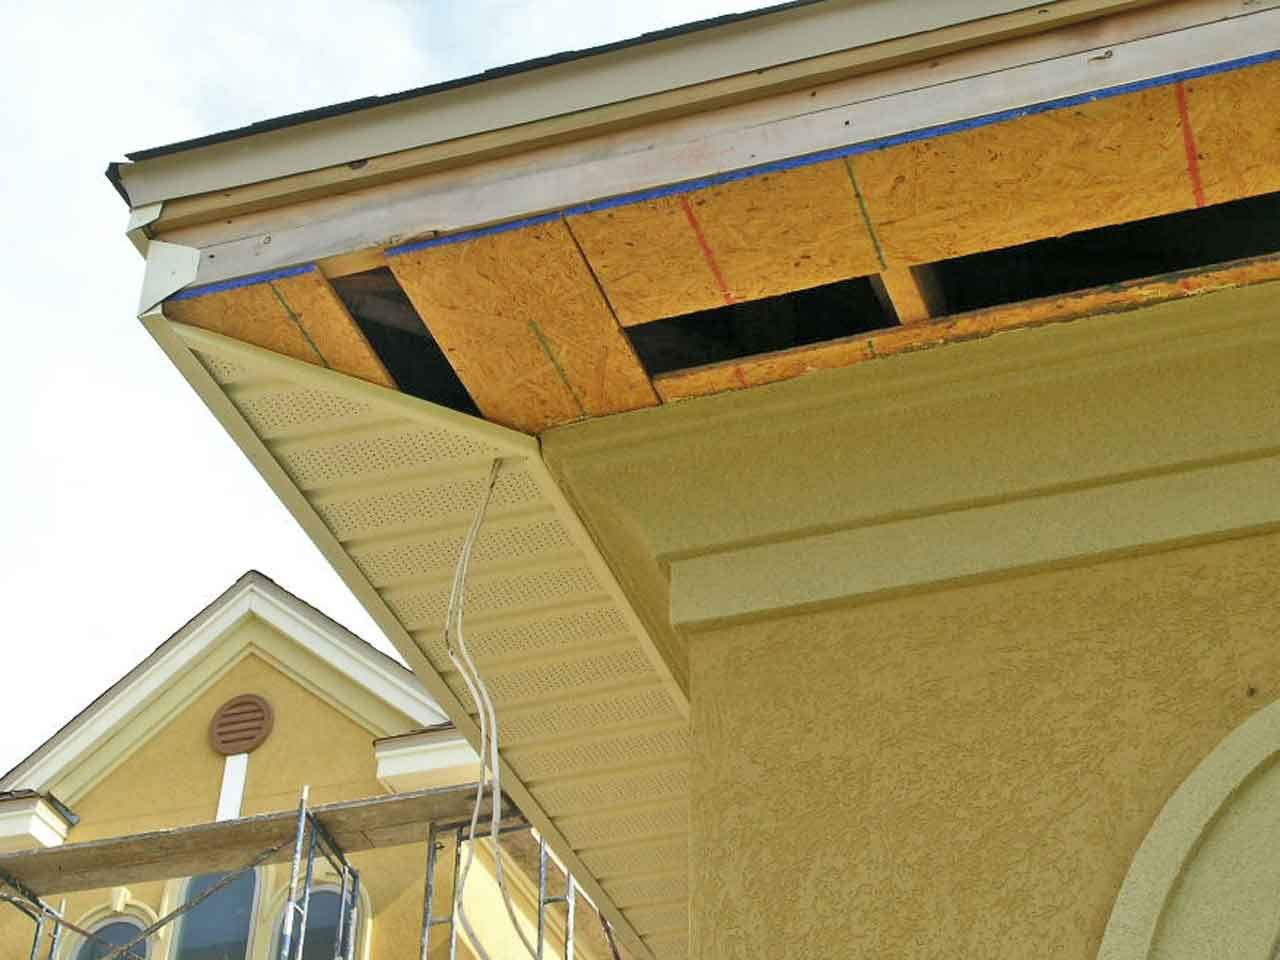
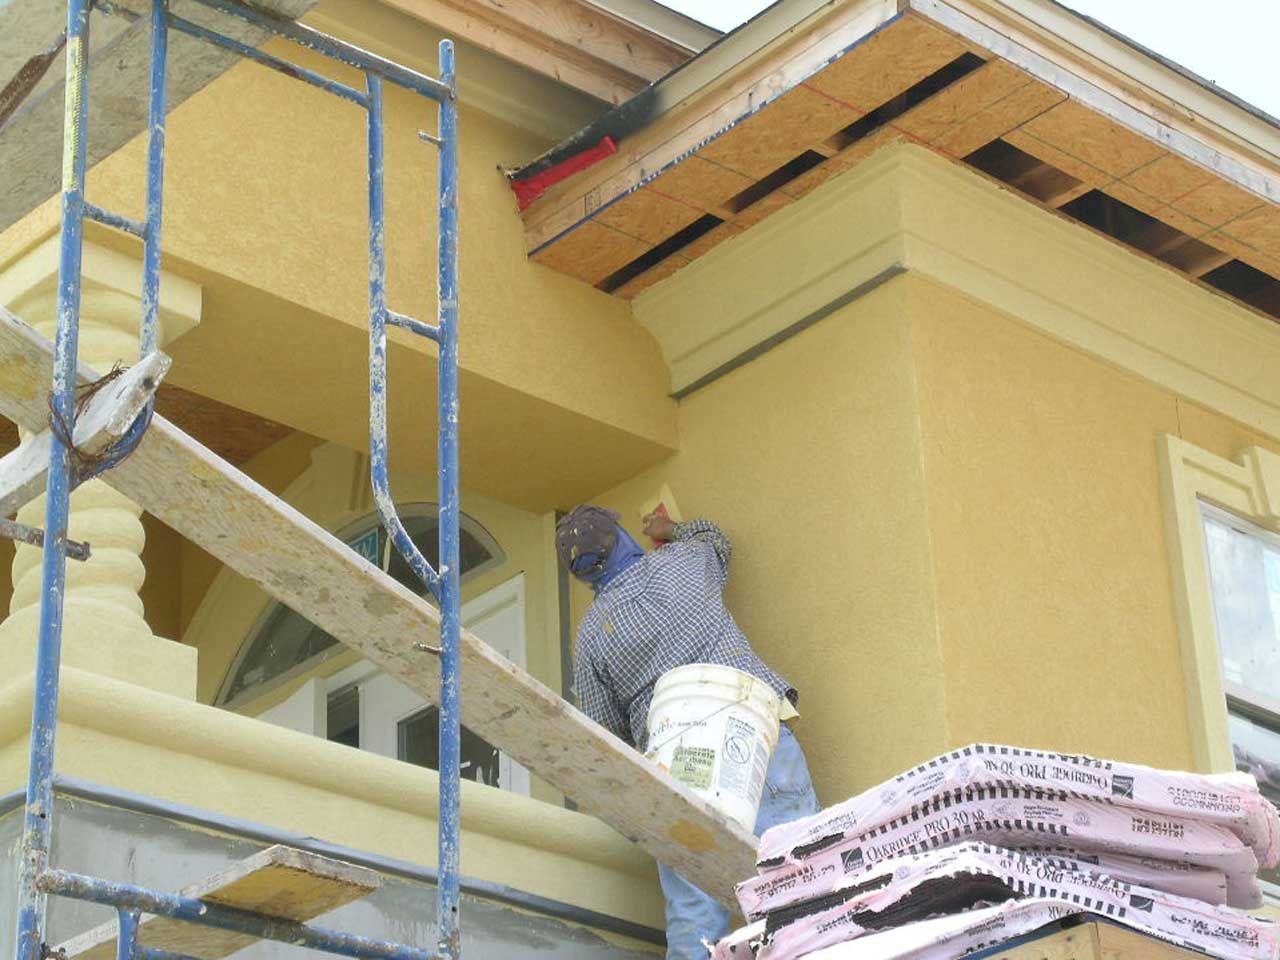
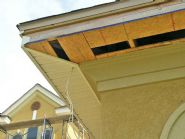
I build the cornice with solid soffits so the vinyl has strong support behind it. This will keep the vinyl from blowing out in hurricane force winds. The openings in the plywood is for attic ventilation.
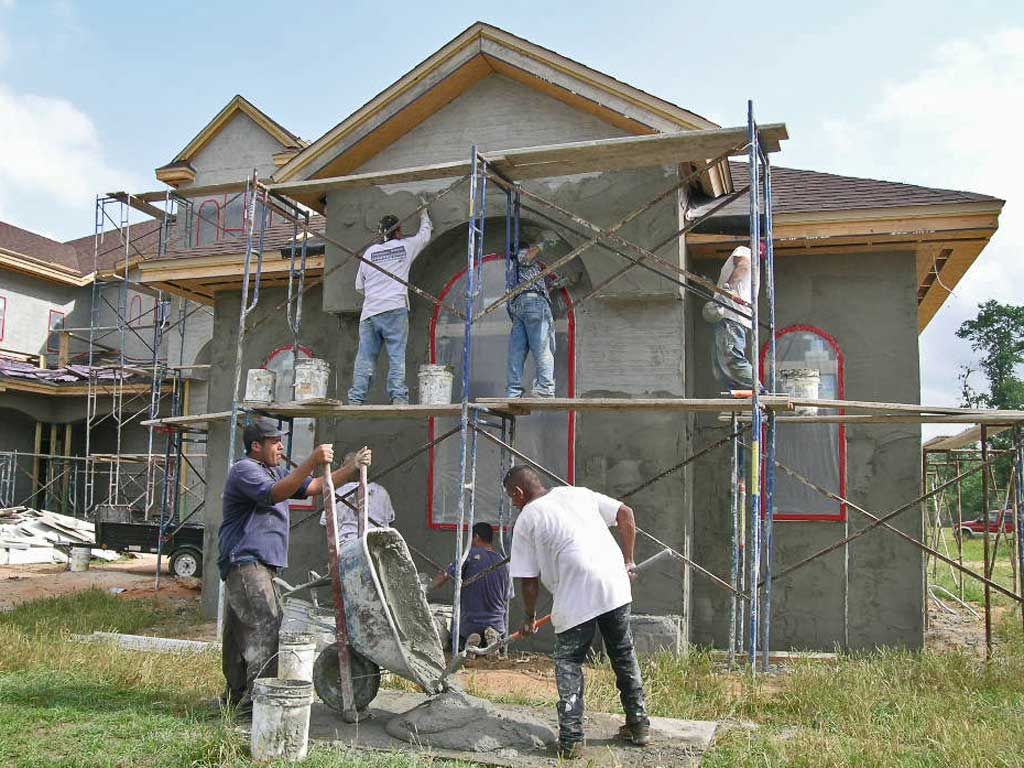
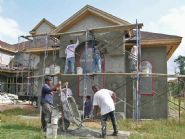
I use conventional stucco only. Wire lath with cement stucco properly installed will out perform and outlast the foam based systems.
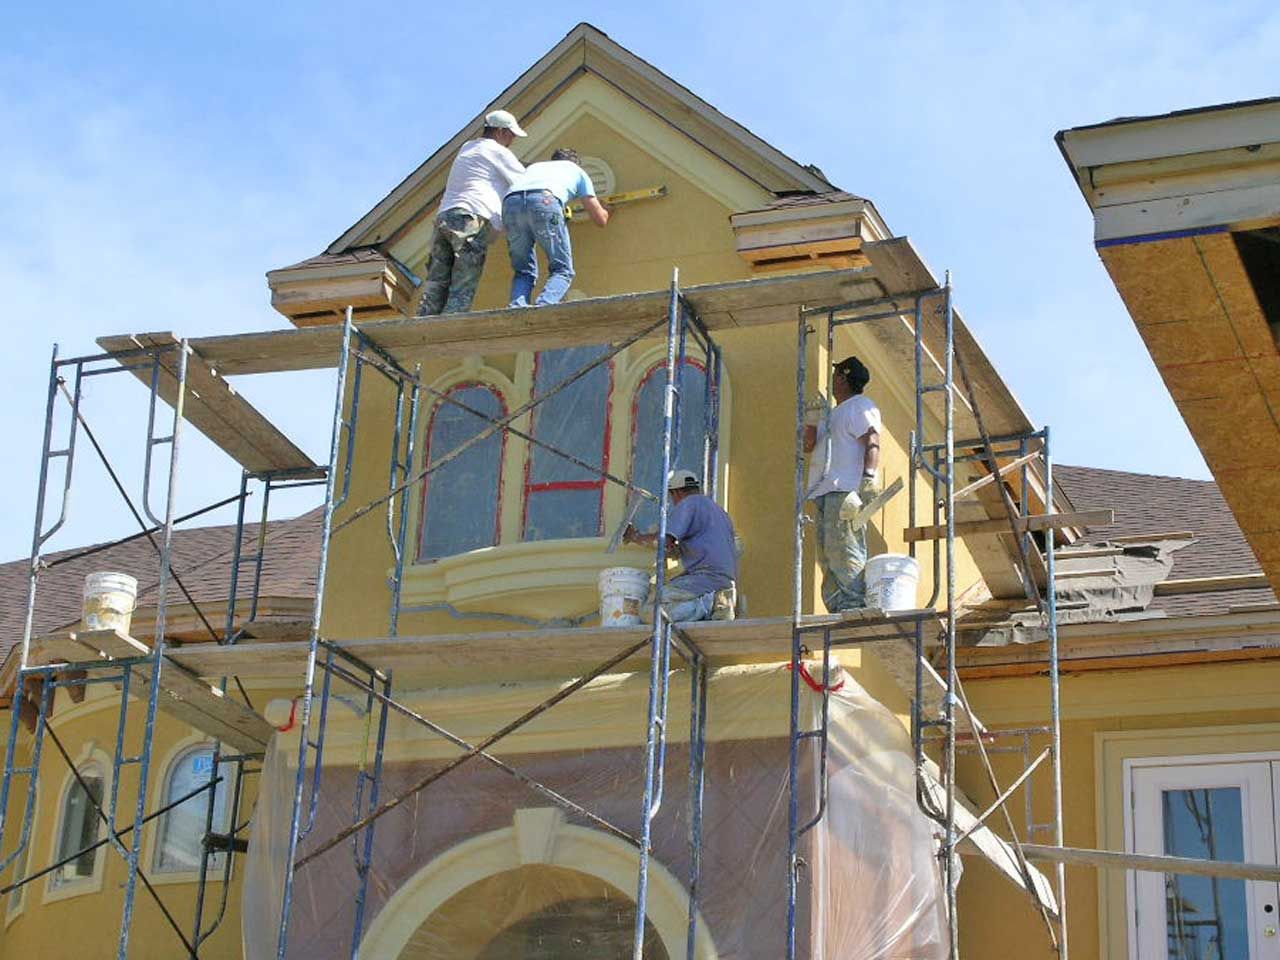
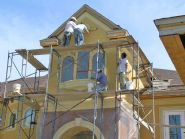
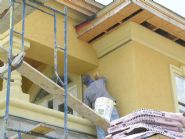
Claudio uses his level to perfectly align the trim. The trim is made of foam and applied over the stucco wall so it is not part of the exterior wall system.
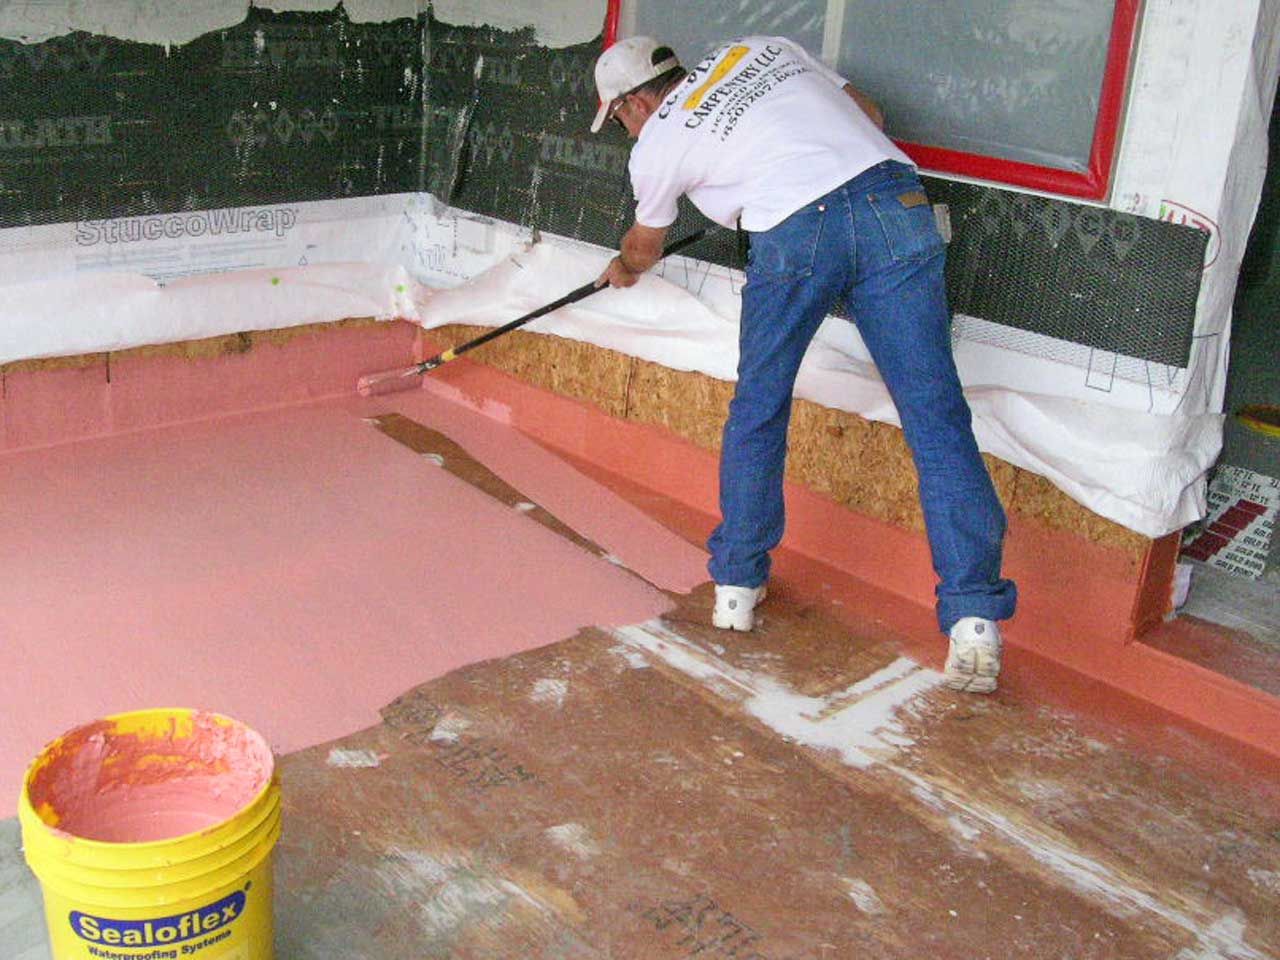
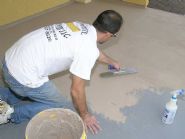
Darin applies sealoflex deck coating. Notice how the door threshold is flashed and the sealant runs up the wall under the moisture barrier and stucco system. No way water is going to get in here no matter how hard it rains or which way the wind is blowing.
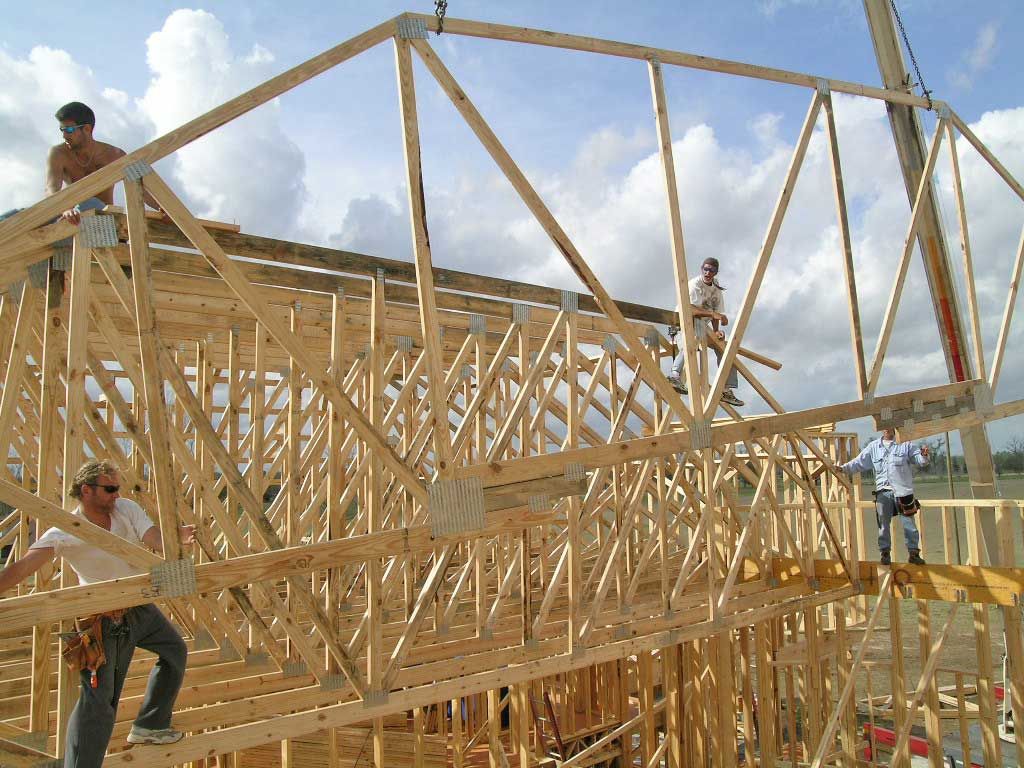
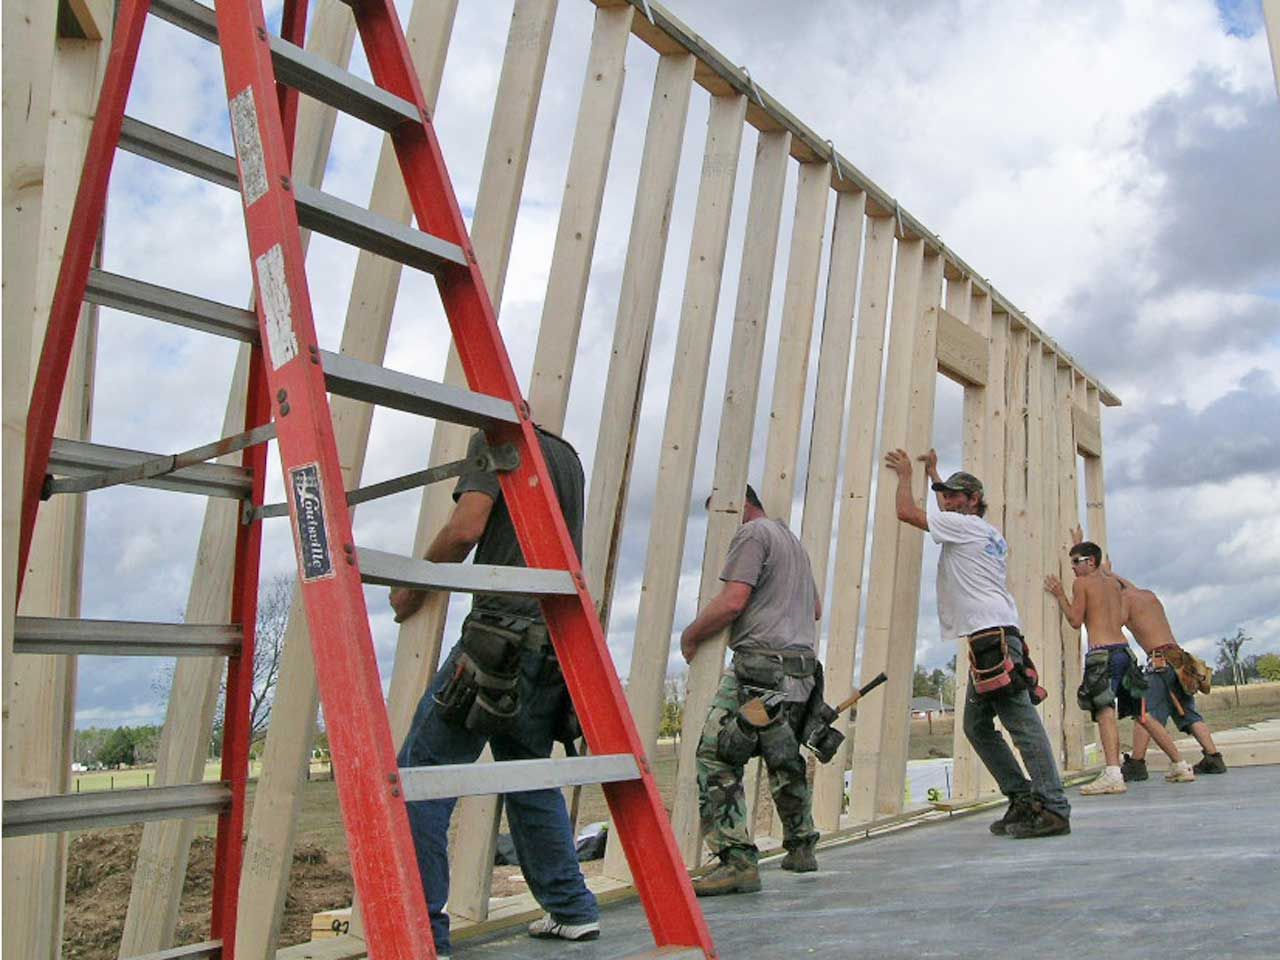
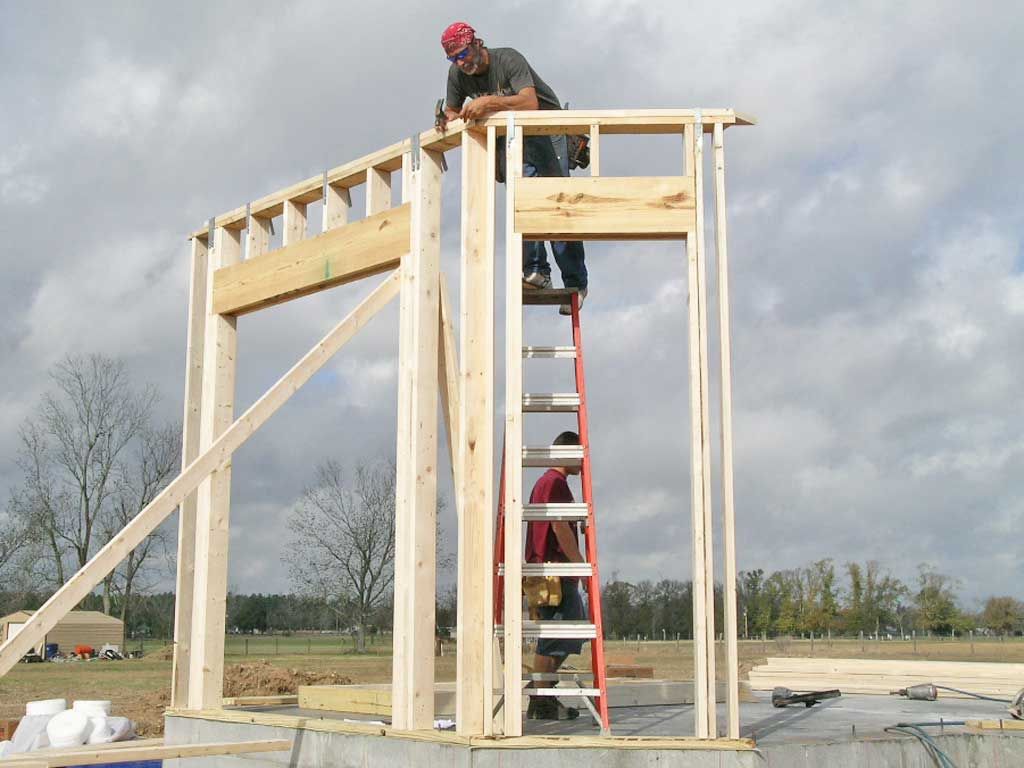
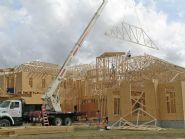
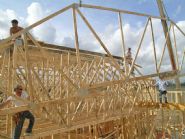
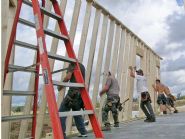
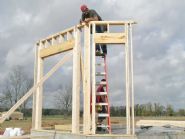
Lifting the trusses into place.
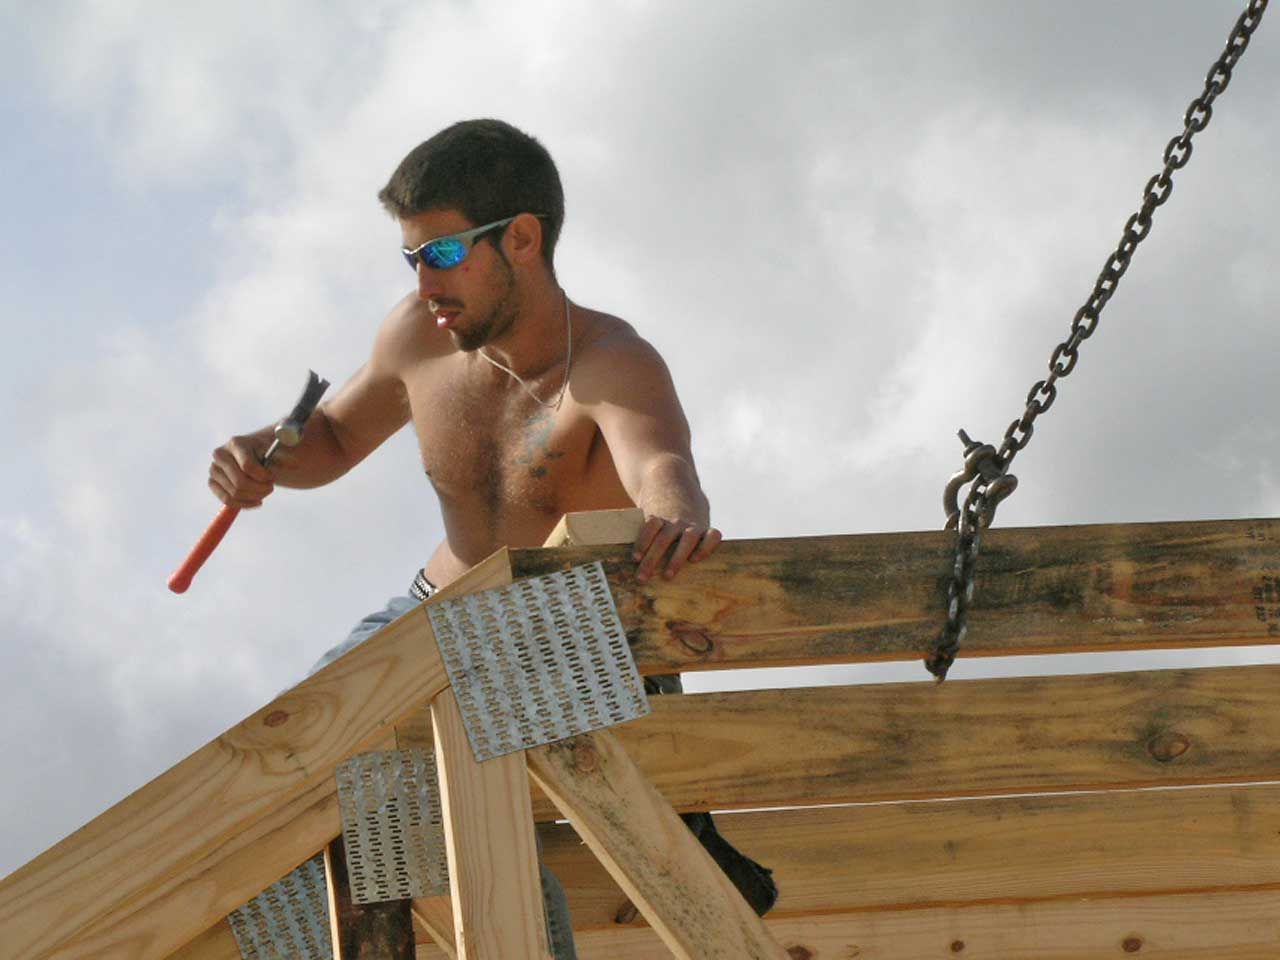
Precision team work!
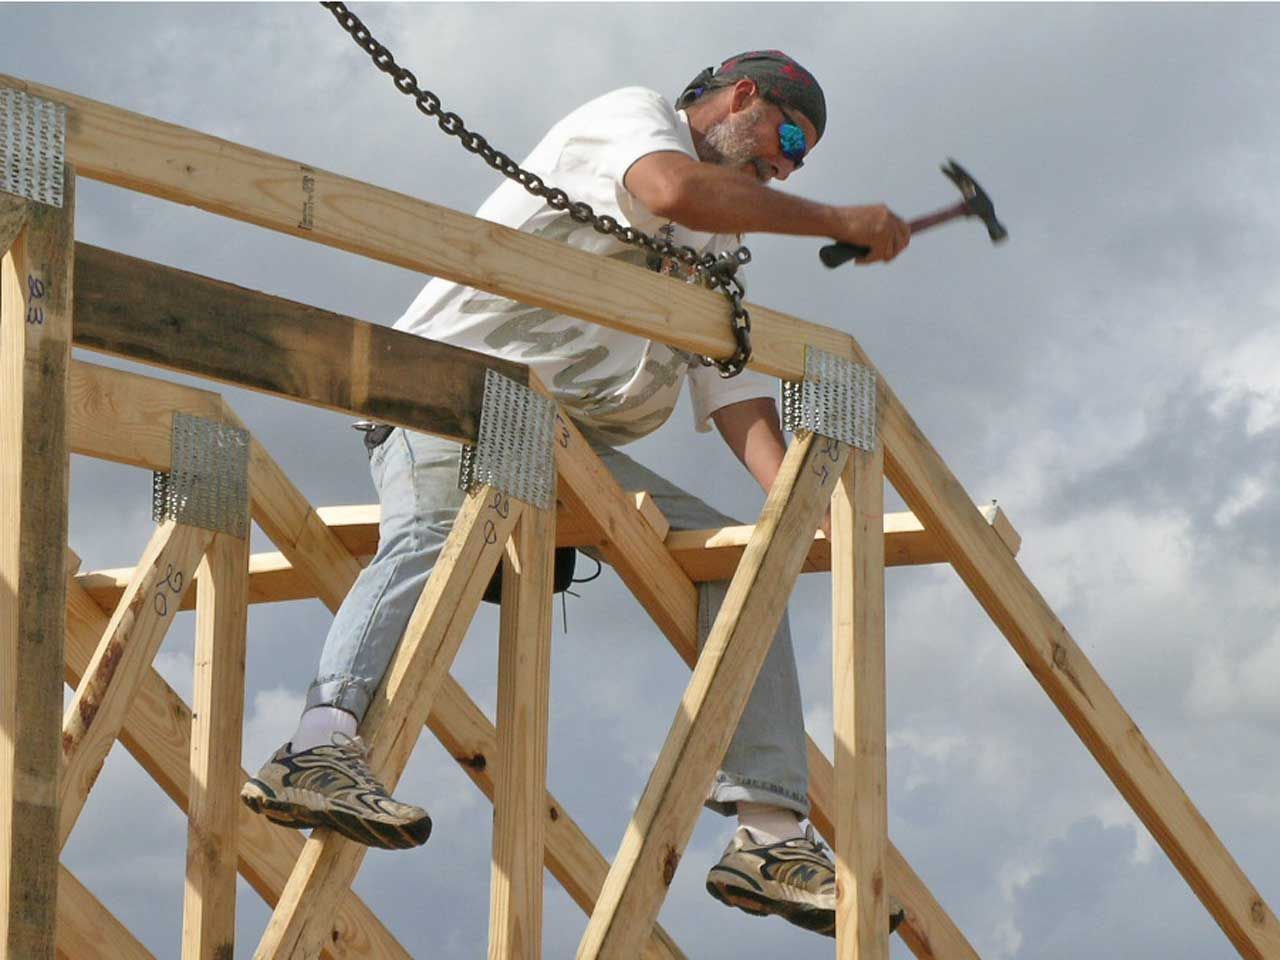
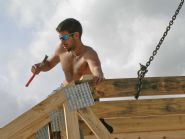
Only 4600 more studs to go!
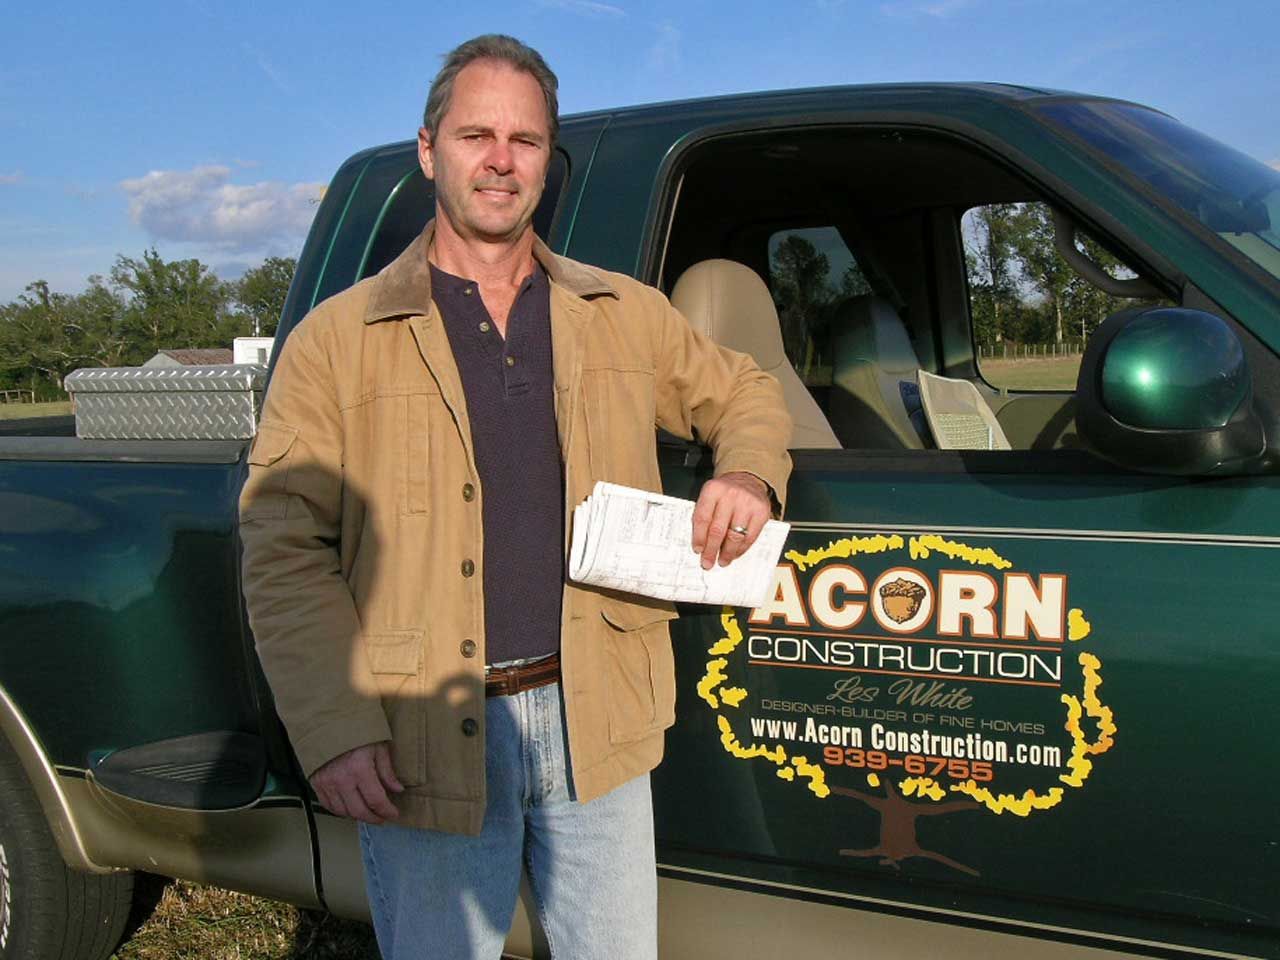
On the job. My motto is: Inspect everything all the time. I really don't need these plans. I have everything in my head, until my phone rings.
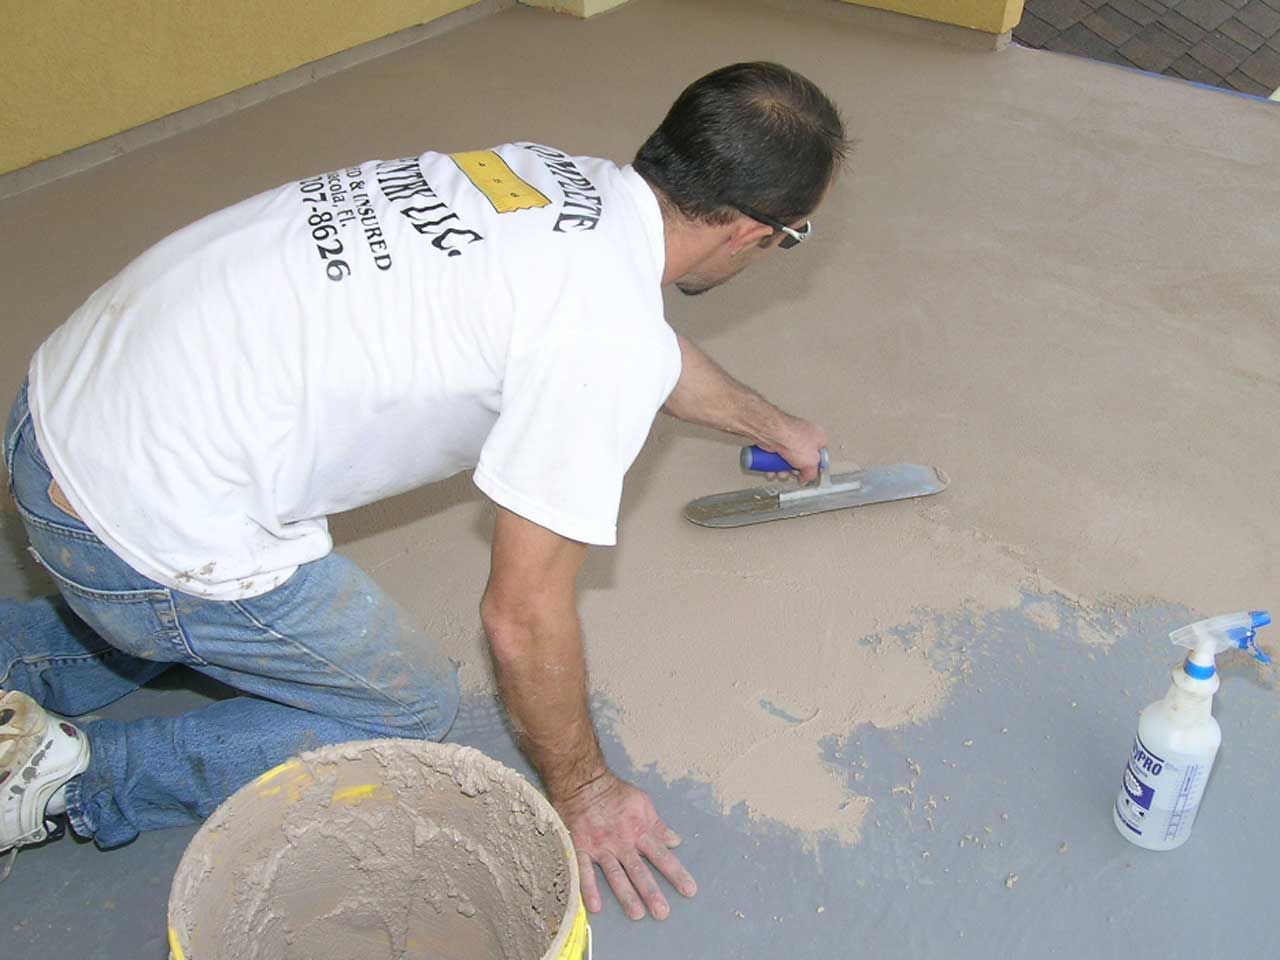
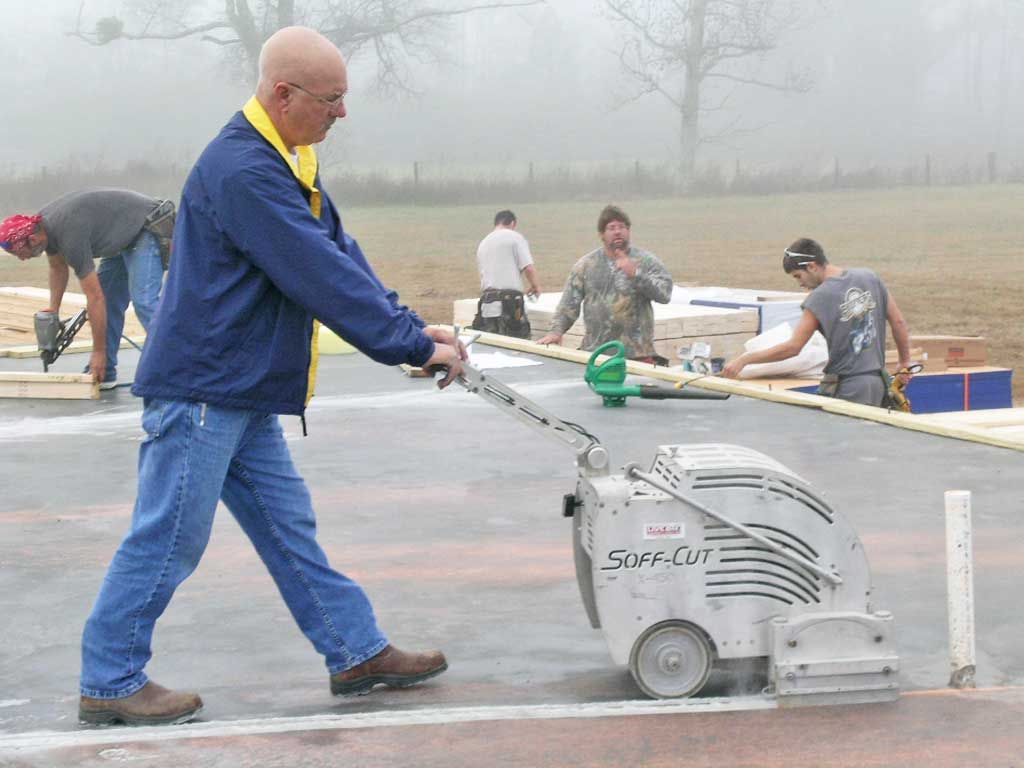
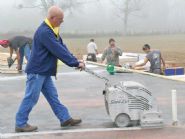
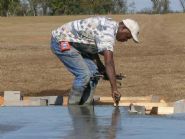
Control joints create places for the concrete to crack and relieve stress as it cures and shrinks. By cutting in control joints in strategic places we encourage the cracks to develop where we want instead of randomly. Later we will treat the joints so tile can be overlaid and not crack as the slab ages.
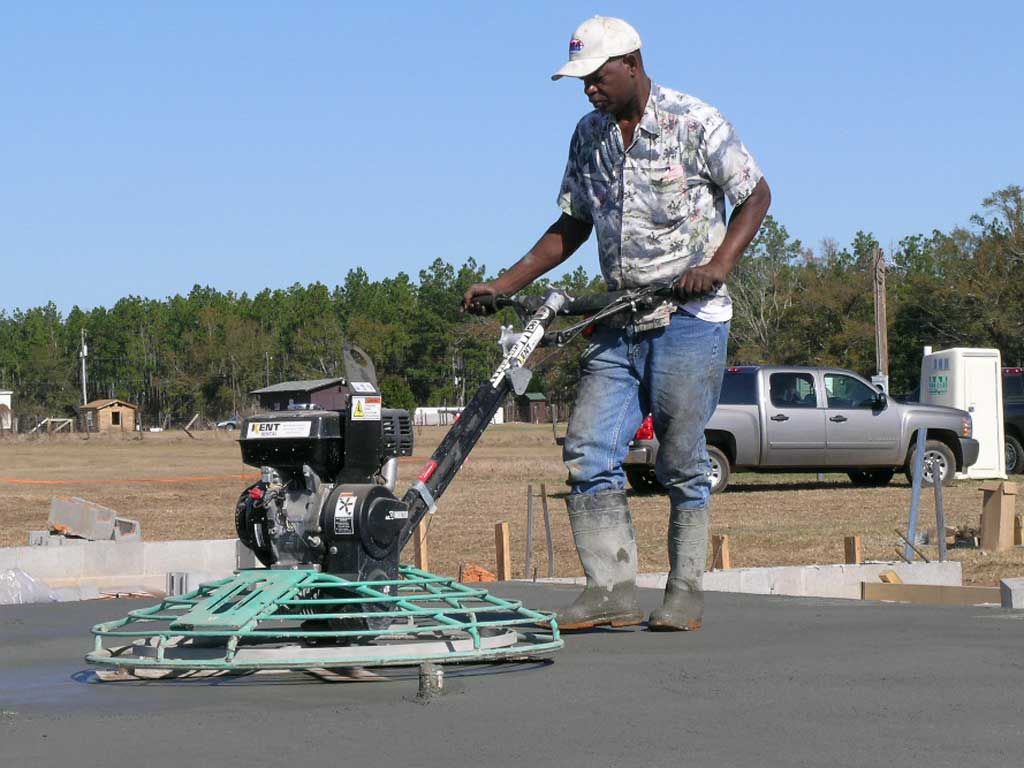
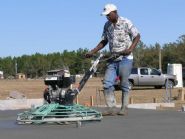
Willie Floyd on the trowel machine. I use 3000 PSI concrete because it has more cement in the mixtures which gives us a harder surface and more time to work the finish.
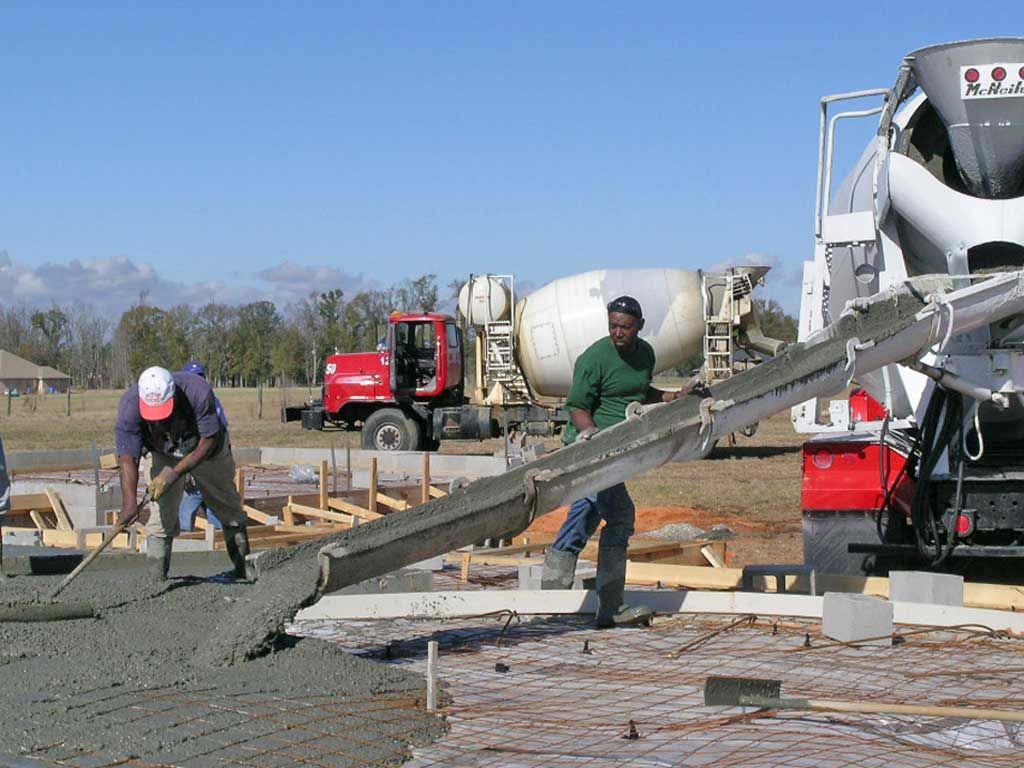
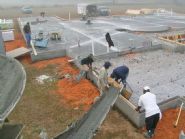
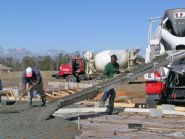
Pouring the slab. Note the wire mesh reinforcement held up by the little black "chairs" to keep it near the middle of the 4" thick slab.
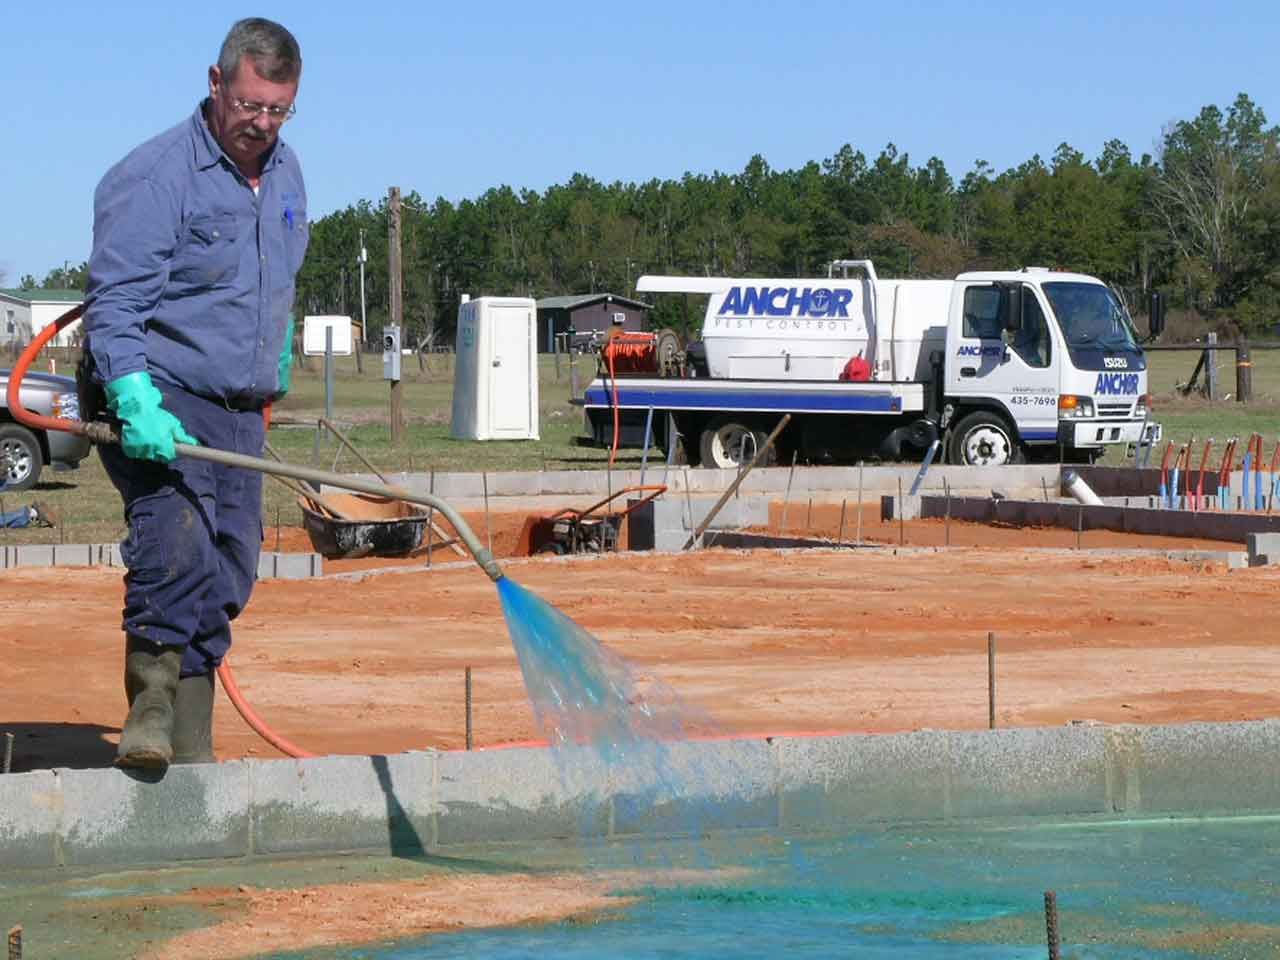
Anchor Pest Control pretreating the fill with termite poison prior to pouring the slab.
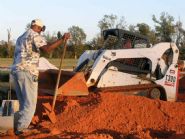
Next comes clay fill dirt which is compacted to provide a solid base for the concrete slab.
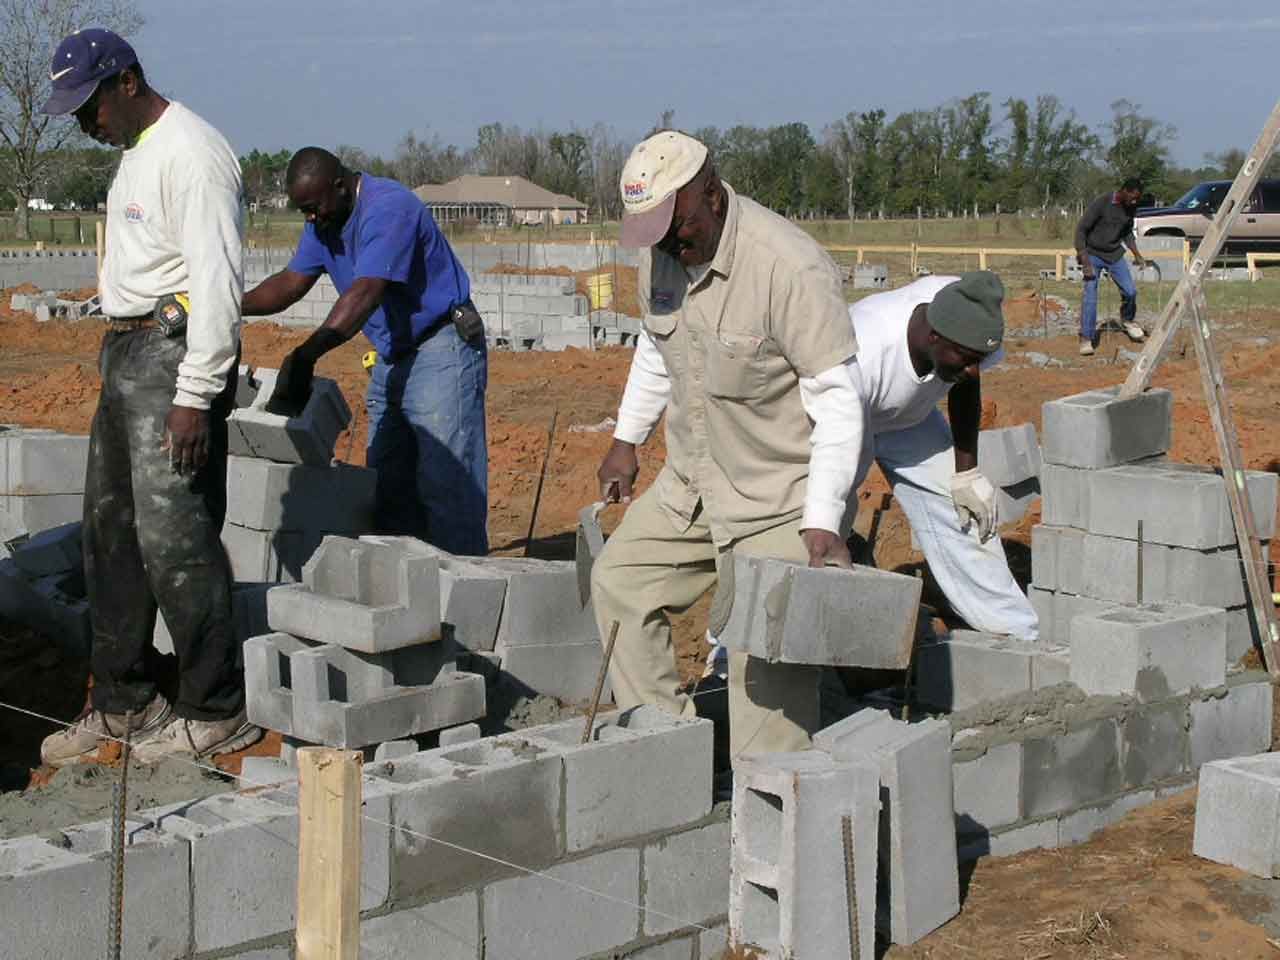
It takes a strong man to lift block all day. Willie Rivers still has what it takes. Note the laser level in the background. This is used to check alignment of the top of the blocks to make sure the foundation is level.
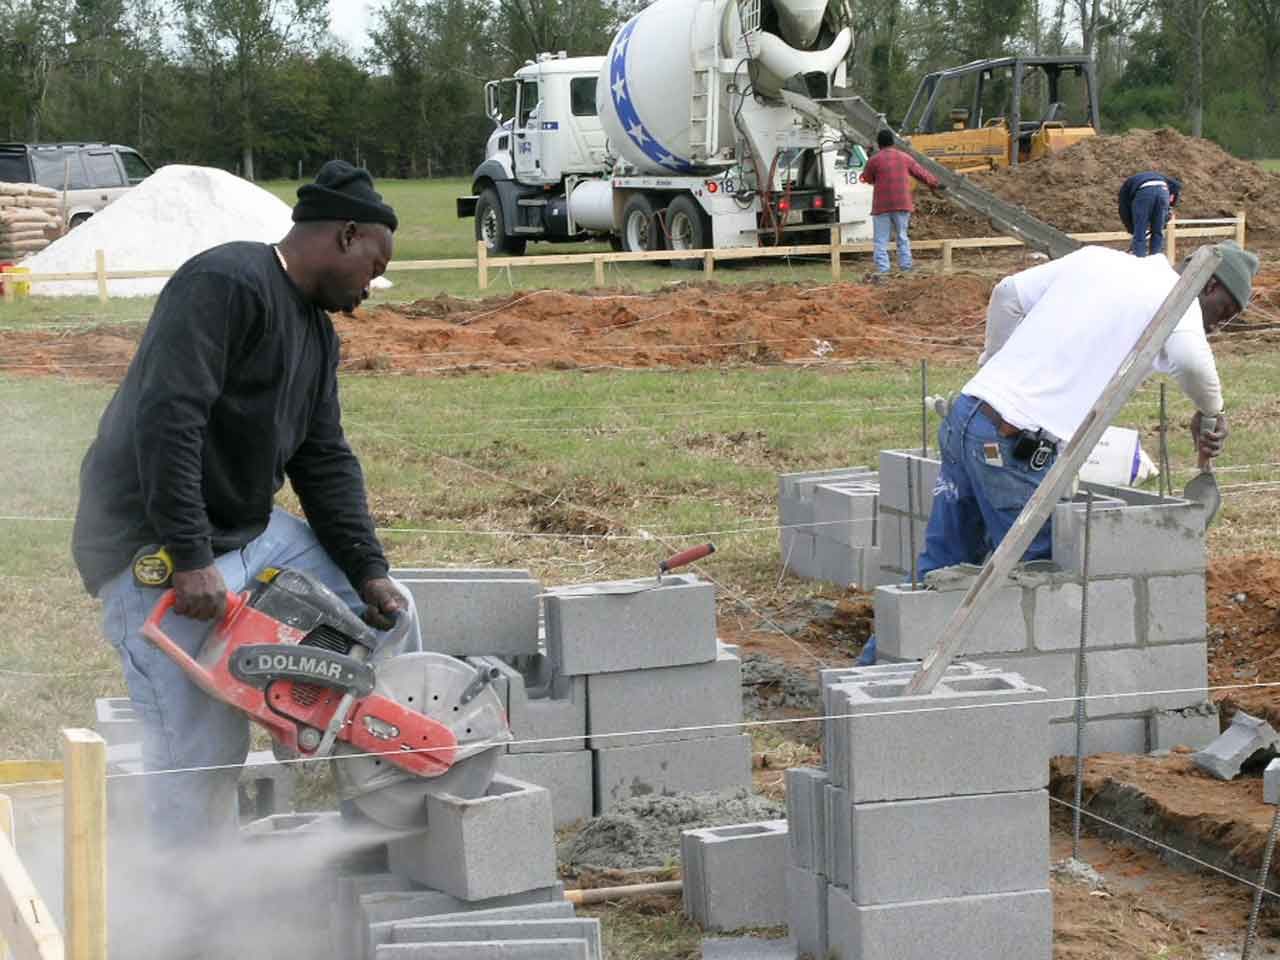
Cutting block with a masonry saw.
After the footings are poured the block is laid up.
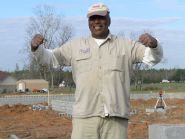
When all else fails, read the plans.
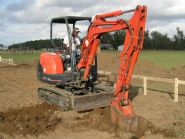
The journey of a thousand miles begins with the first step. In this case, Willie Floyd digging the footings.

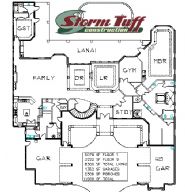
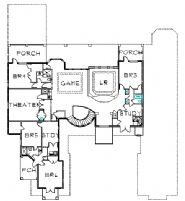


Features
- 8300 sf living area
- 6 BR, 5 1/2 bath, LR, DR, game room, theater room, lounge, 2 offices
- Storm-tuff features
- Solid core doors
- Blown-in batt insulation
- Distrubuted sound, internet, surveillance cams
- Guest wing
- Whole house generator
Castelar
Lee Mabrie and I collaborated on this design for the owners who sometimes entertain for 40 so we had to create large spaces capable of comfortably accomodating their guests. The top floor has a game room, home theater, and lounge to keep children and grand children entertained. I love the exterior detailing of this home. It has been a most challenging project.