Construction Process: Site work

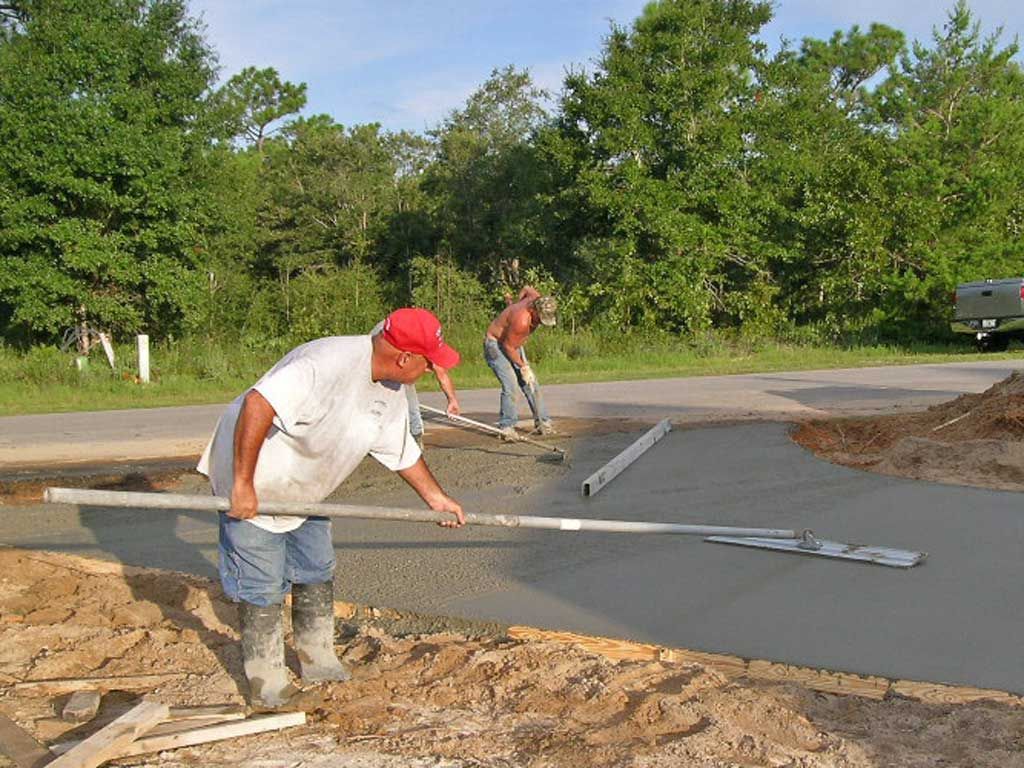

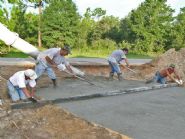
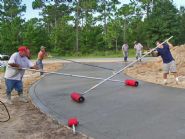
Pouring and screeding a circular concrete driveway.
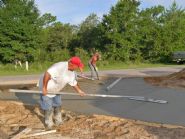
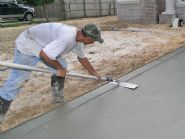
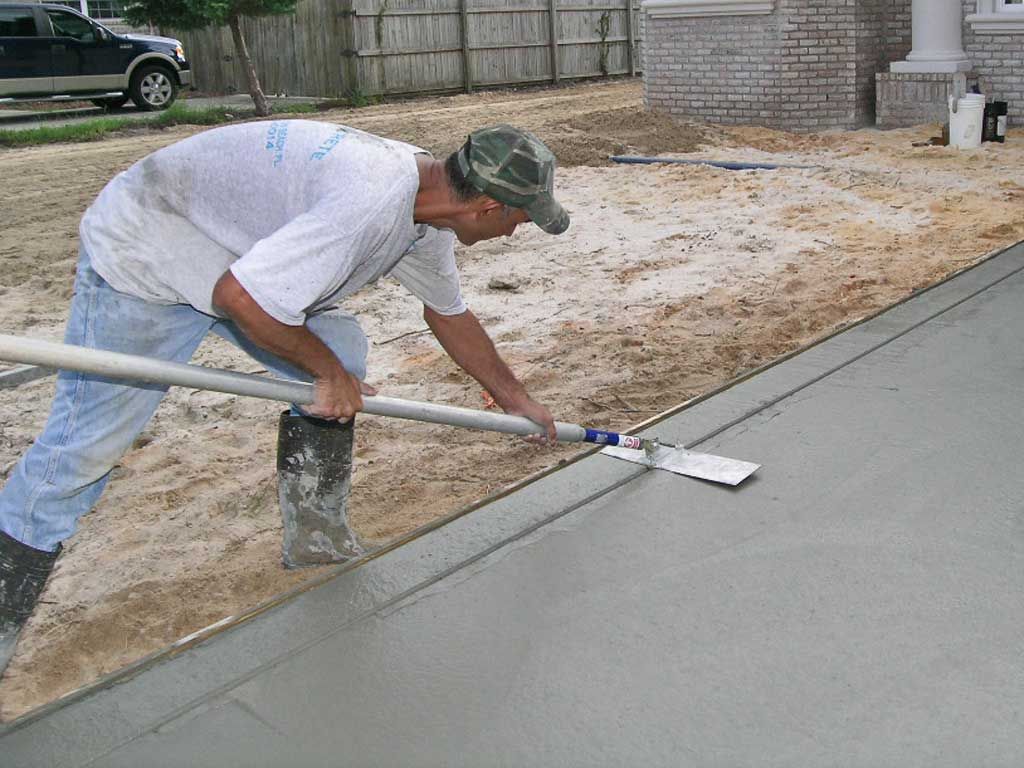
Gomez bull floats the concrete to push the aggregate down and bring the cement to the surface.
Junior uses an edging tool to create an 8" border on the walkway.
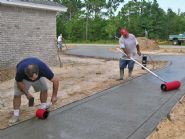
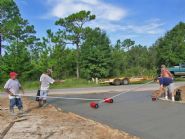
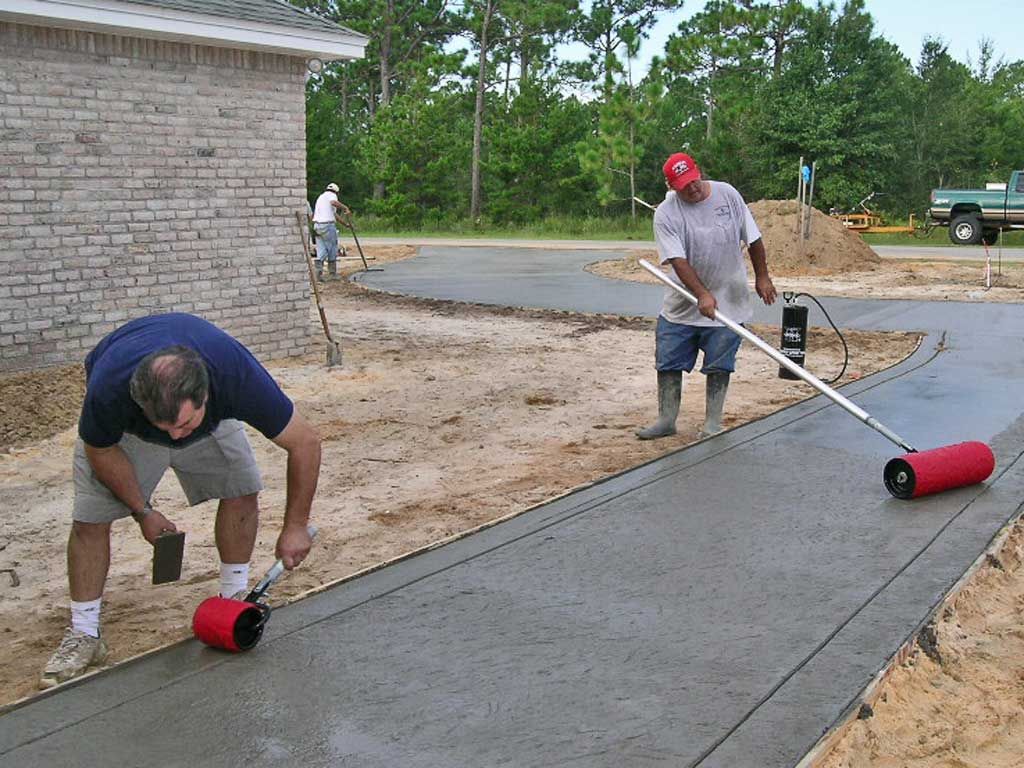
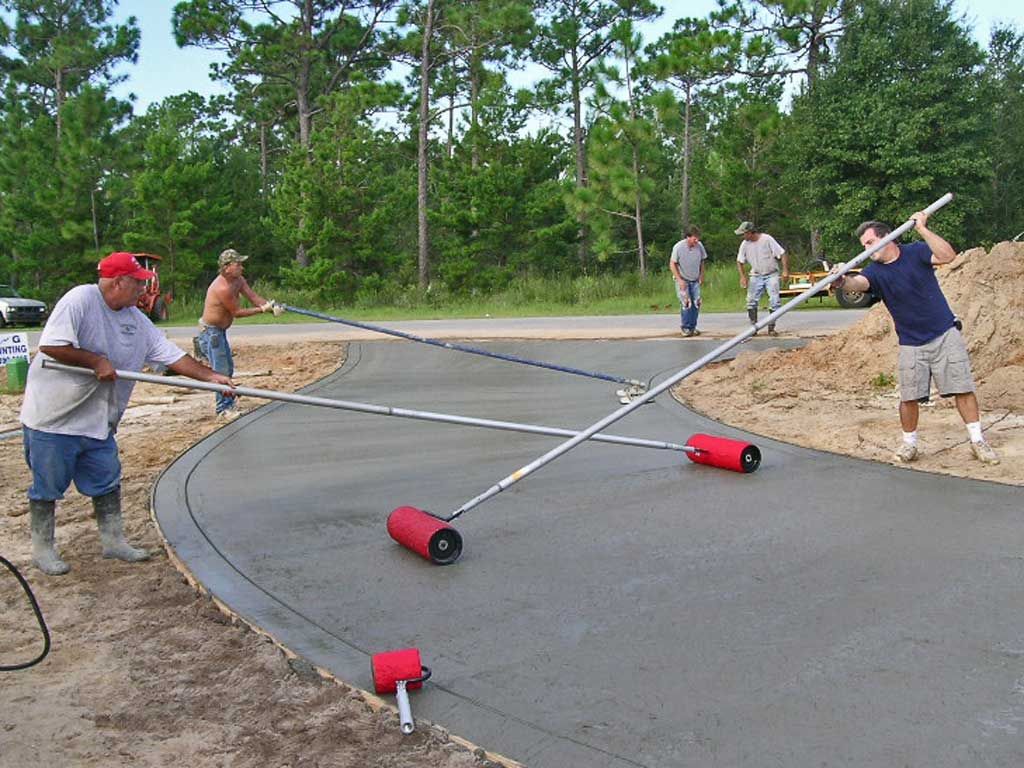
John and Gomez texture the walk way with pattern rollers. These rollers create a granite pattern. Later we will stain and seal the concrete.
Gomez and John roller stamp the concrete. We used 4000 psi concrete which has more cement content to make the top layer of concrete harder and more able to hold the impressions made by the pattern rollers.
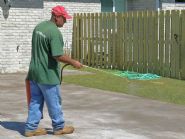
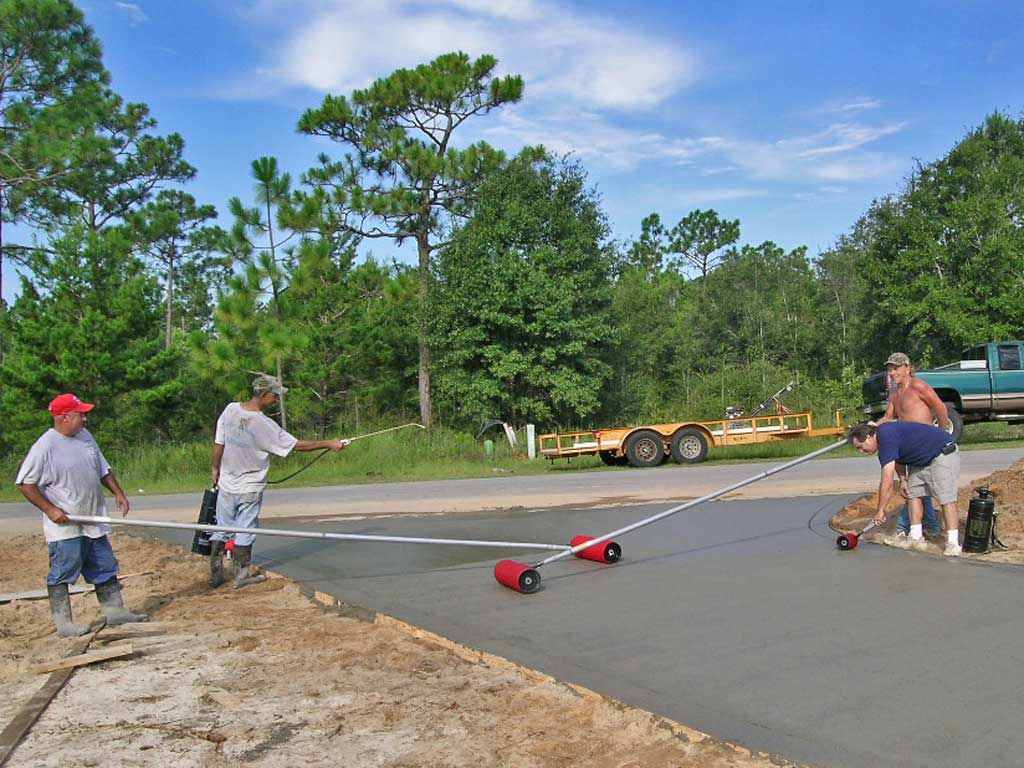
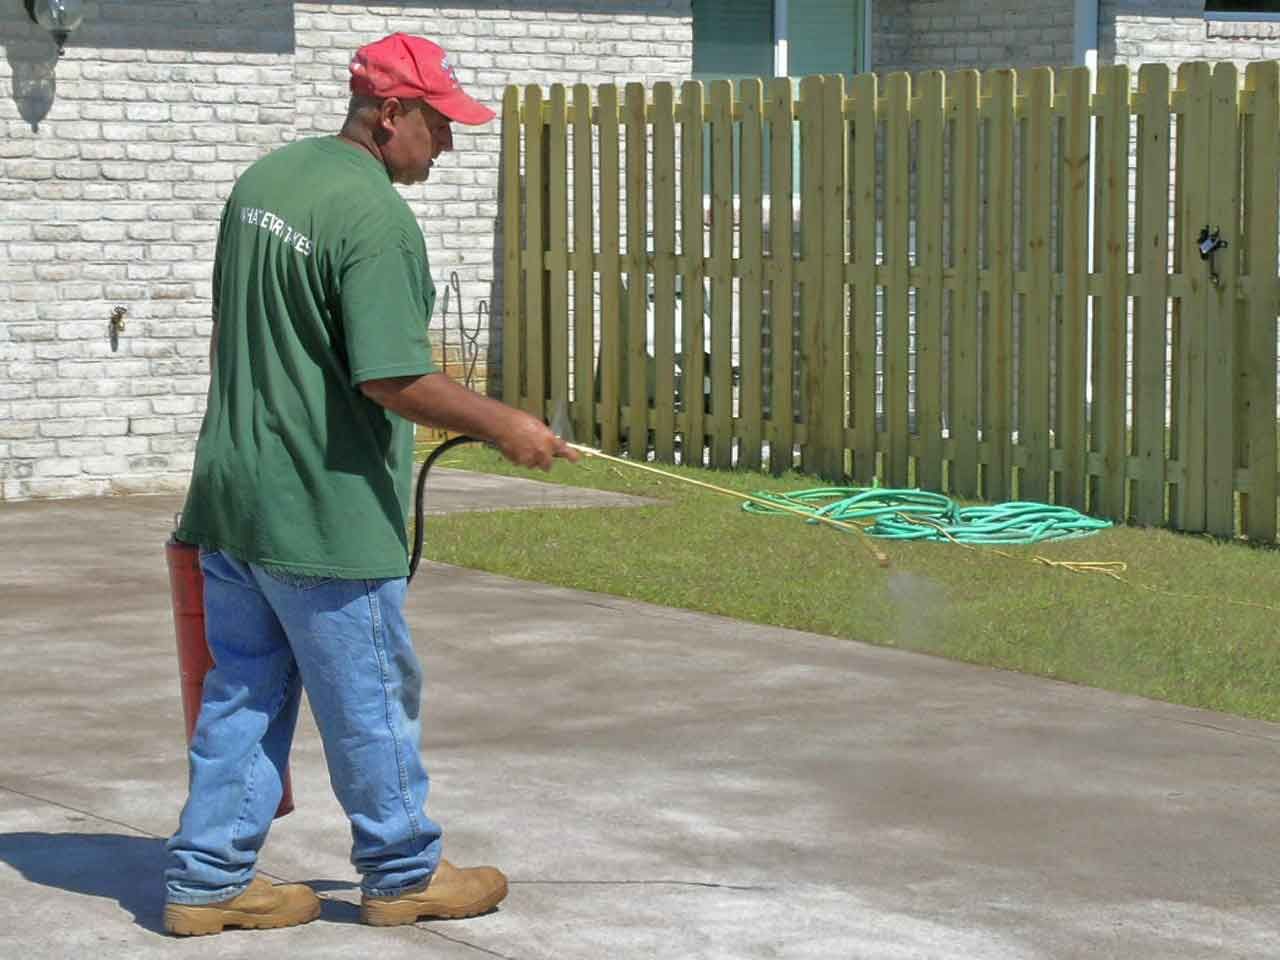
Junior sprays release agent on the concrete to keep it from sticking to the rollers.
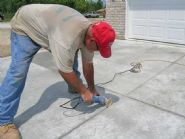
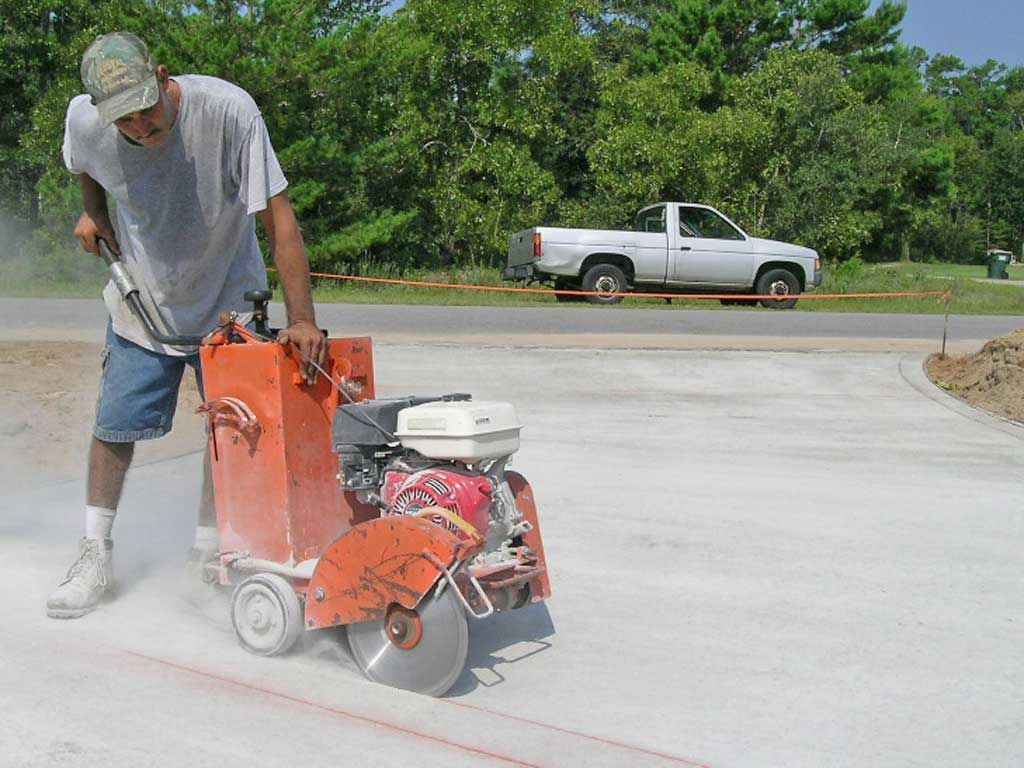
Junior cuts in the control joints. Concrete shrinks as it cures. The control joints allow us to chose where the stress relief cracking occurs. You can start to see the decorative pattern of joints emerging in the driveway. In this case we are doing radial borders.
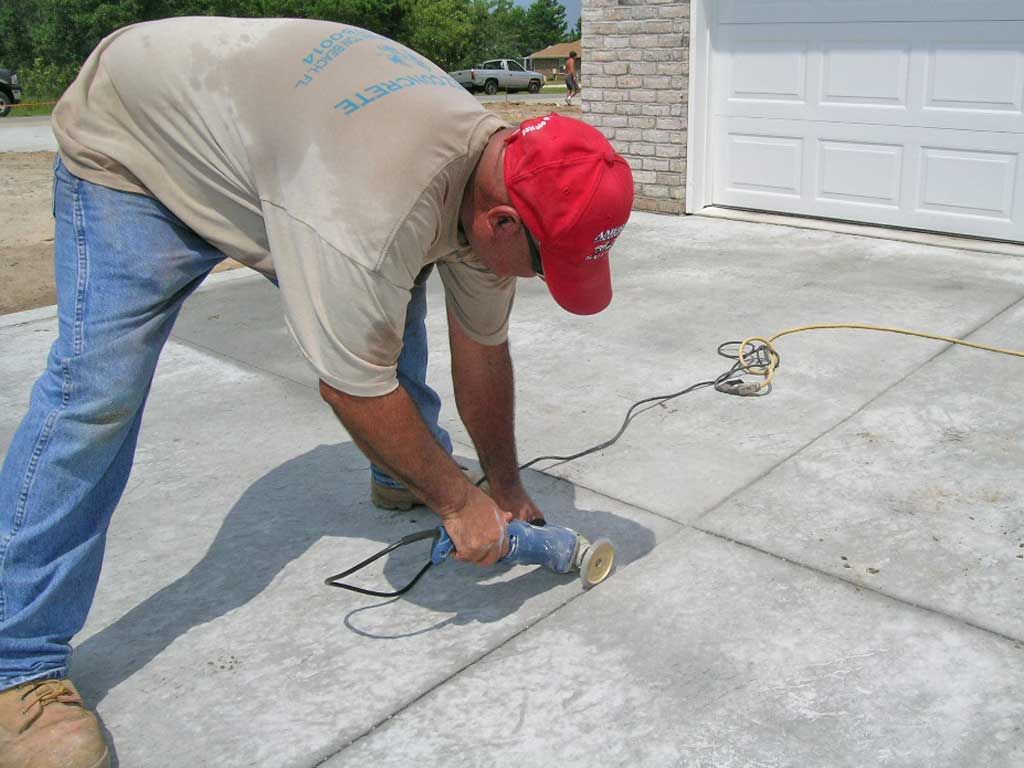
Gomez grinds out the control joints for a more decorative appearance.
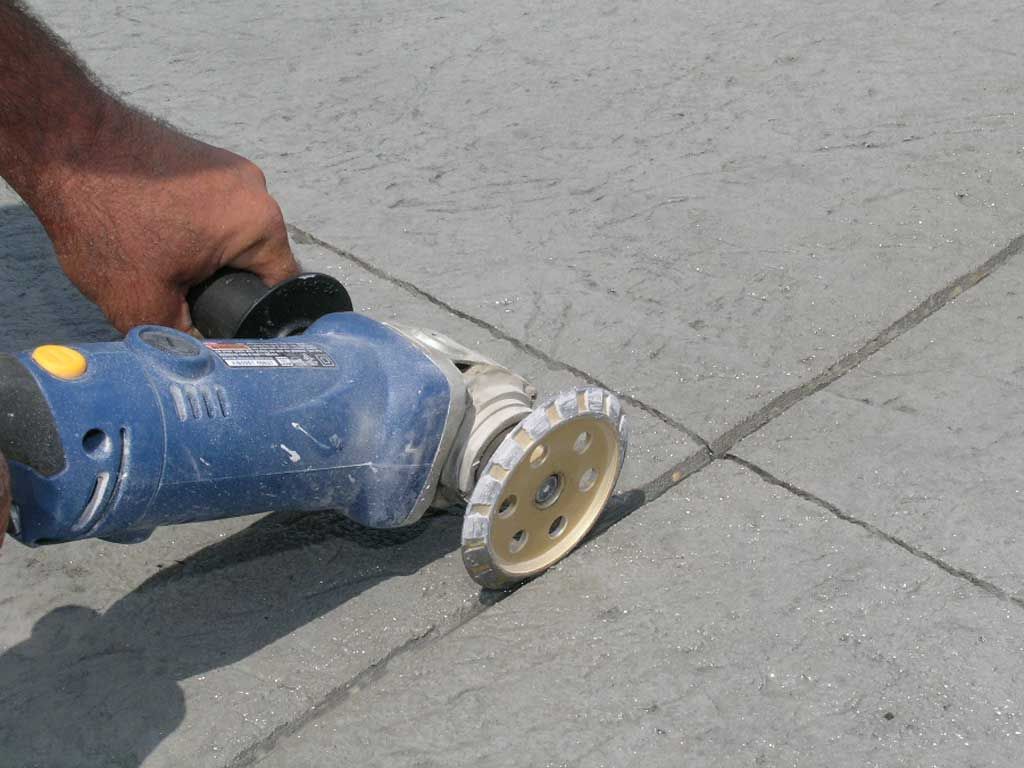
You can see the improved appearance of the wider V cut joint. The left to right joint has been saw cut but not grooved out yet. The top to bottom joint has been grooved out to the shape of the diamond grinder wheel.
Gomez applies the concrete stain and sealer.
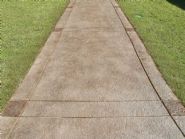
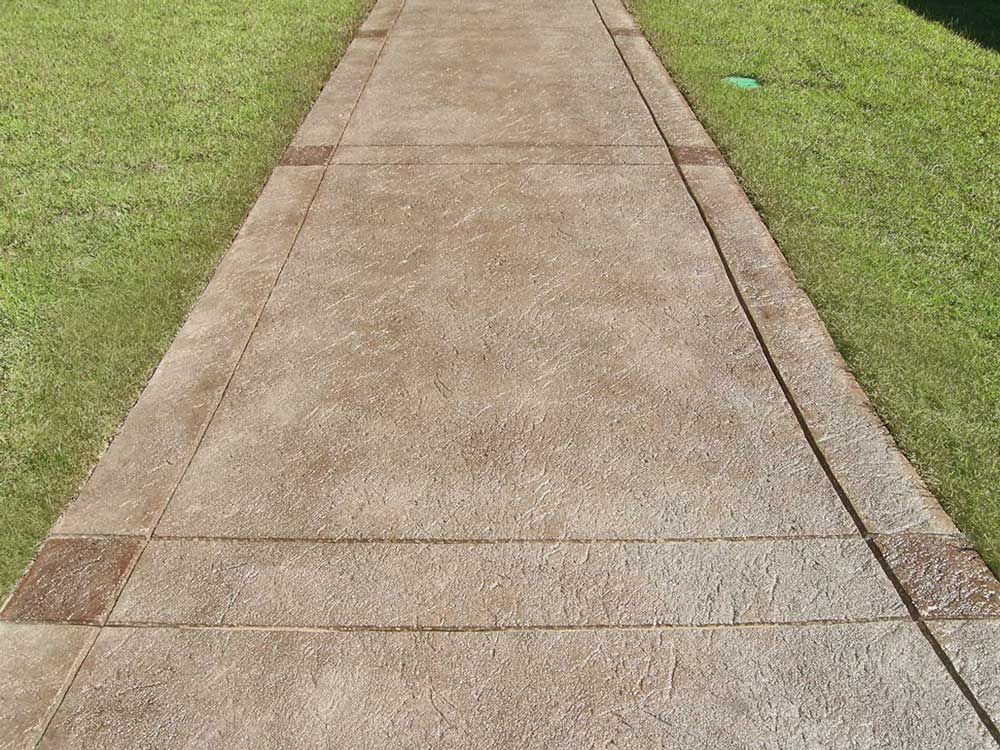
Finished product, stained and sealed. The stain brings out the texture and enhances the joints which have been widened with a grinder to improve their appearance. The border squares received an additional application of stain to highlight them.
Here's a circular driveway we did with radial boarders. The texture, color, and pasterns add so much to the beauty of this home. Imagine a boring grey concrete driveway there. What a downer. A few extra steps and some extra effort made a huge difference in the overall beauty of this home.
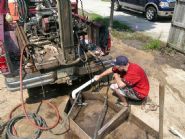
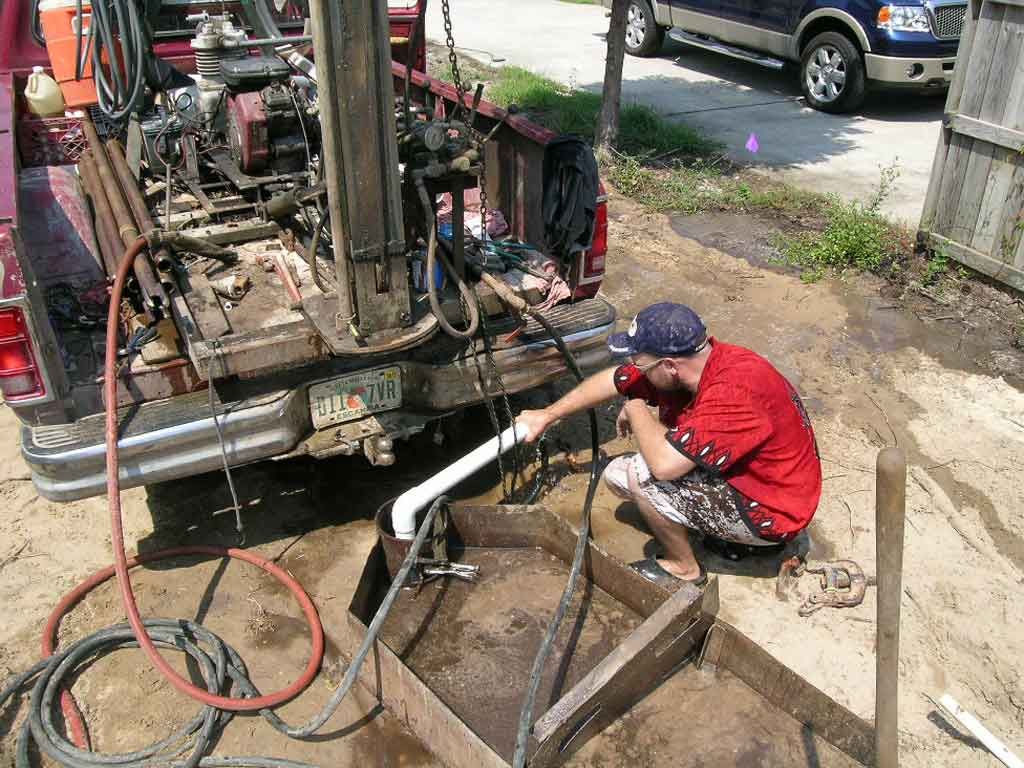
Here we're drilling a shallow well up to 30'. Most areas have good clean water available at that depth.
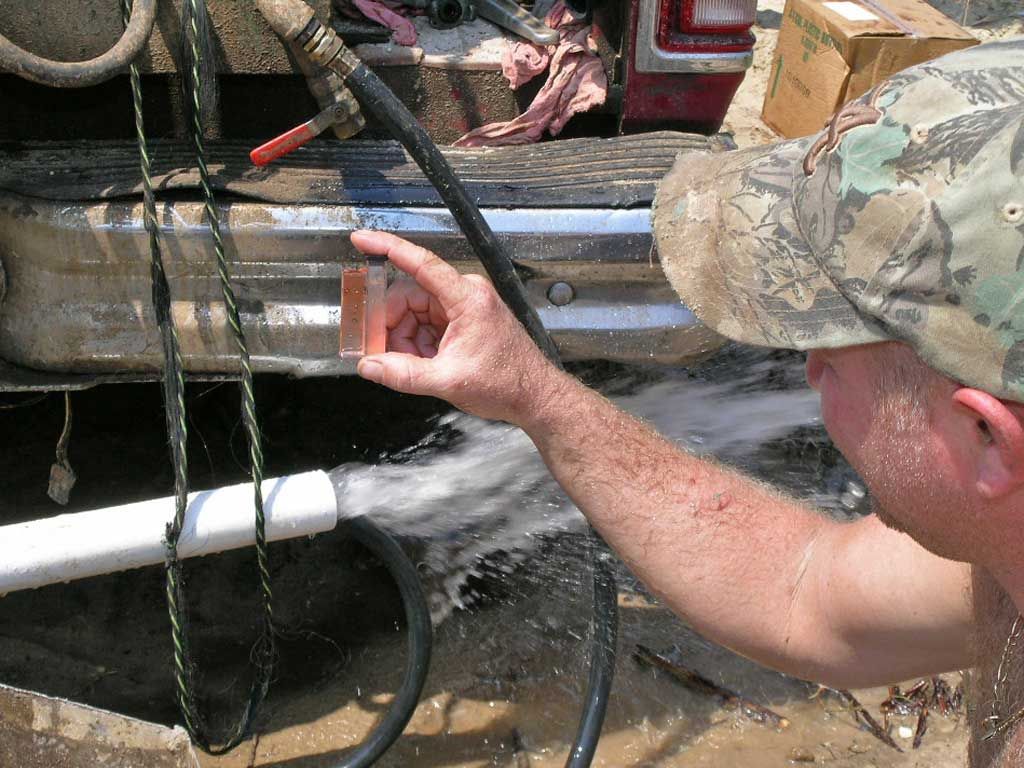
Tommy looks at the results of a test for iron content in the well water. No iron = no staining on the walls from the irrigation system. We found good iron free water in Holley by the Sea at 30'
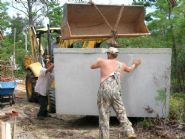
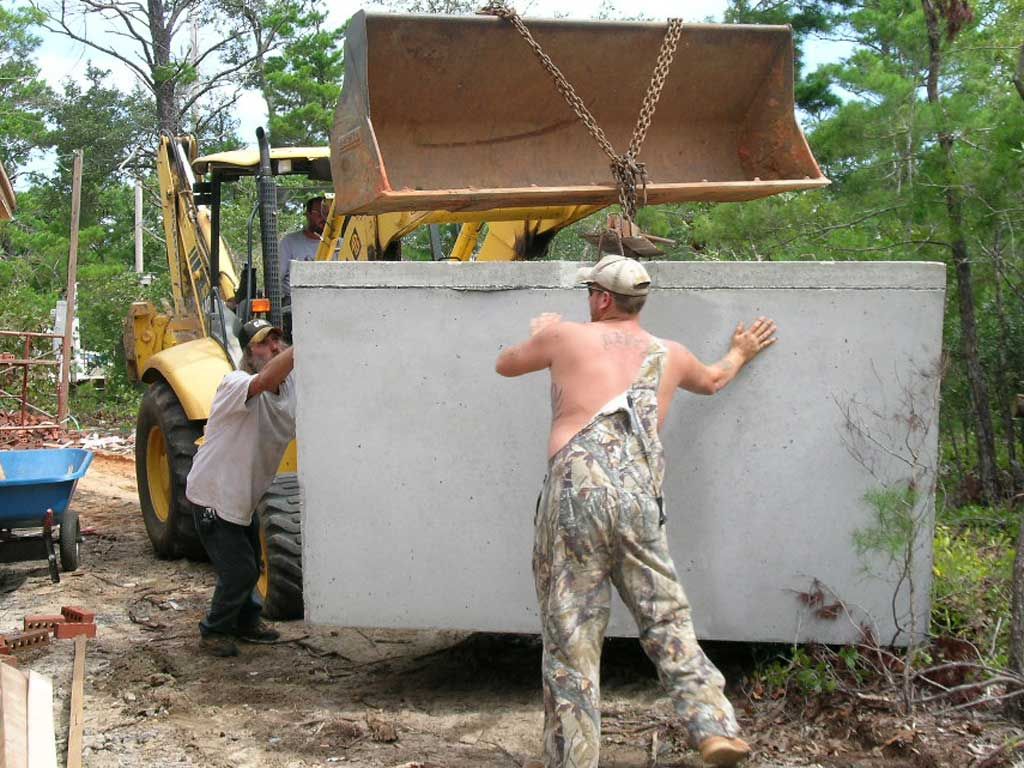
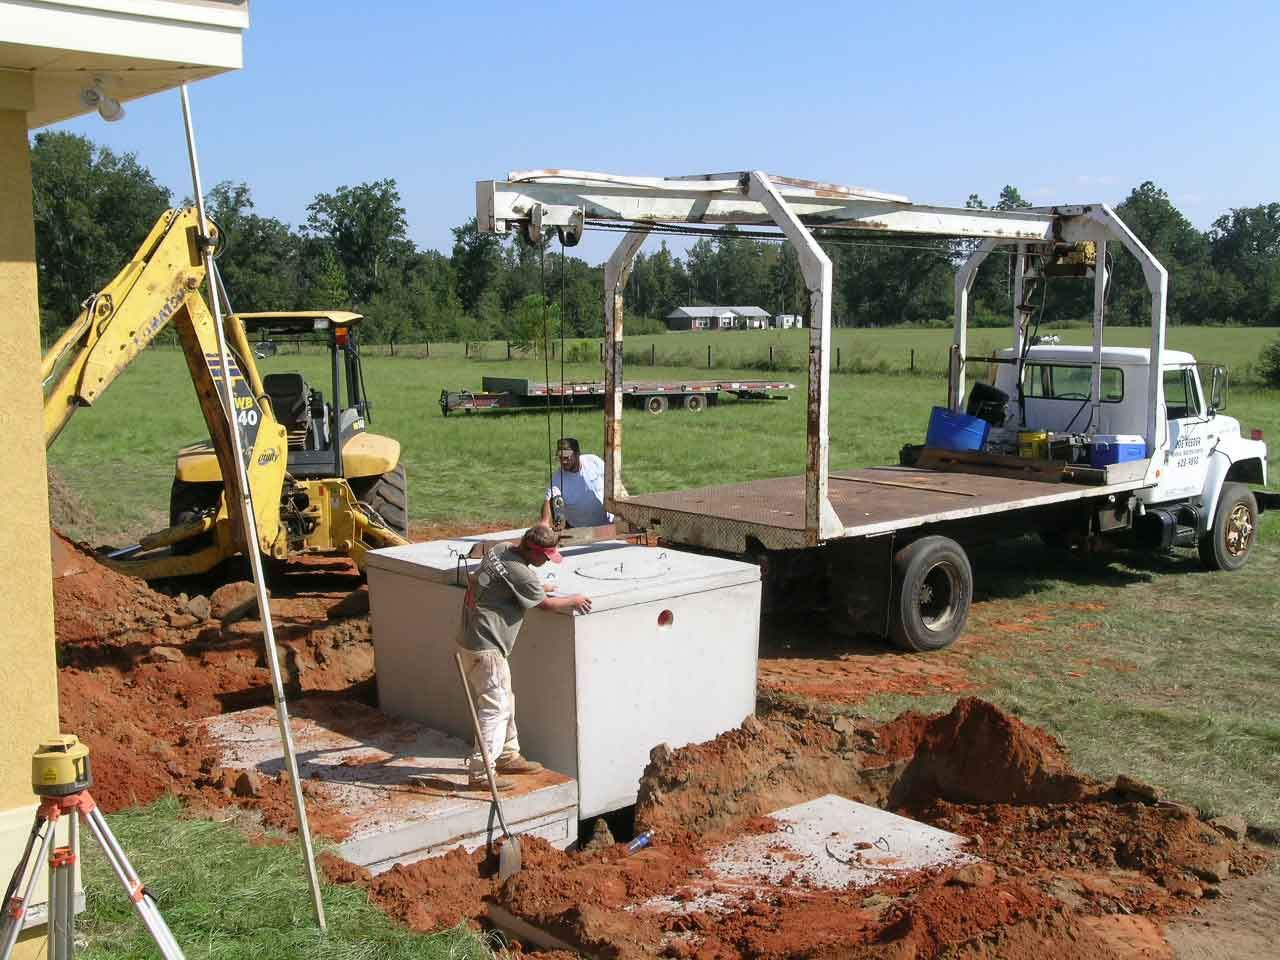
Transporting the septic tank around to the back yard.
Joe Reeder setting the tanks. The septic tank hole must be flat, smooth, and at the proper depth to prevent the tanks from shifting and cracking.
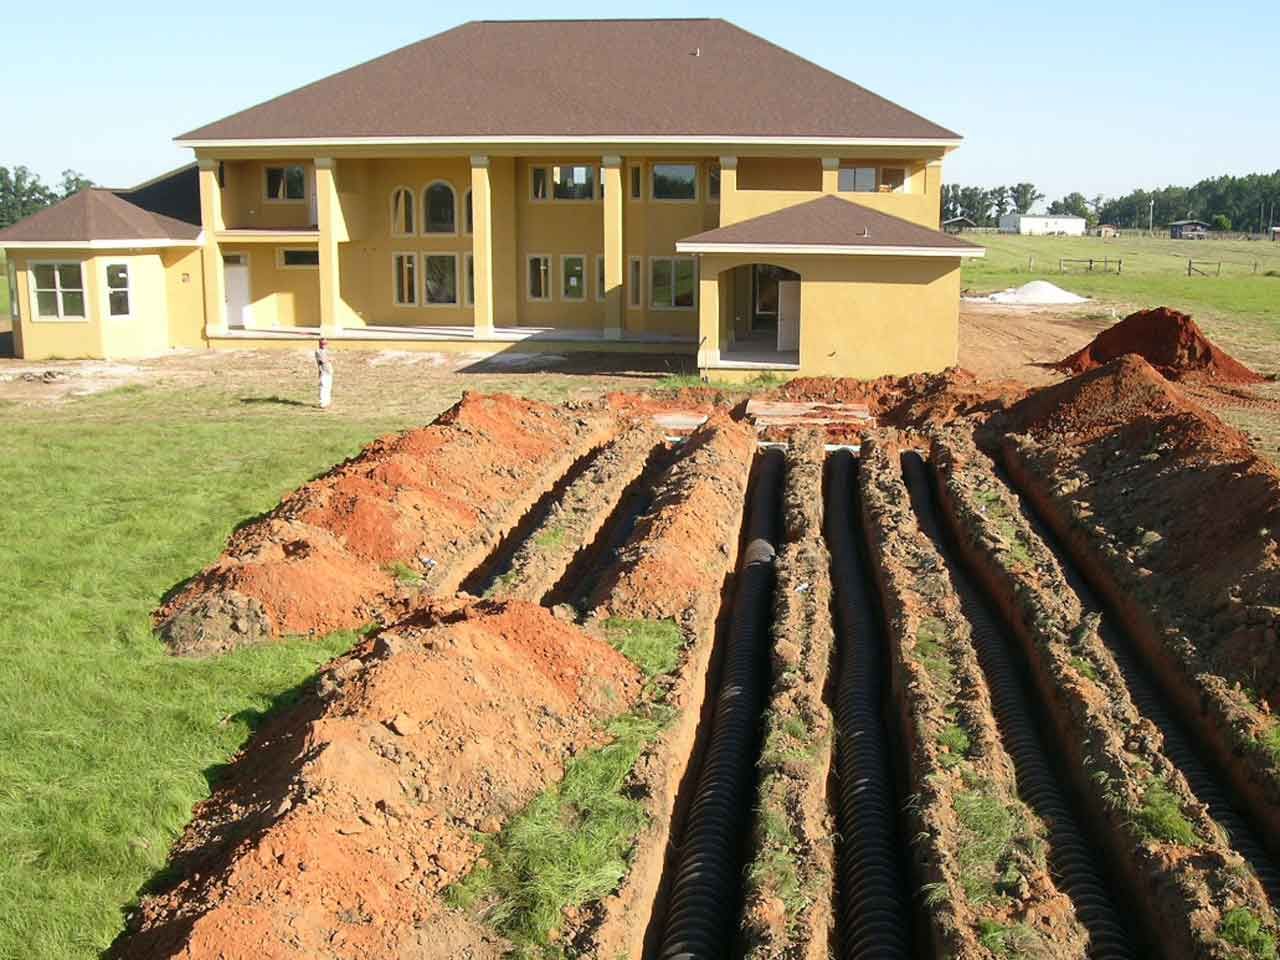
Drainfields ready for inspection. The two runs on the left are for the separate laundry system.