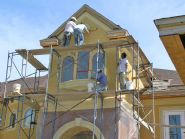
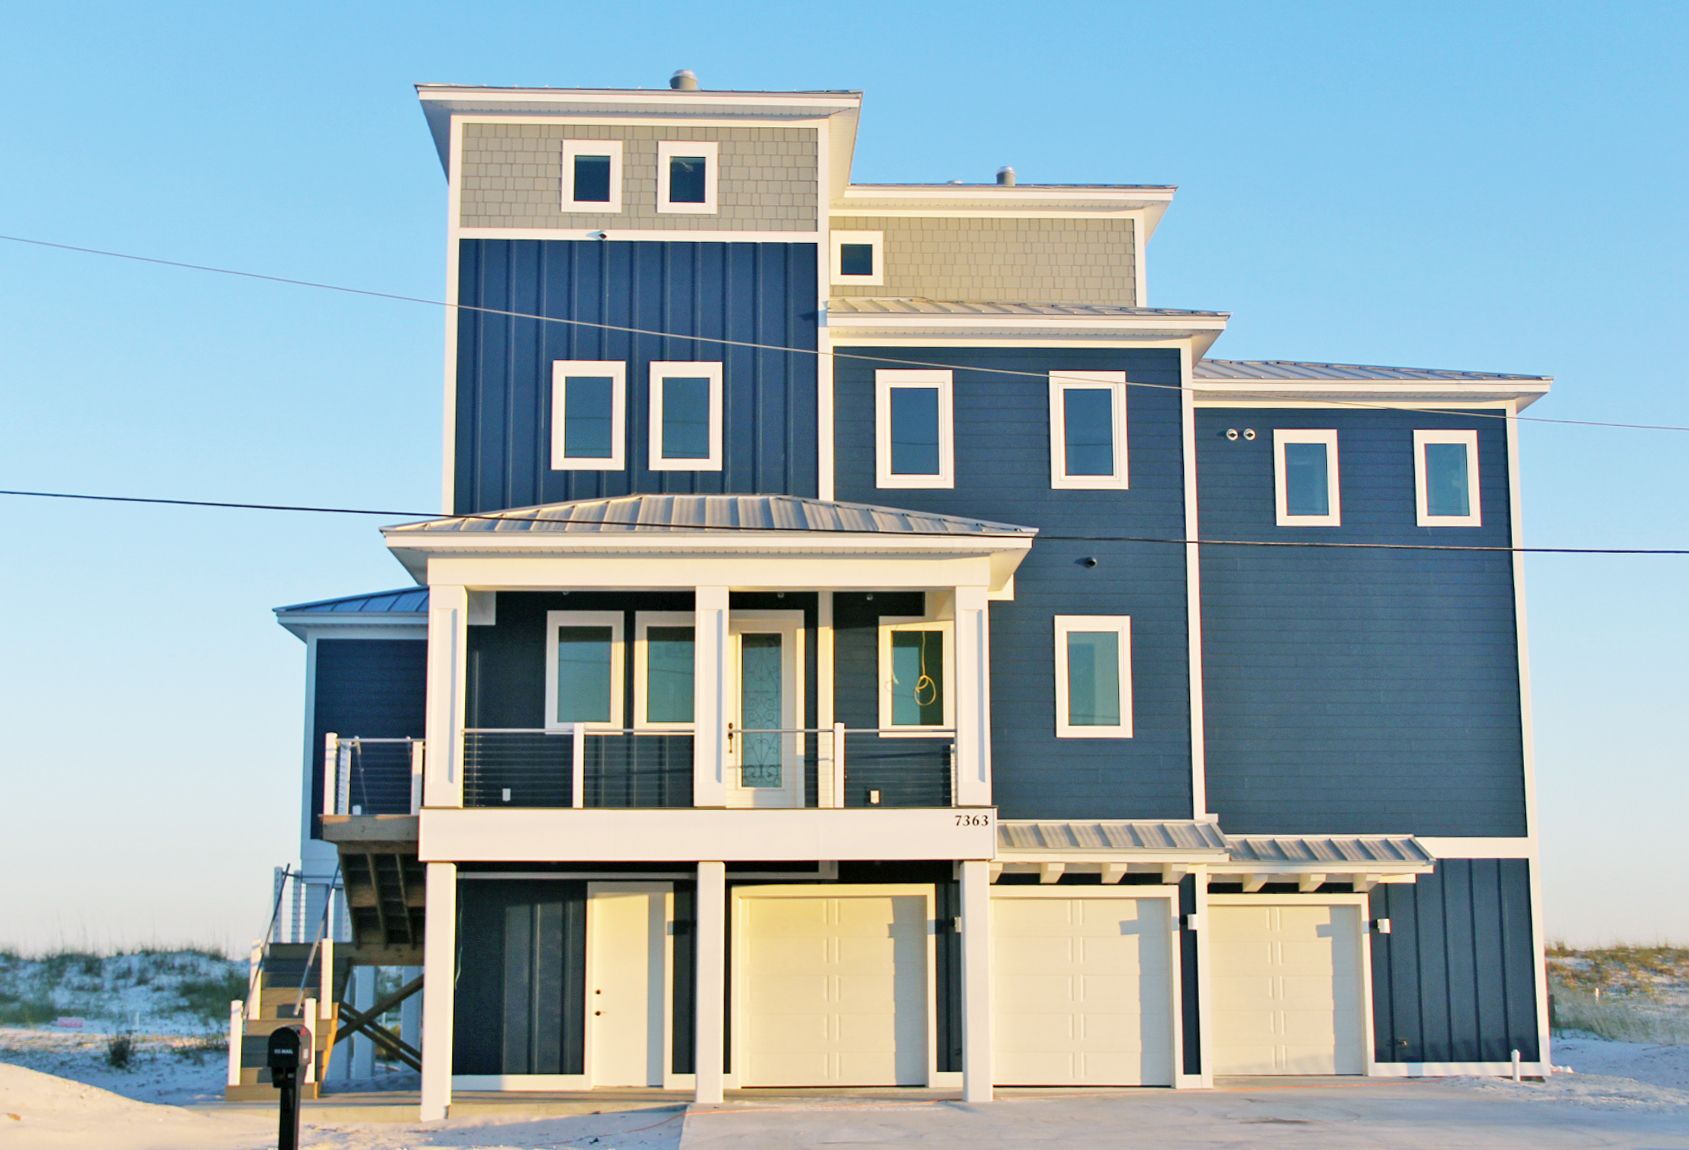
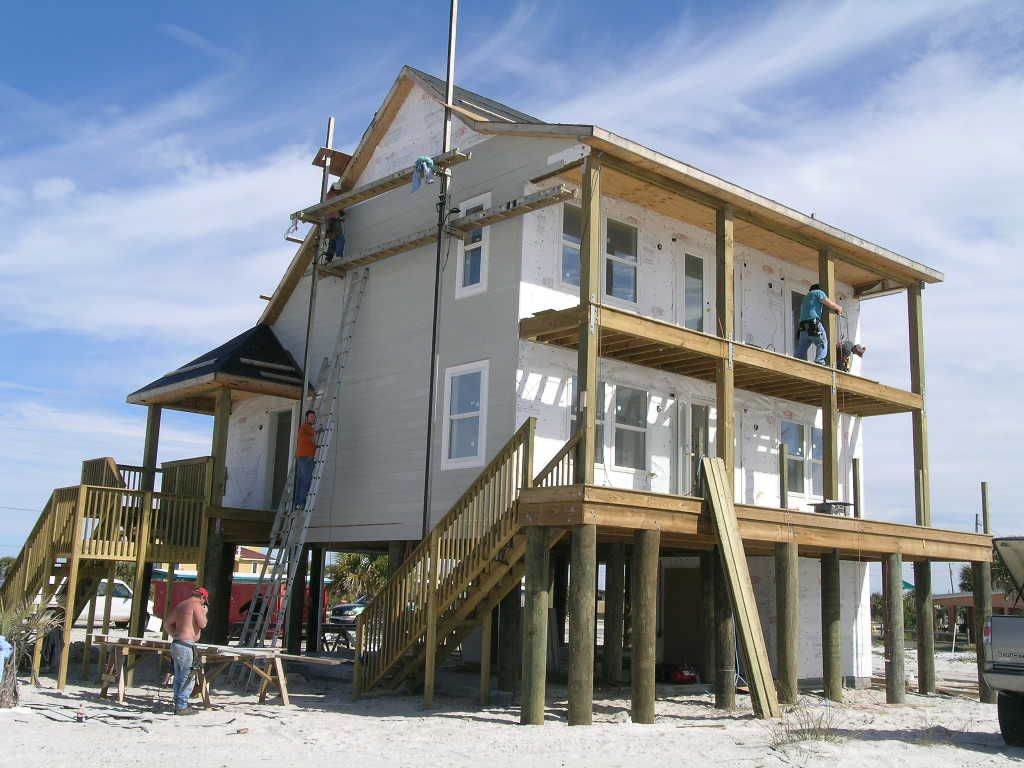
Construction Process: Exterior siding
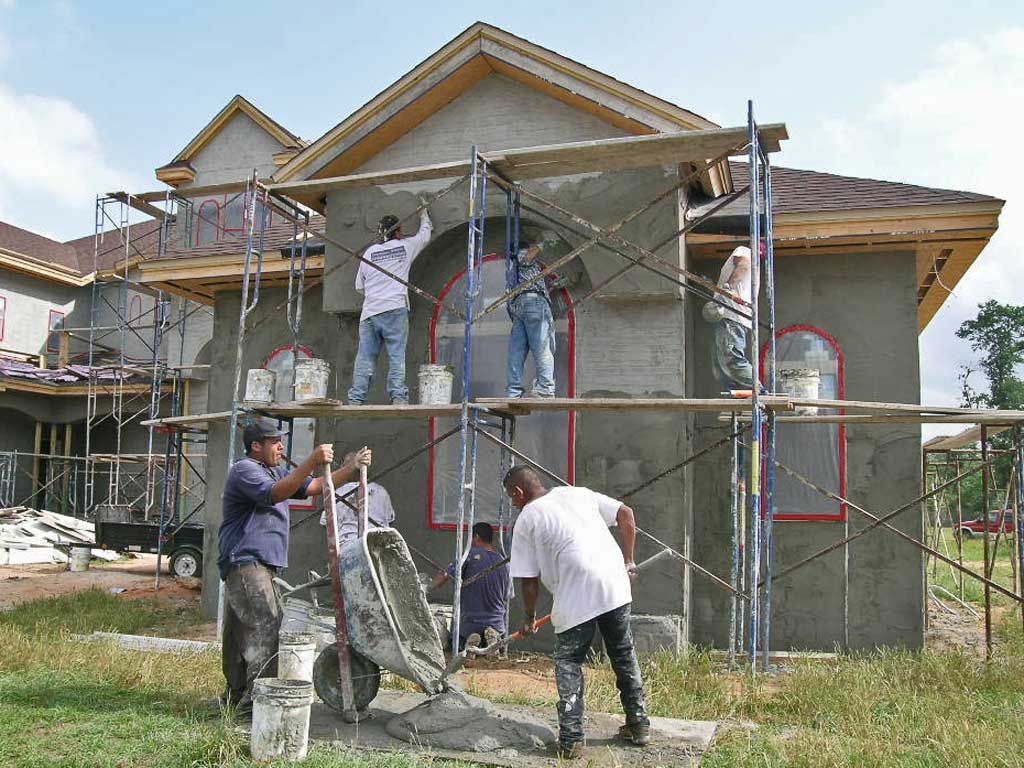
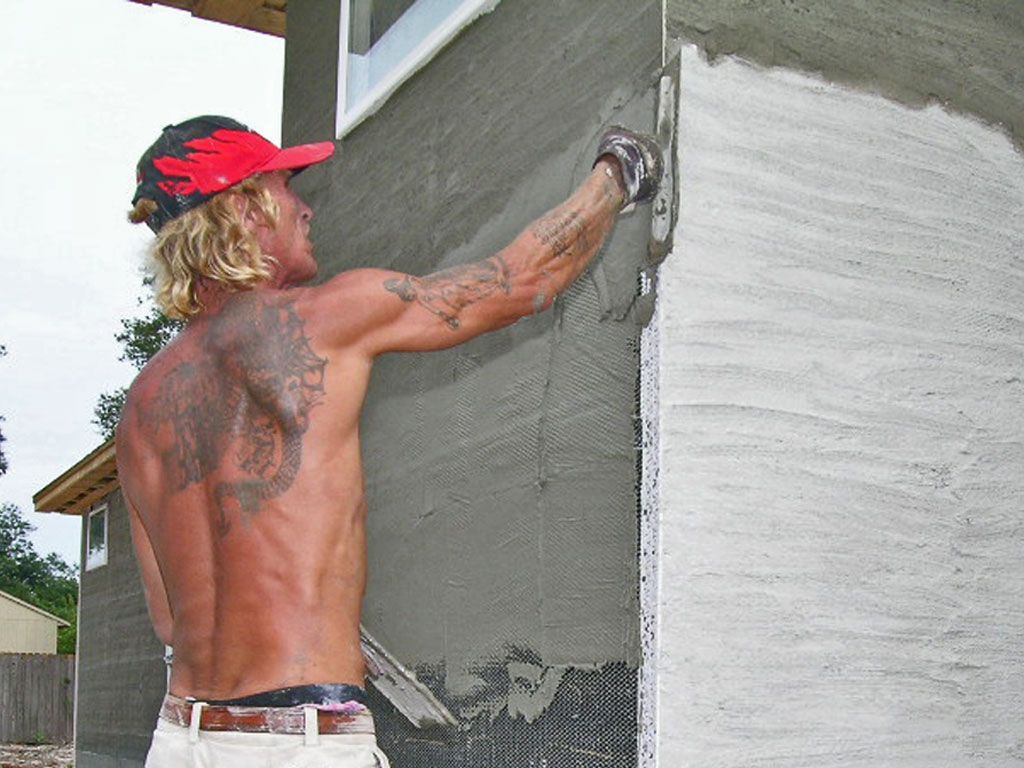


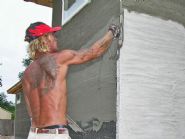
The brown coat (smooth coat) is being applied over the scratch coat (rough first coat).
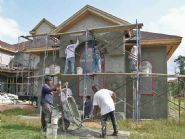
Stucco siding starts with a layer of wire lath over the drain wrap. I don't use EFIS (Exterior Finish Insulation System) also known as foam based or soft or dryvit systems.
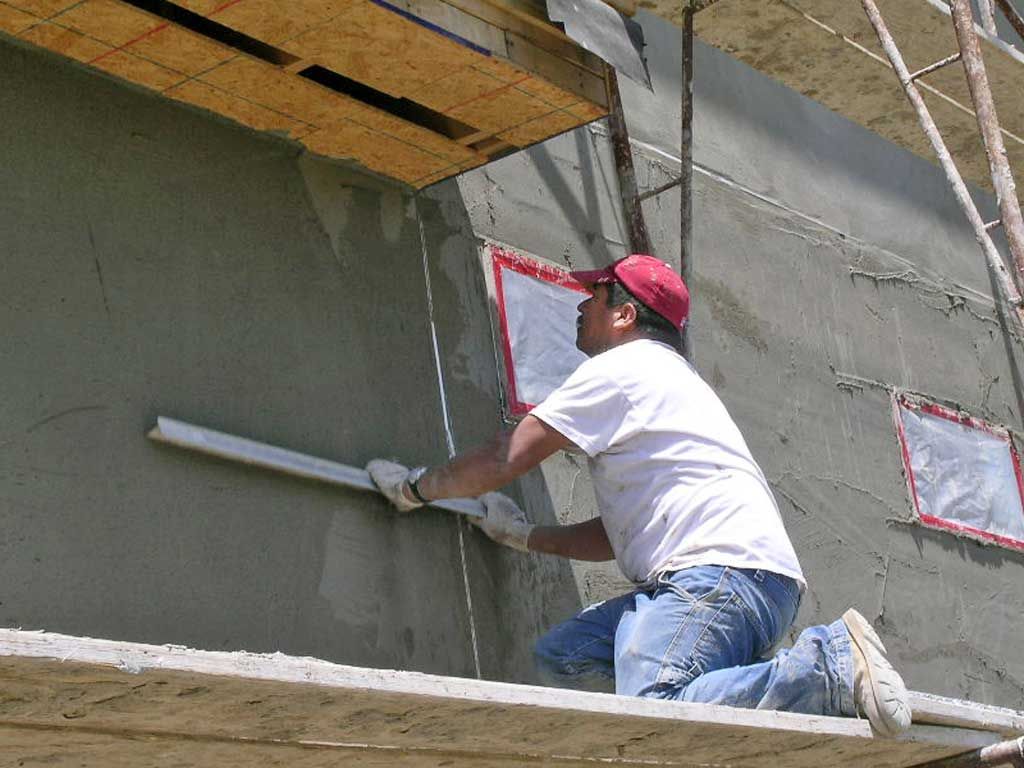
The second coat (brown coat) is being screeded with a straight edge to create a smooth and straight wall panel. Note the white vertical control joint to allow for expansion and contraction.
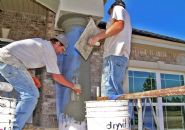
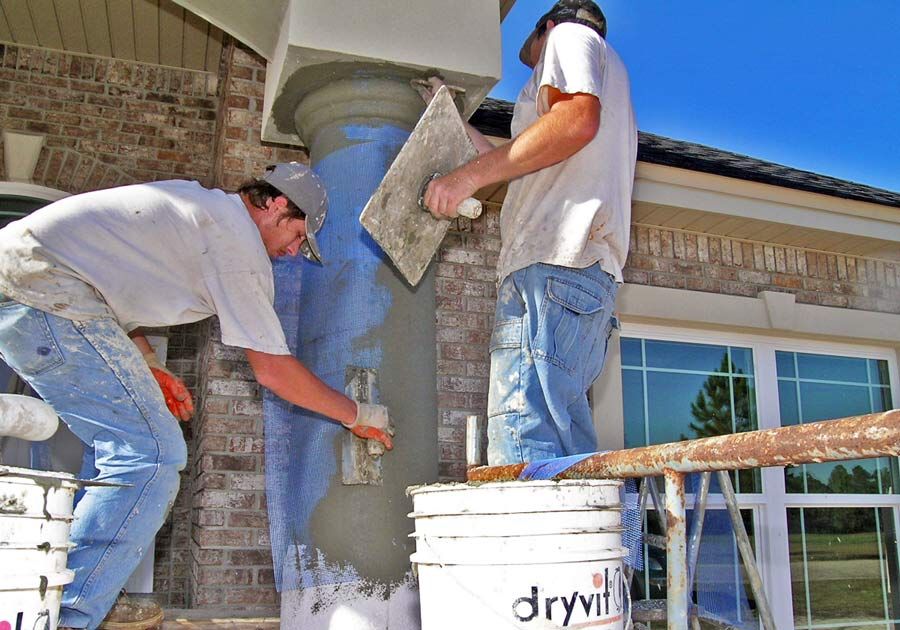
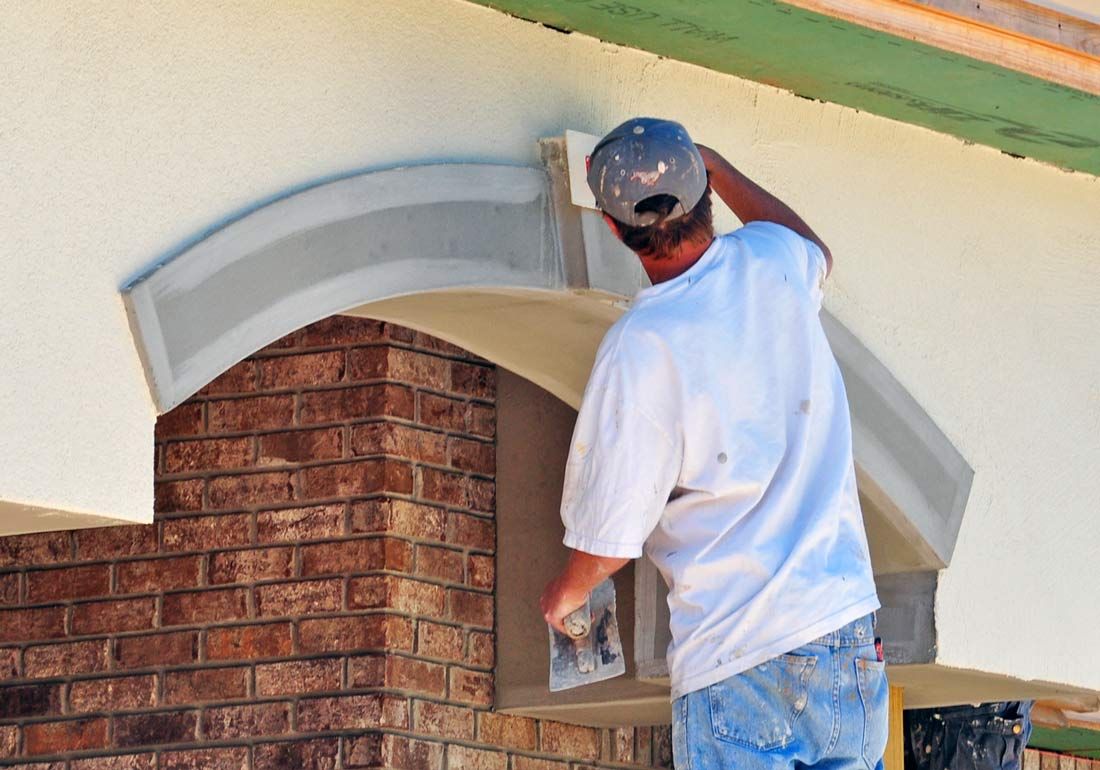
Foam reinforced with fiberglass mesh is used for trim pieces, bands, columns, etc. placed over the hard coat system.
A colored finish coat is troweled on over the brown coat to create a durable colorfast finish.
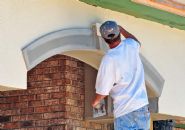
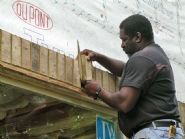
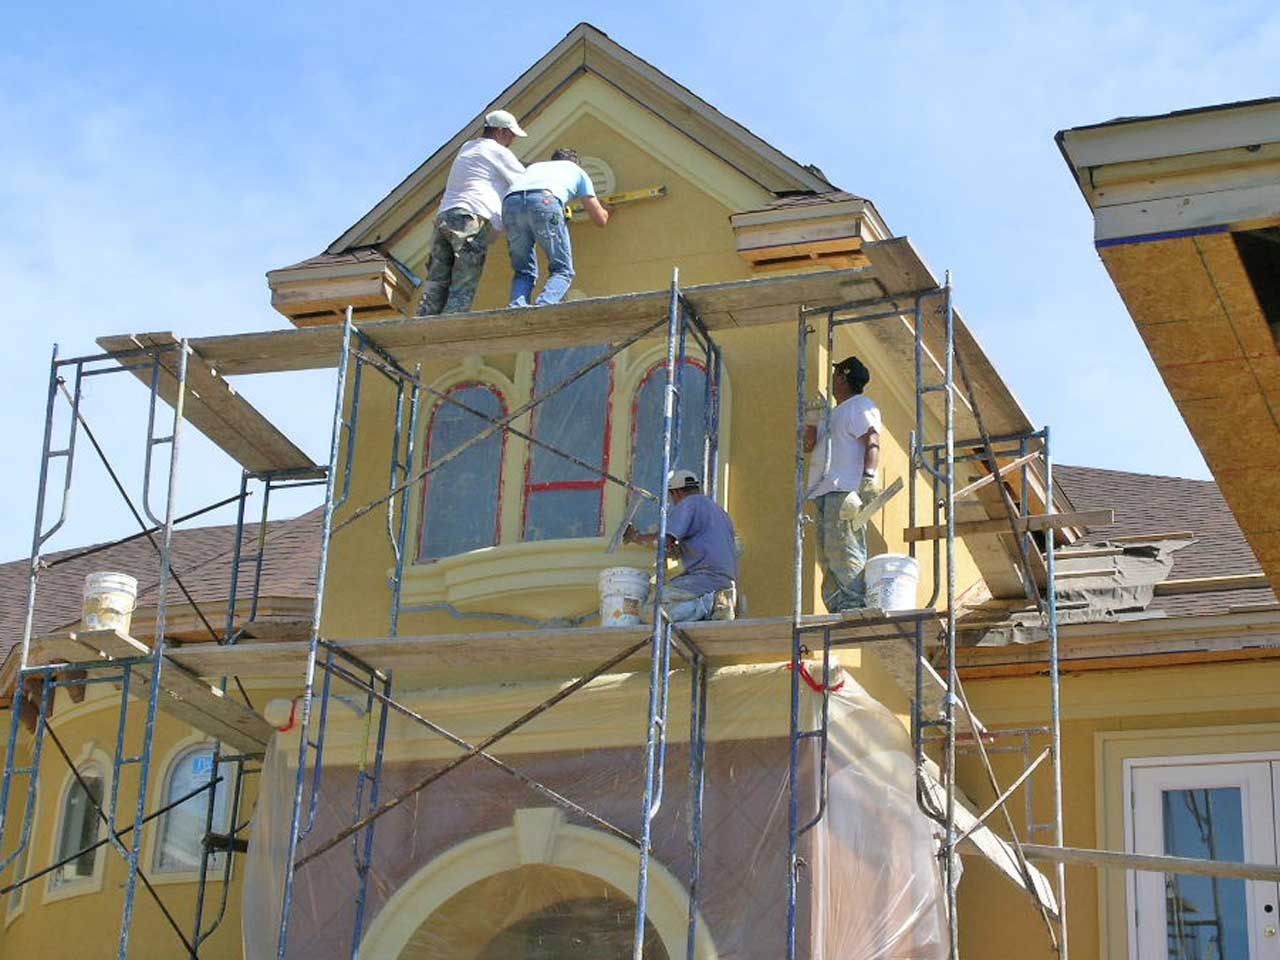
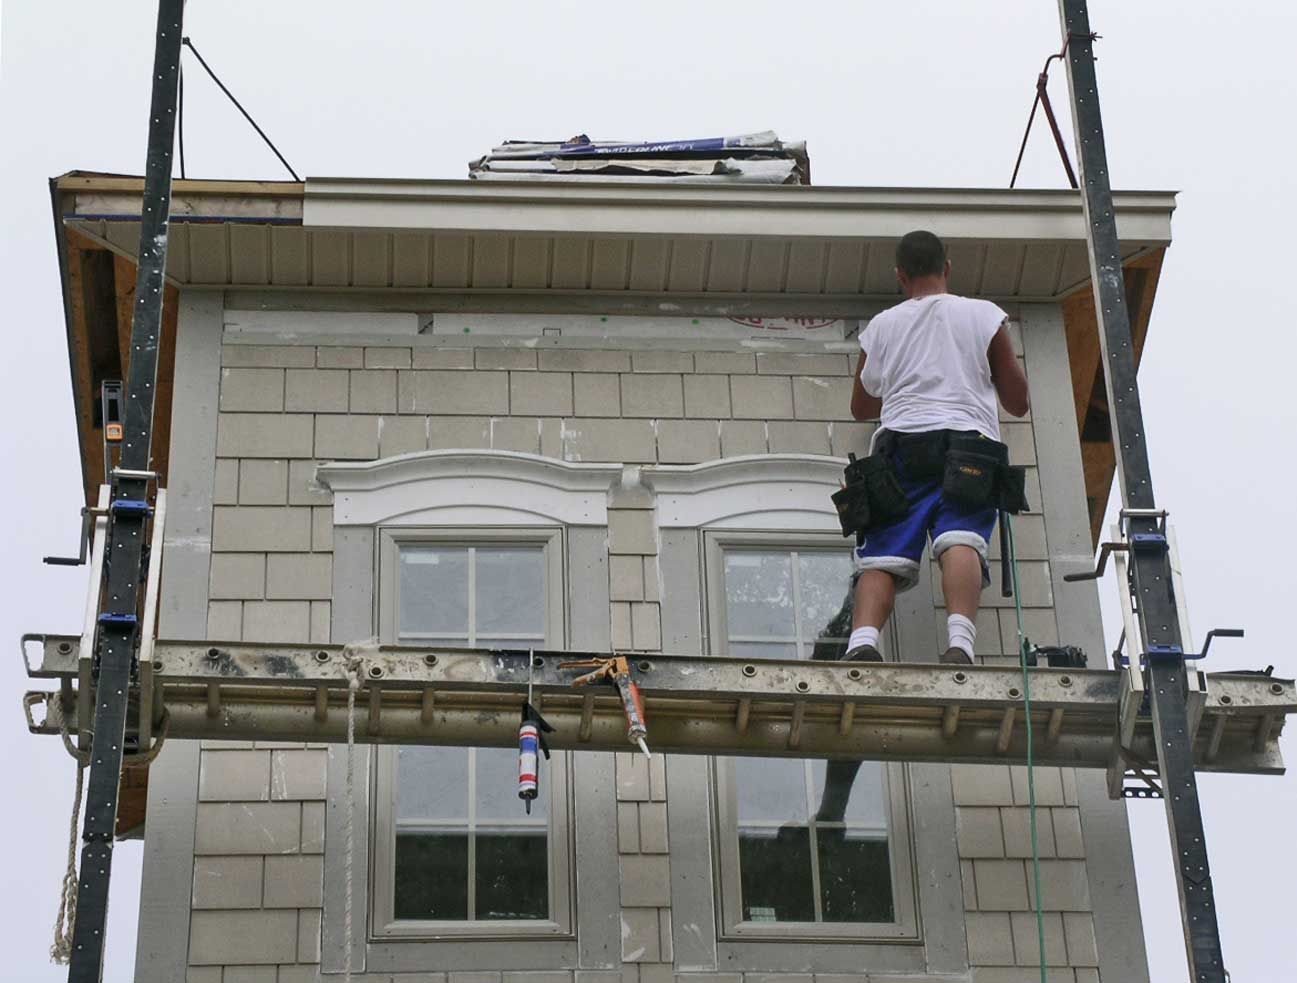
Claudiu applying trim on the tower.
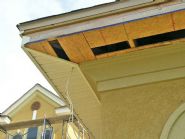
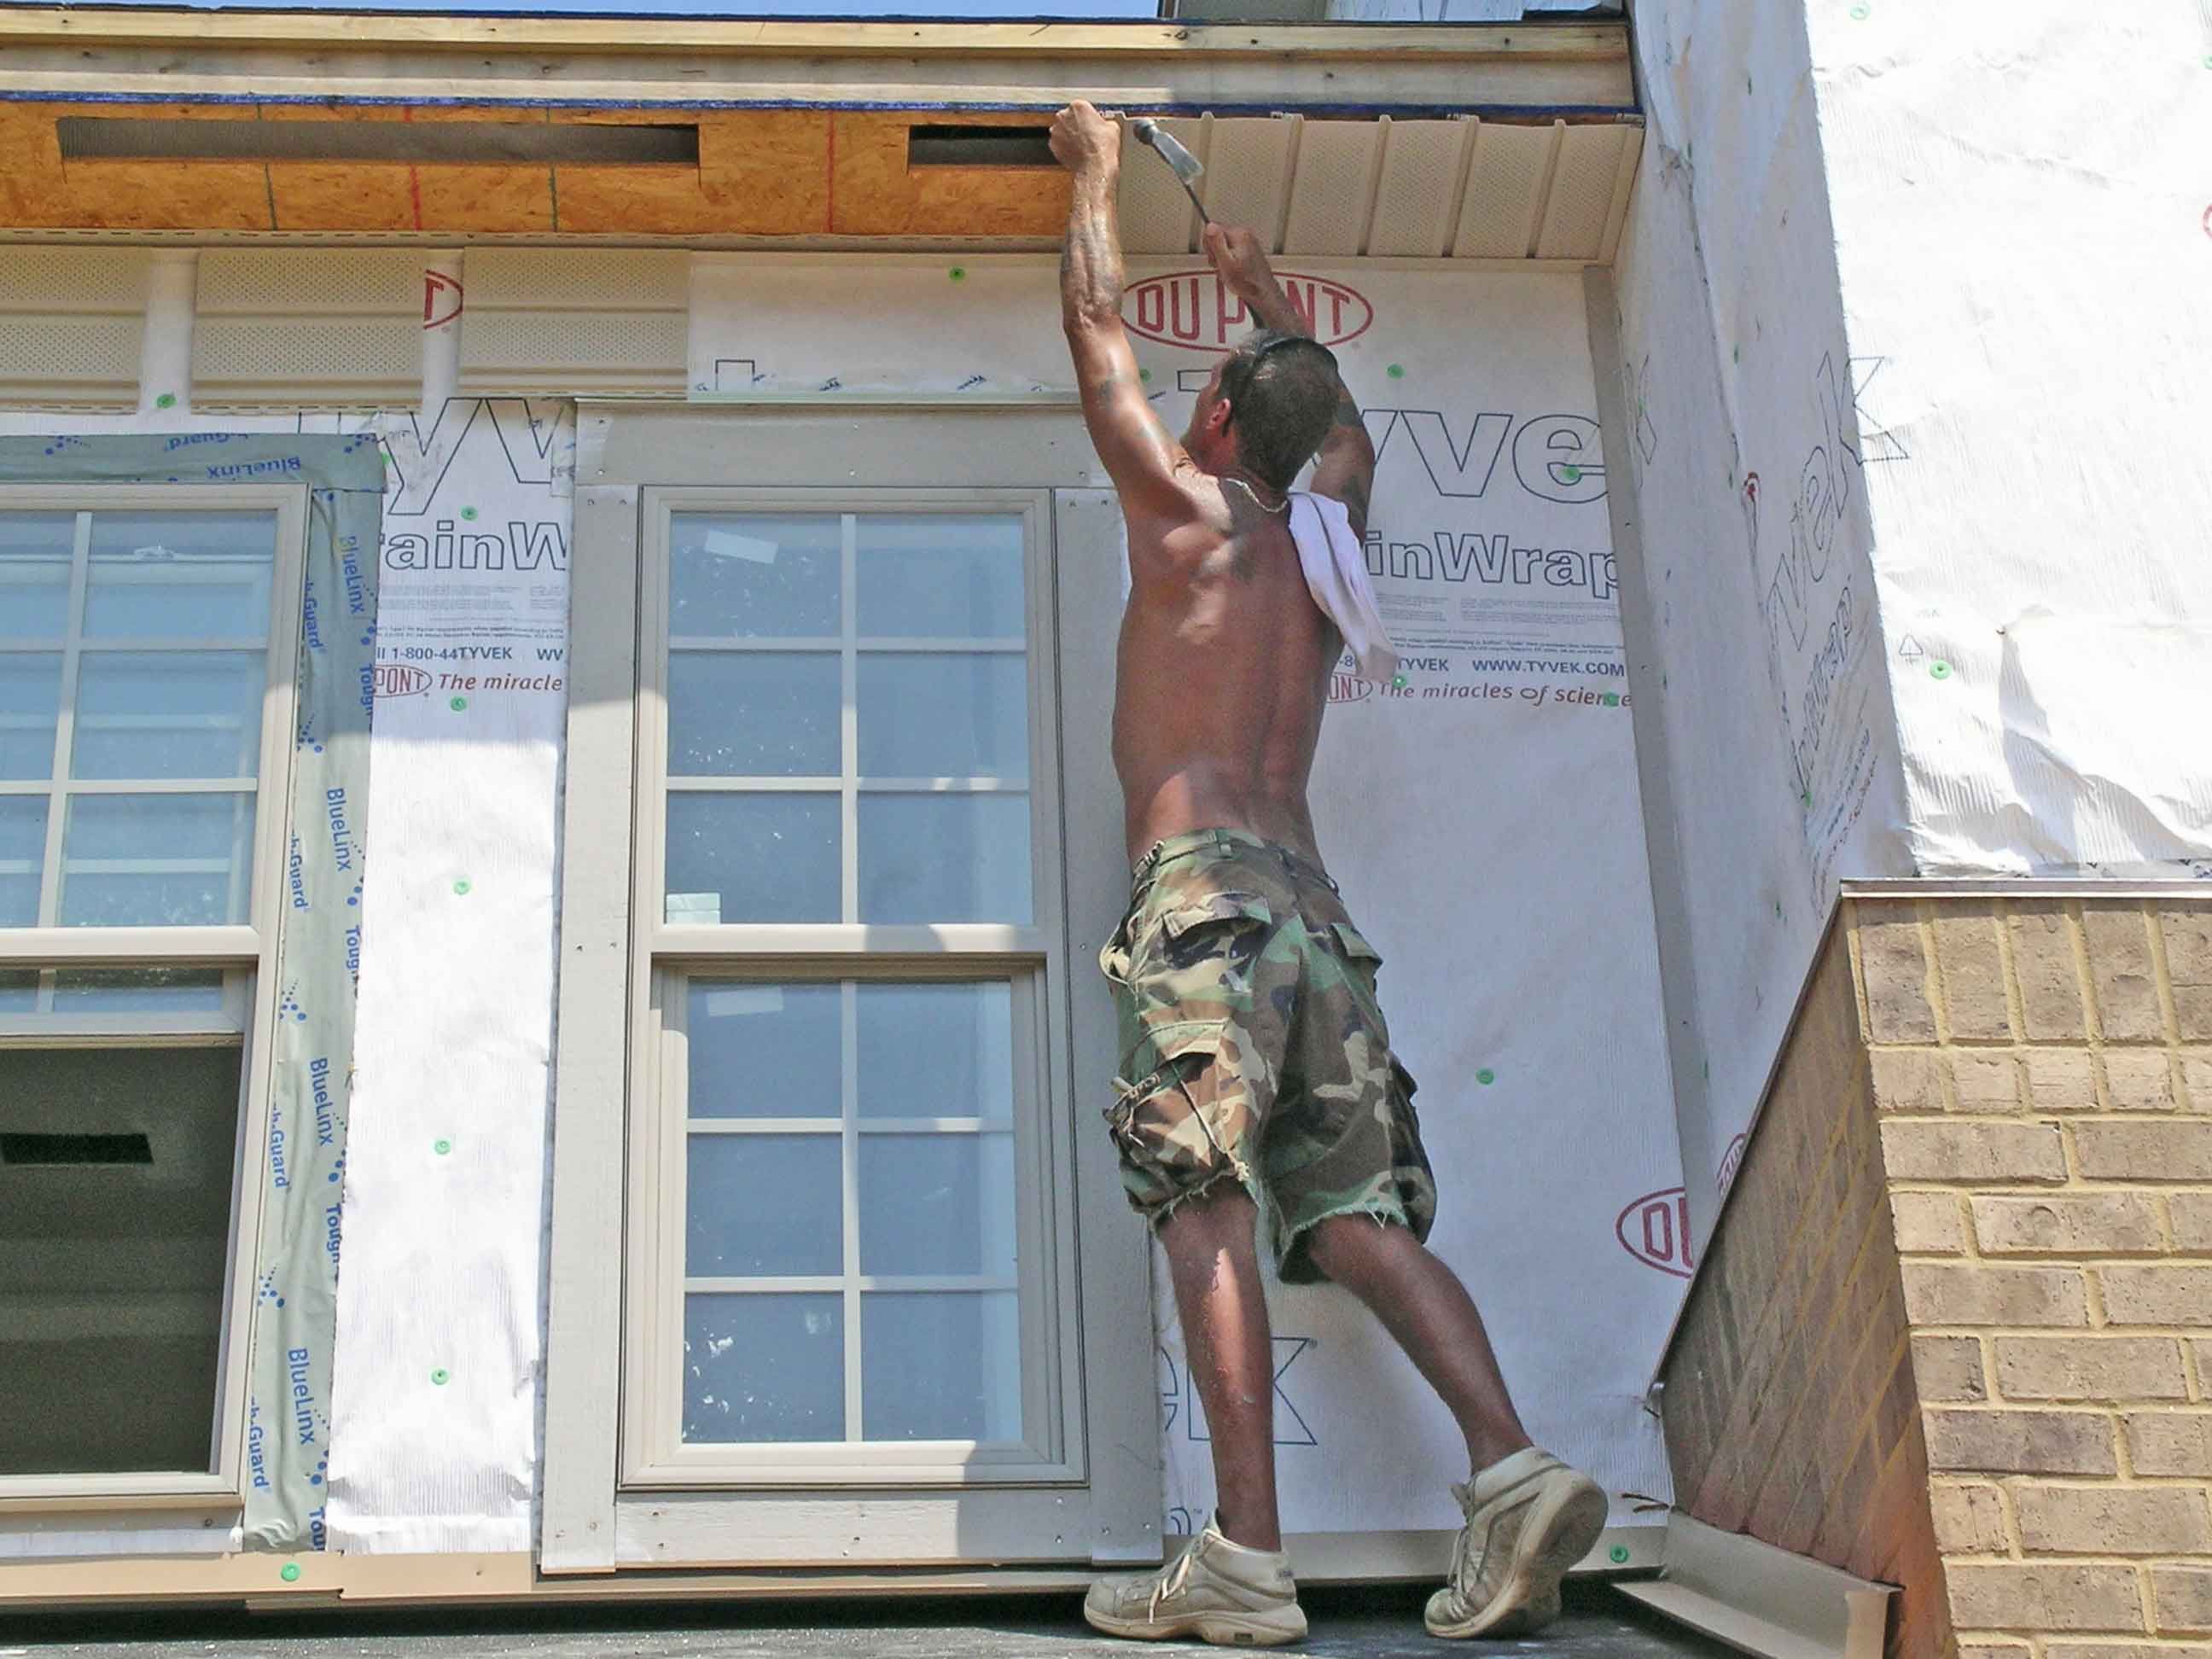
The plywood behind the vinyl soffits prevent blowout during high winds. The cut outs are for attic ventilation.
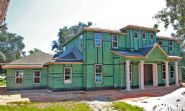
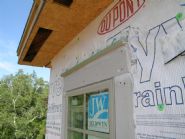
We use zip board wall sheathing which has a green moisture resistant coating. All joints are taped and sealed to create a high quality water resistant and air tight thermal envelope. This is a far superior system to any type of house wrap. I have used them all and this is absolutely the best wall sheathing system available.
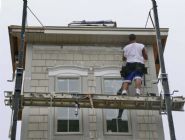
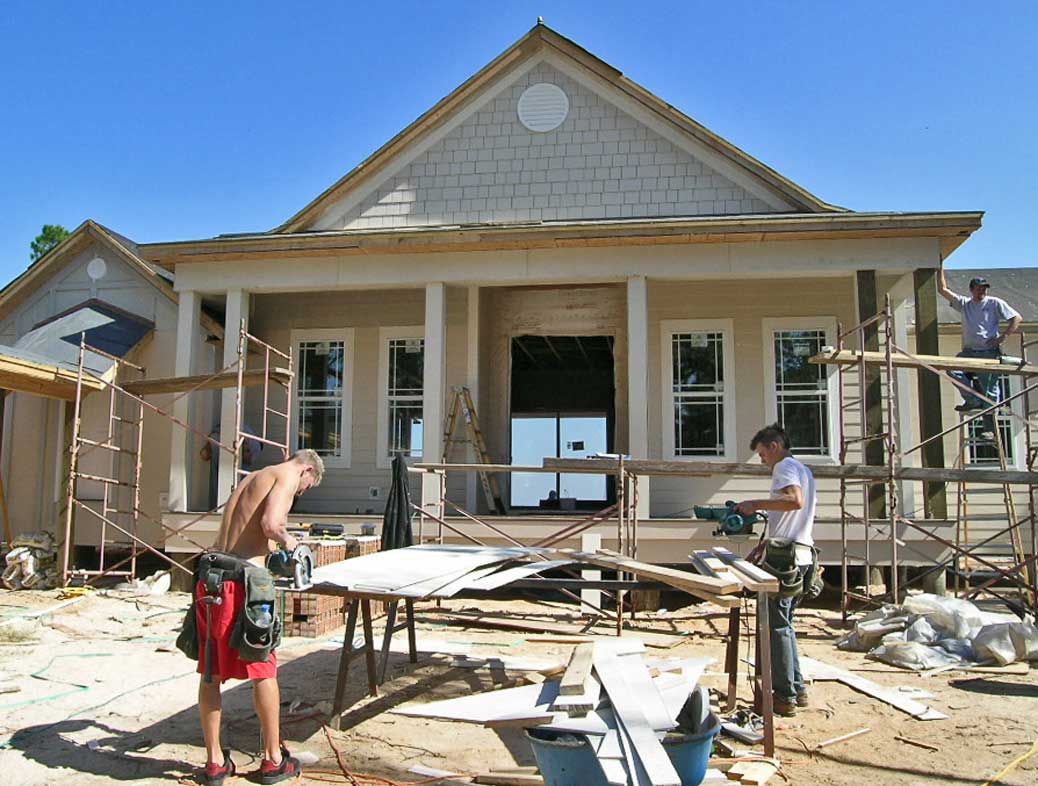
Cement fiber siding being installed.
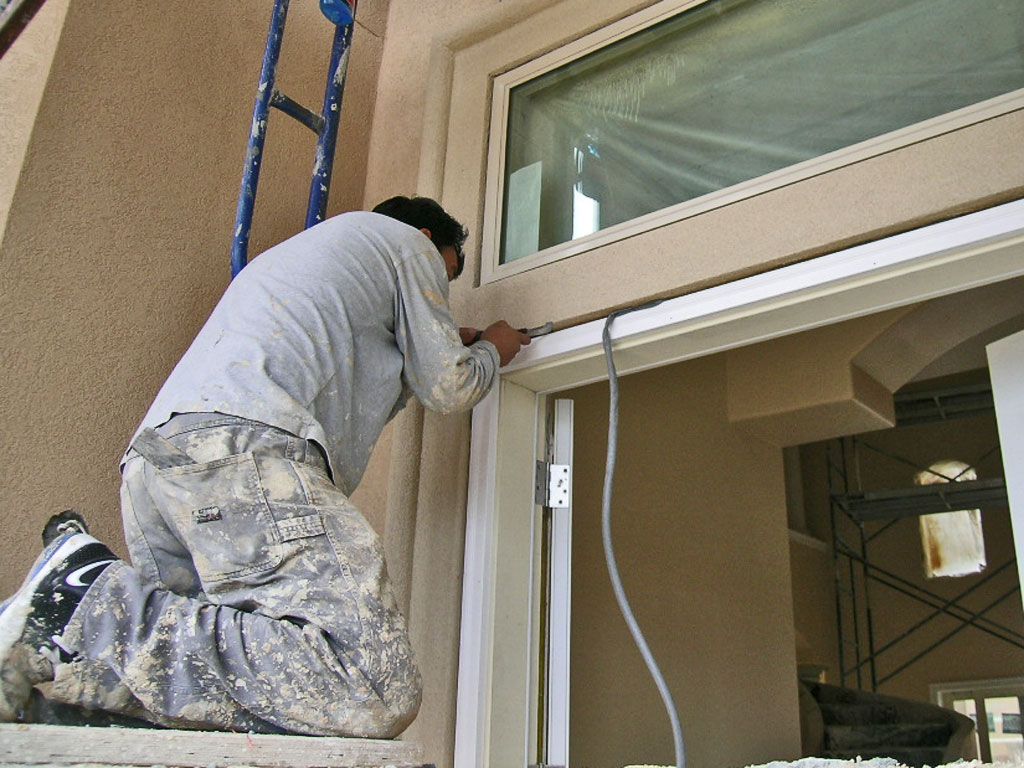
All cut ends of siding and trim boards are primed on the ground before installation. This insures against edge swelling and paint failure at the joints.
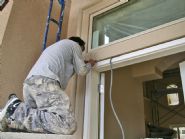
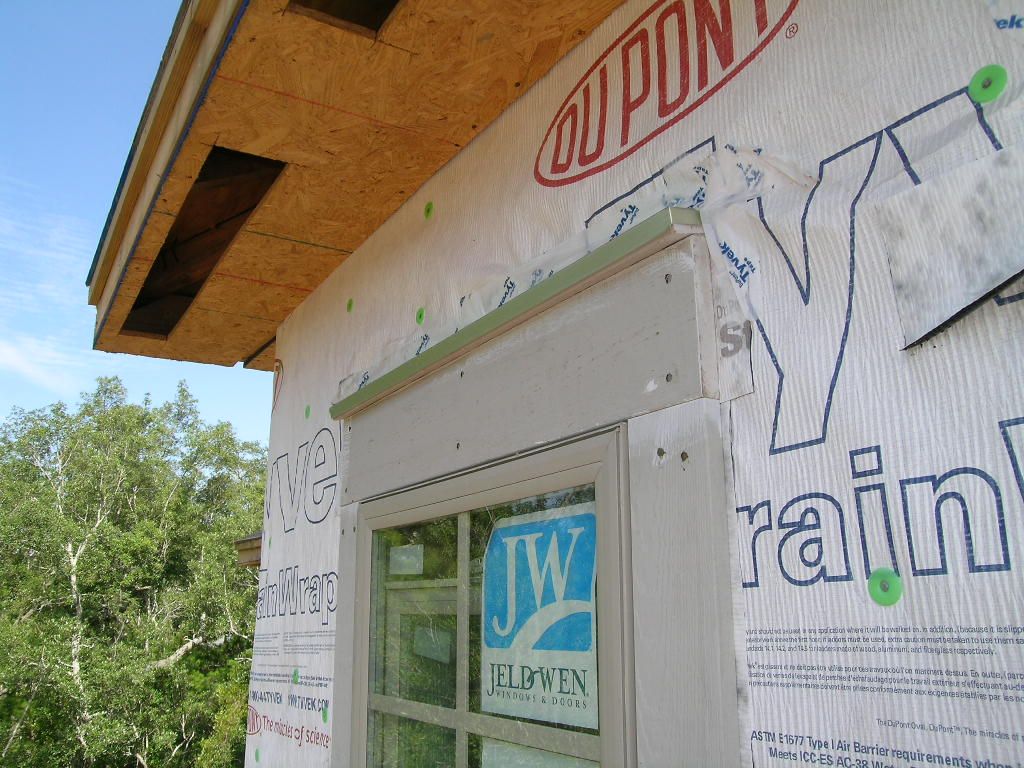
Here is a properly trimmed out window. Trim boards pre primed on their cut edges. Pitched top trim with metal flashing tucked behind the drain wrap. Cut edges of the drain wrap are taped shut. No leaks, no call backs, no wood rot 7 years later.
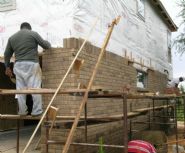
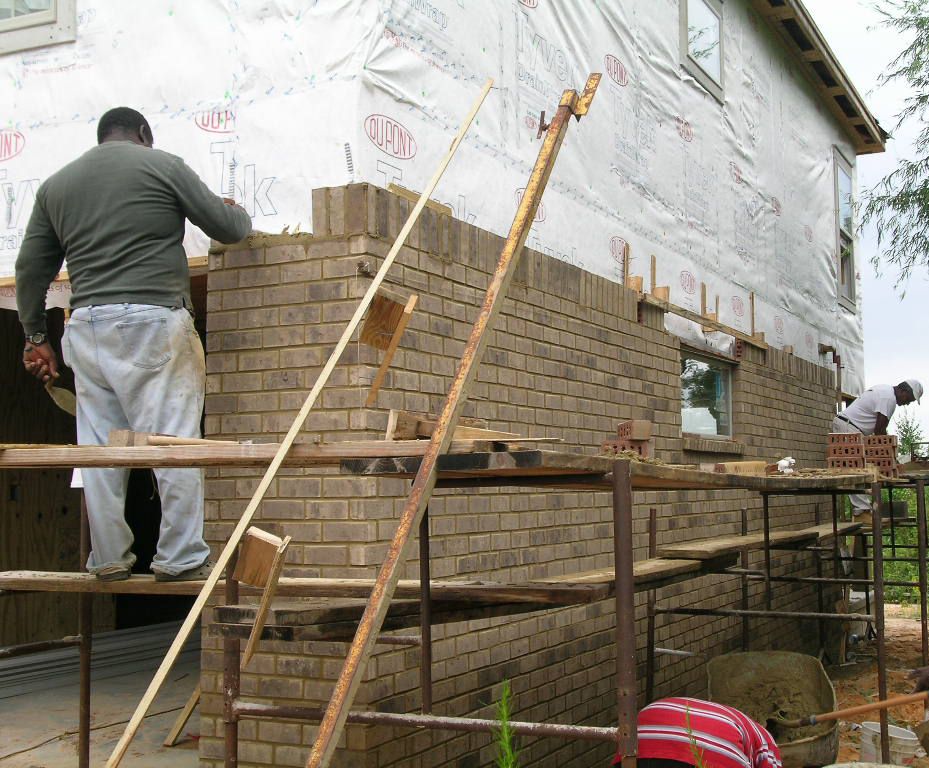
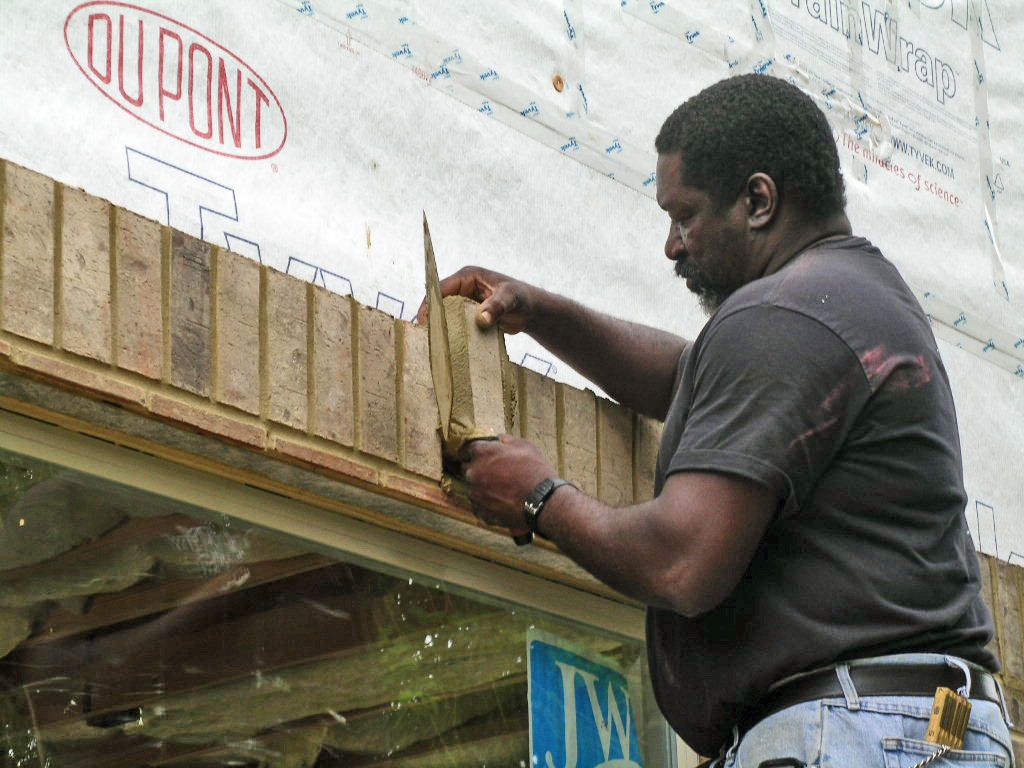
Tyrone laying up a wall. We're using colored mortar here to blend in with the color of the brick.
Tyrone laying up a soldier course. Straight, level and plumb.
Troy installing vinyl soffit over solid plywood sub soffits.
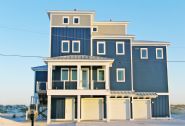
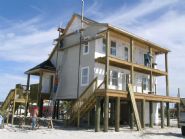
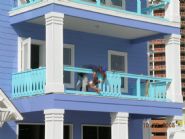
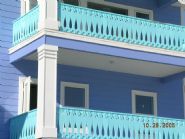
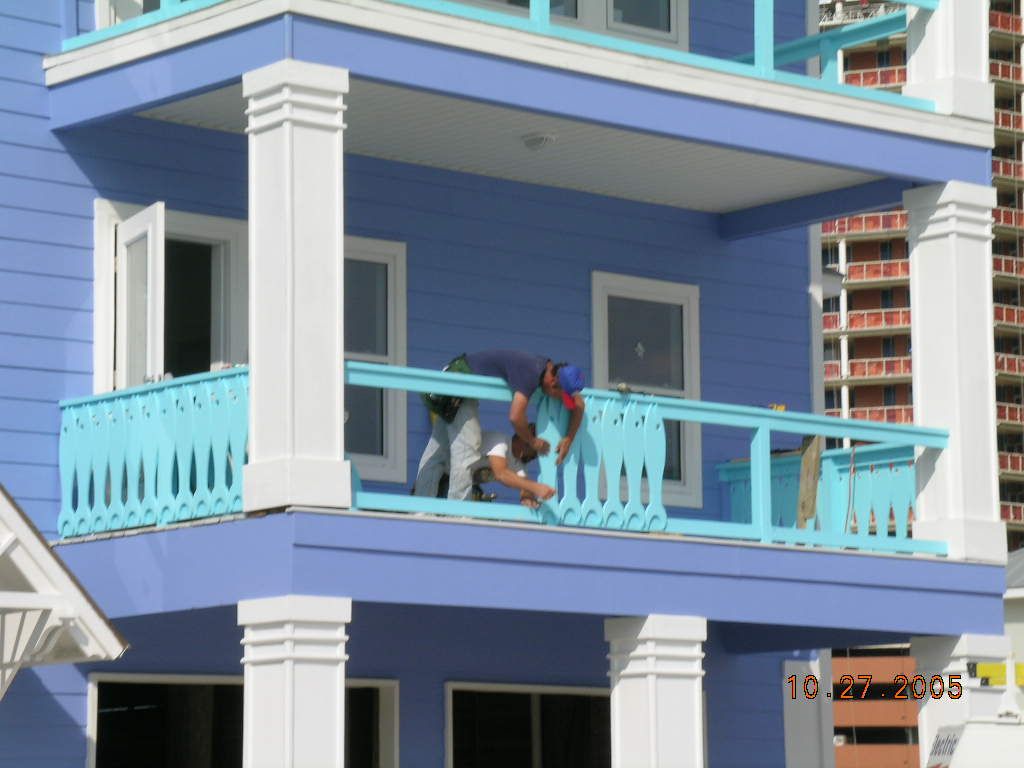
Installing the railing on a beach house one fish at a time.
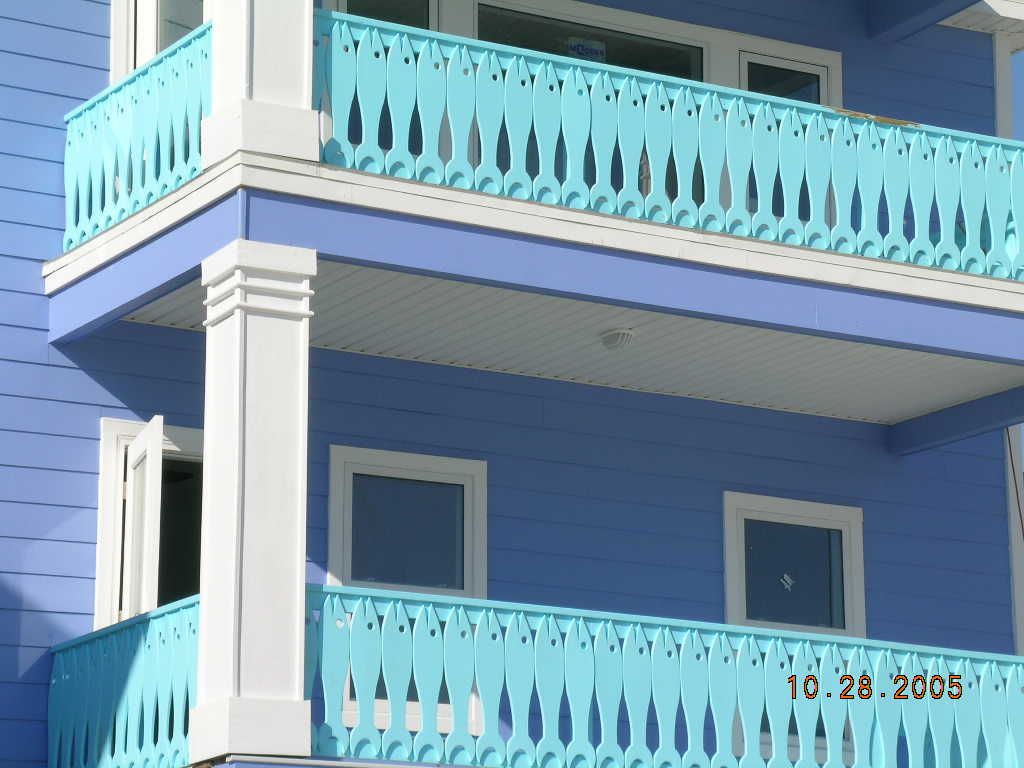
A school of 108 fish. I designed the fish and the owner fabricated them in his garage wood shop.