Construction Process: Slab foundations
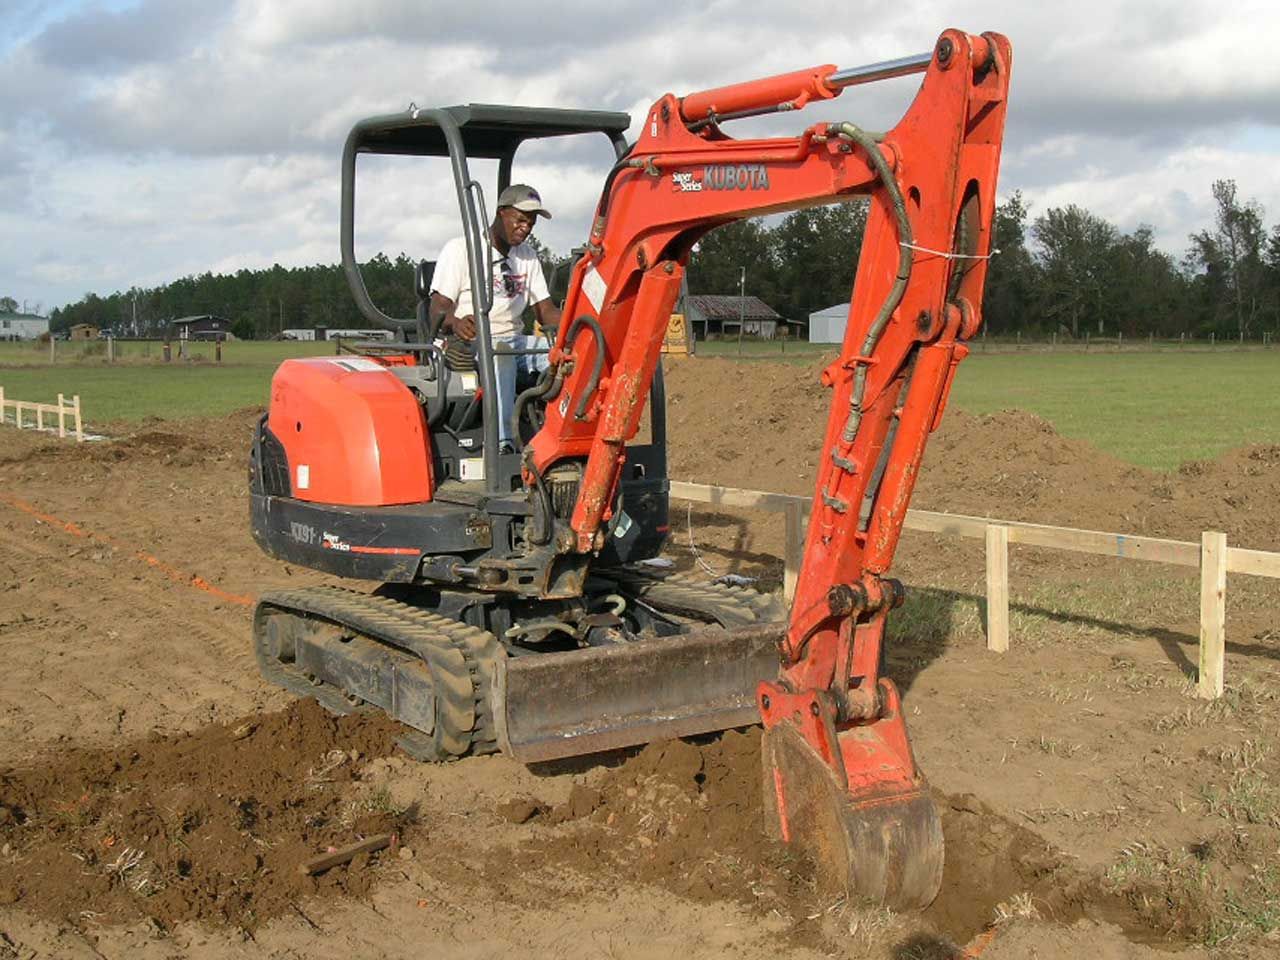
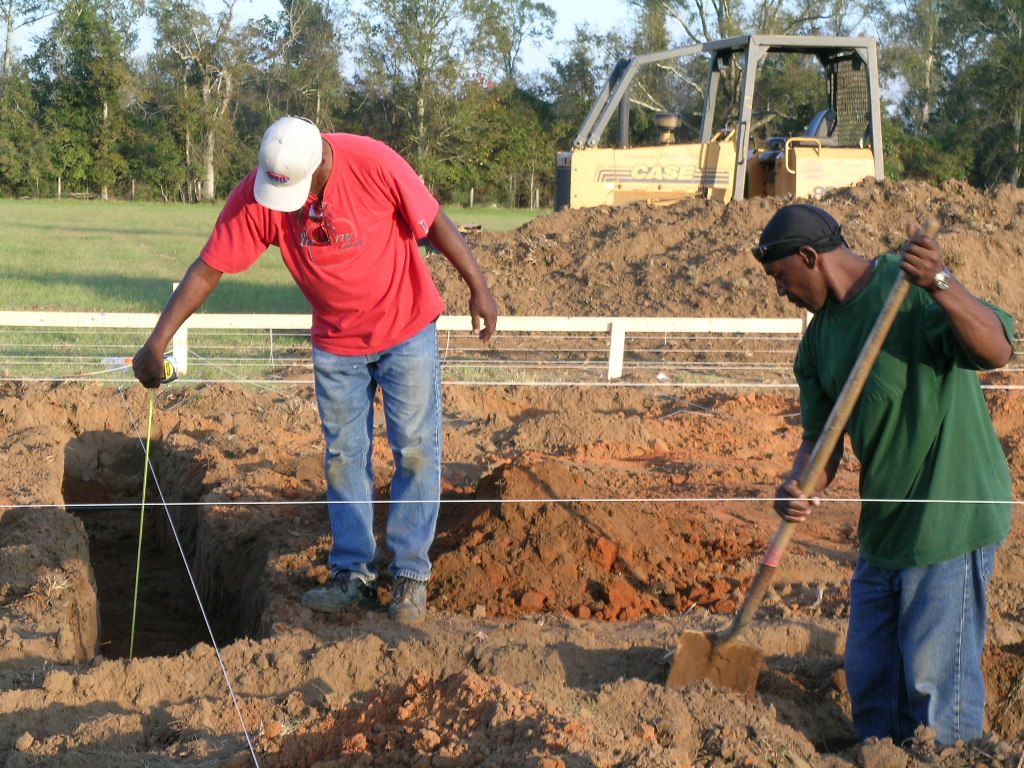


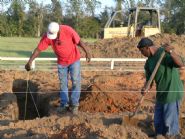
The job starts with setting the wooden batter boards, stringing out all the walls, then digging the footings. I check the location of every string before allowing the footings to be dug.
Willie is checking the depth of the footings against the height of the strings to make sure the footings are dug deep enough.
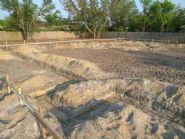
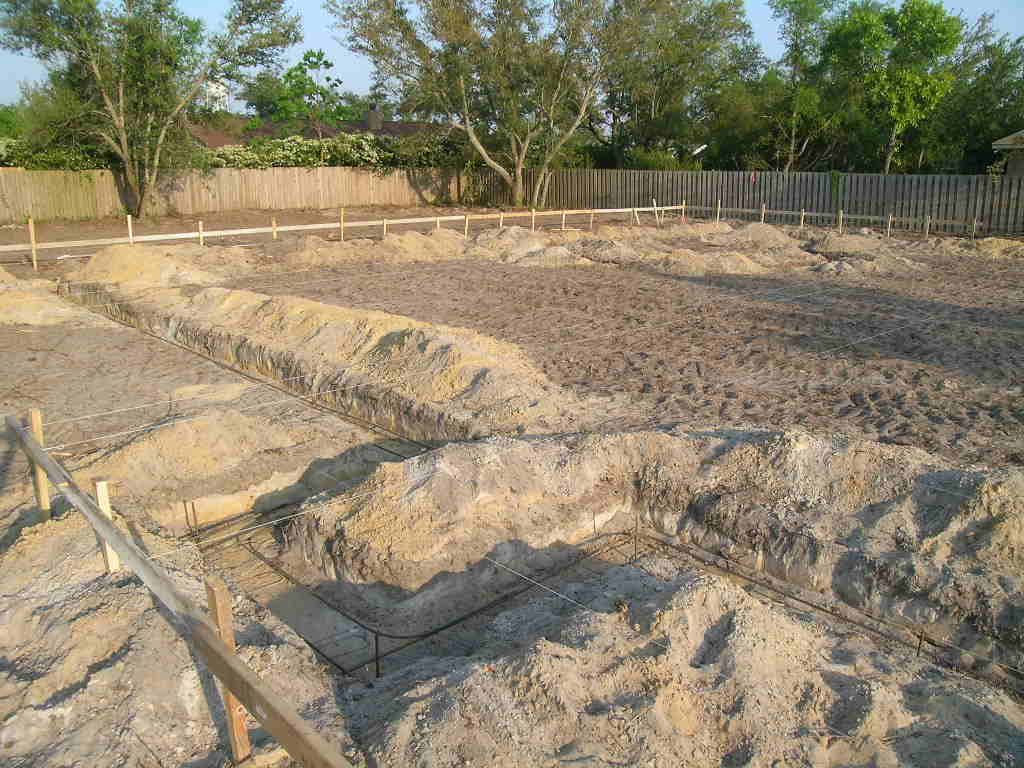
Steel rebars rest on wire "chairs" in the dug out footings. All organic debris has been removed from the foundation area. Ready for inspection.
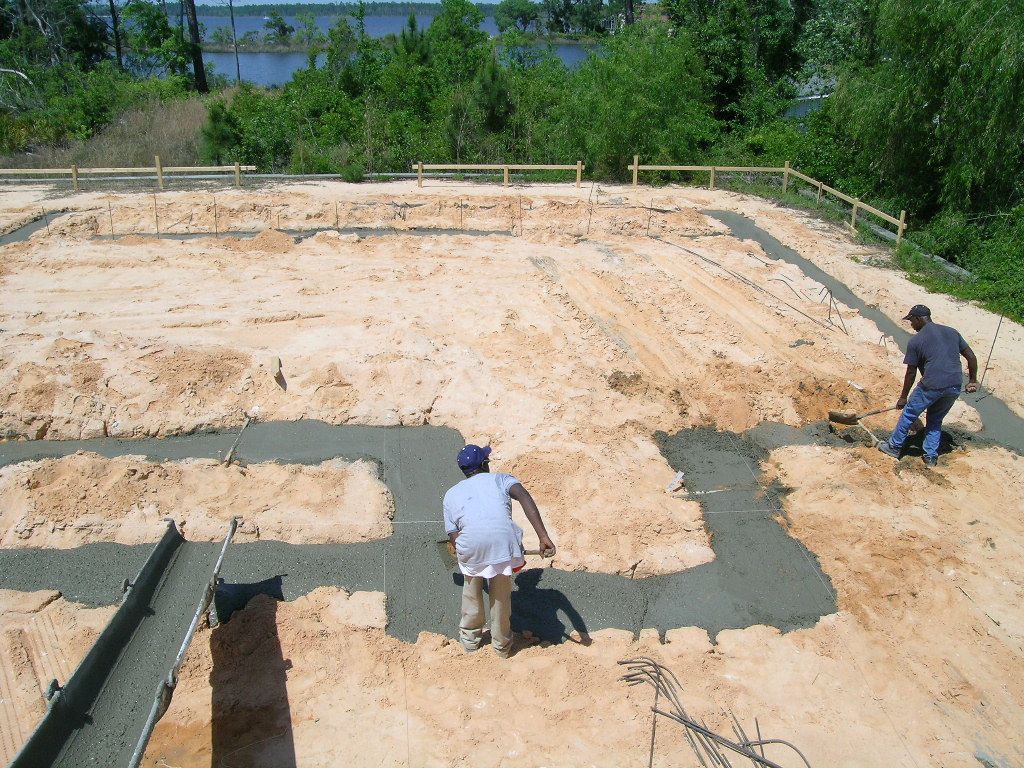
Footings being poured.
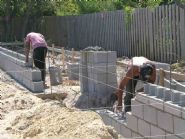
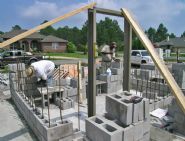
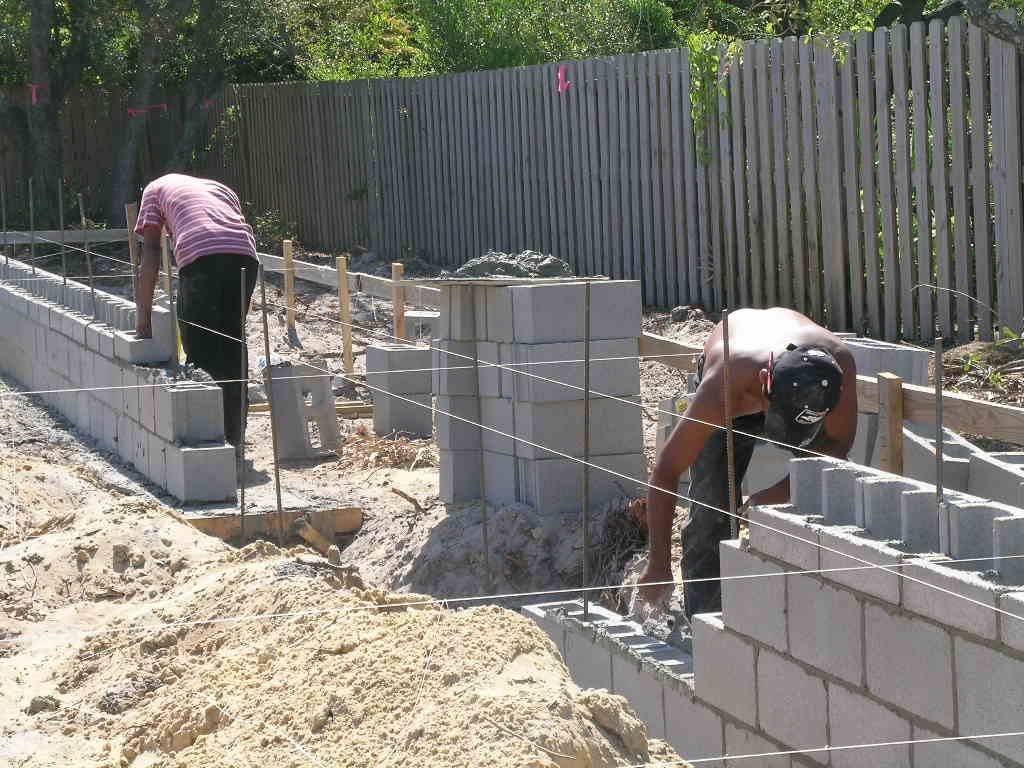
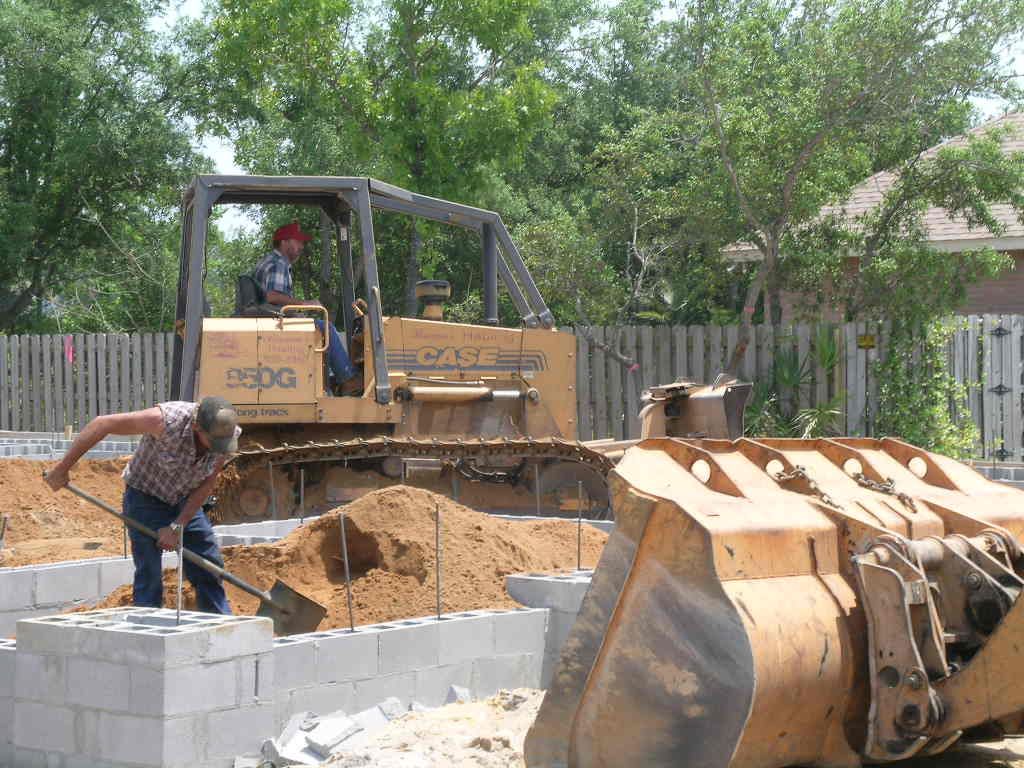
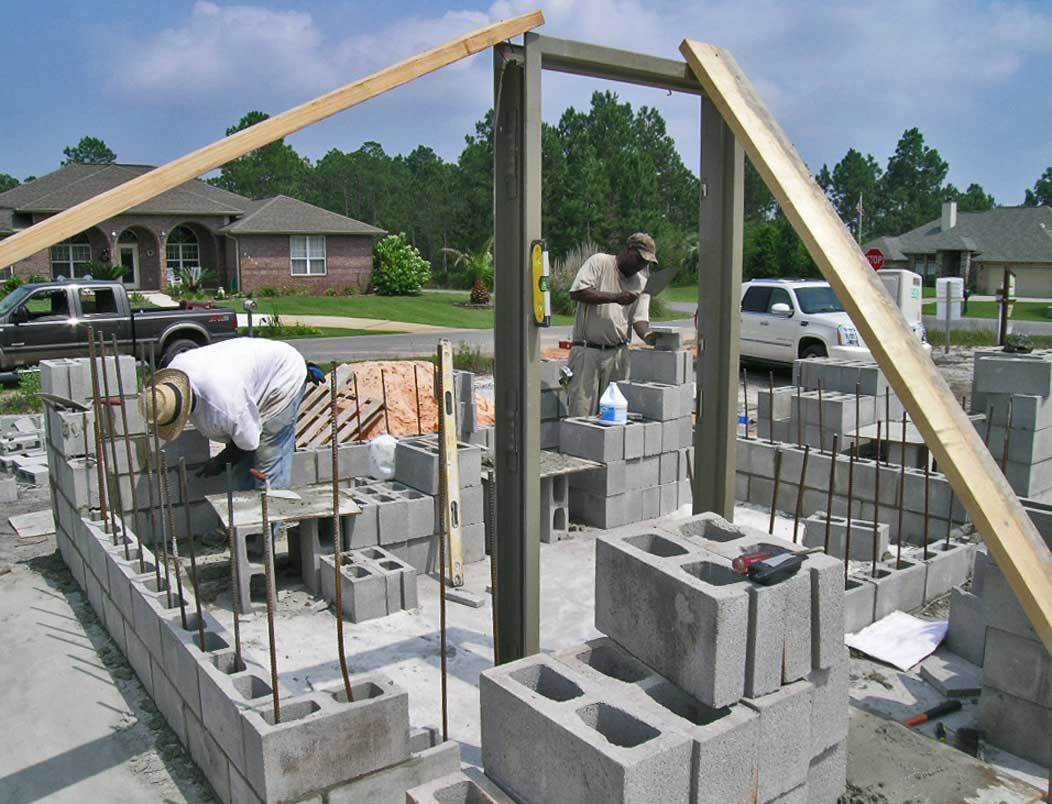
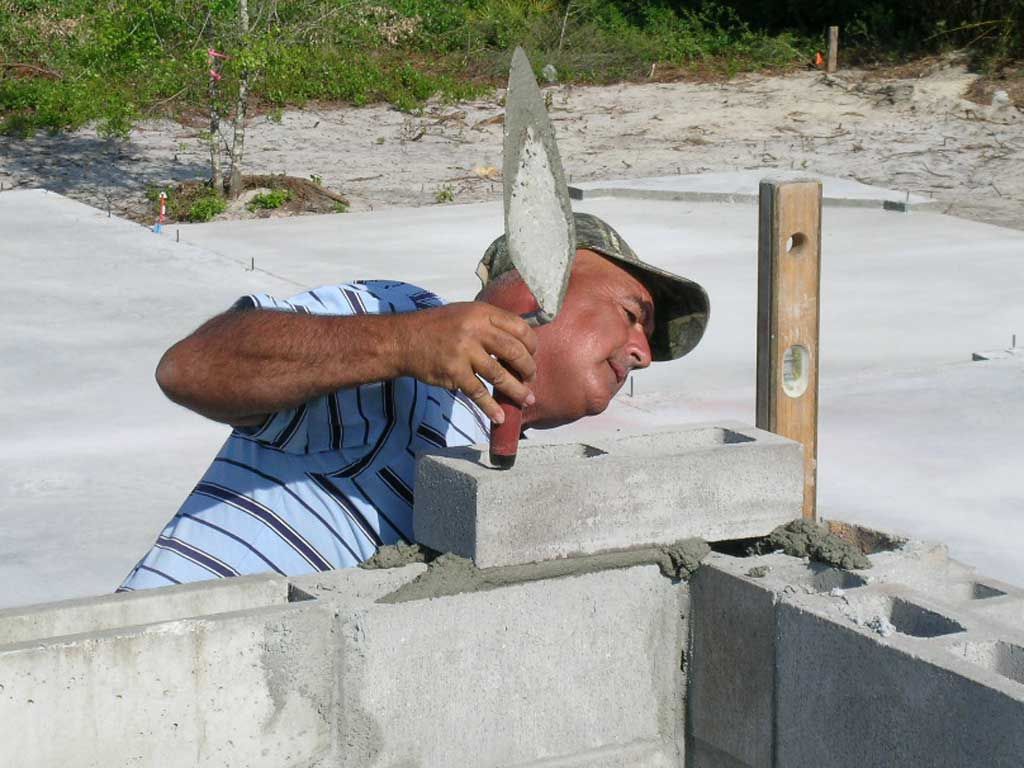
Laying up the block. The strings are put back up to create guidelines for the masons. Once all the blocks are up I measure all the walls against the plans. This is where I all too often find a wall an inch or two out of alignment. Sometimes a string is on the wrong nail on the batter board. Sometimes a wall has been laid up on the wrong string. Catching these mistakes early prevents an out of square slab from being poured and all the framing problems that go with it.
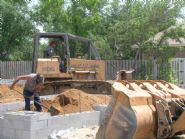
Filling the slab. The fill gets compacted with a blade tamper.
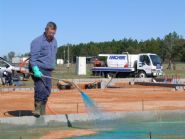
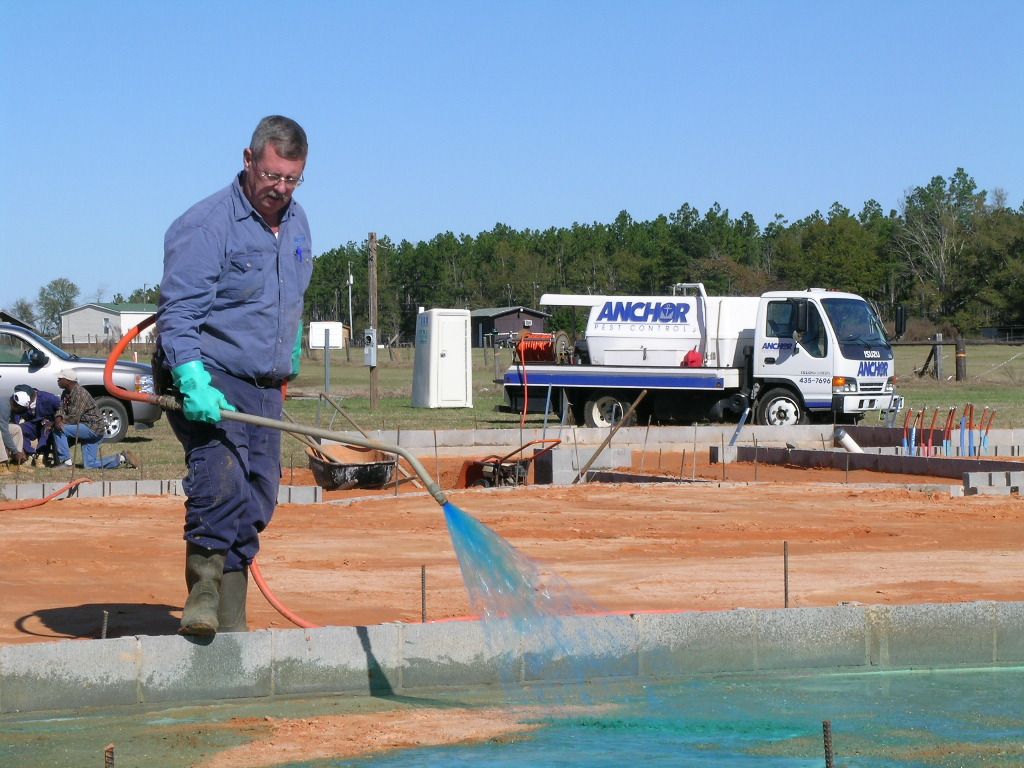
Termite treating over the compacted fill.
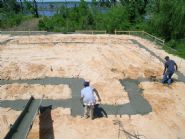
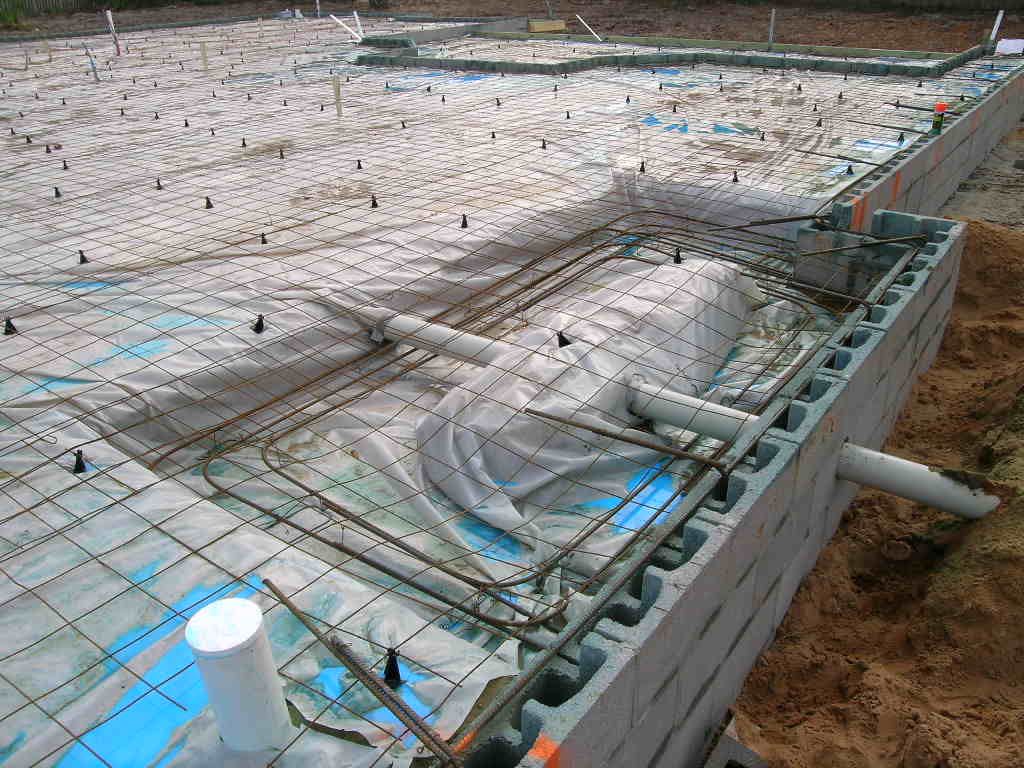
Pipes are installed, plastic vapor barrier is installed, then welded wire mesch is laid over the plastic and held up in place by the little black plastic chairs.
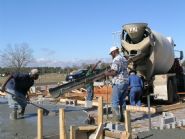
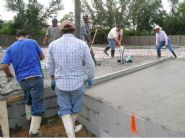
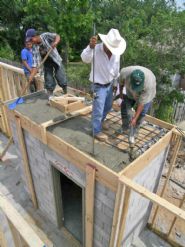
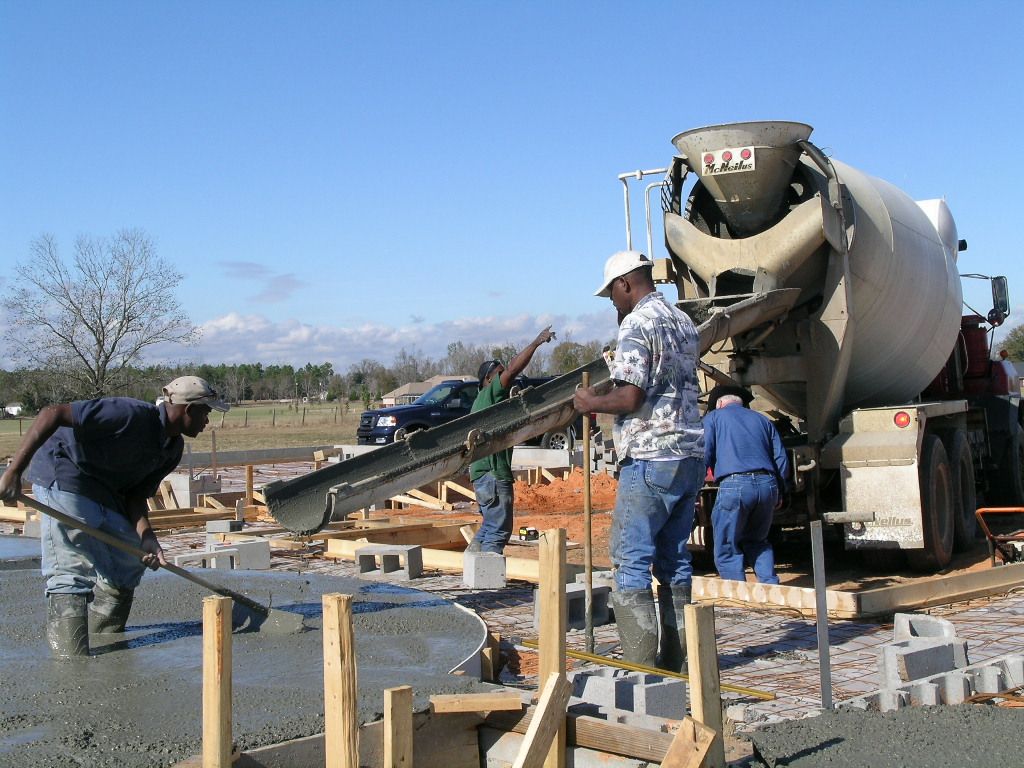
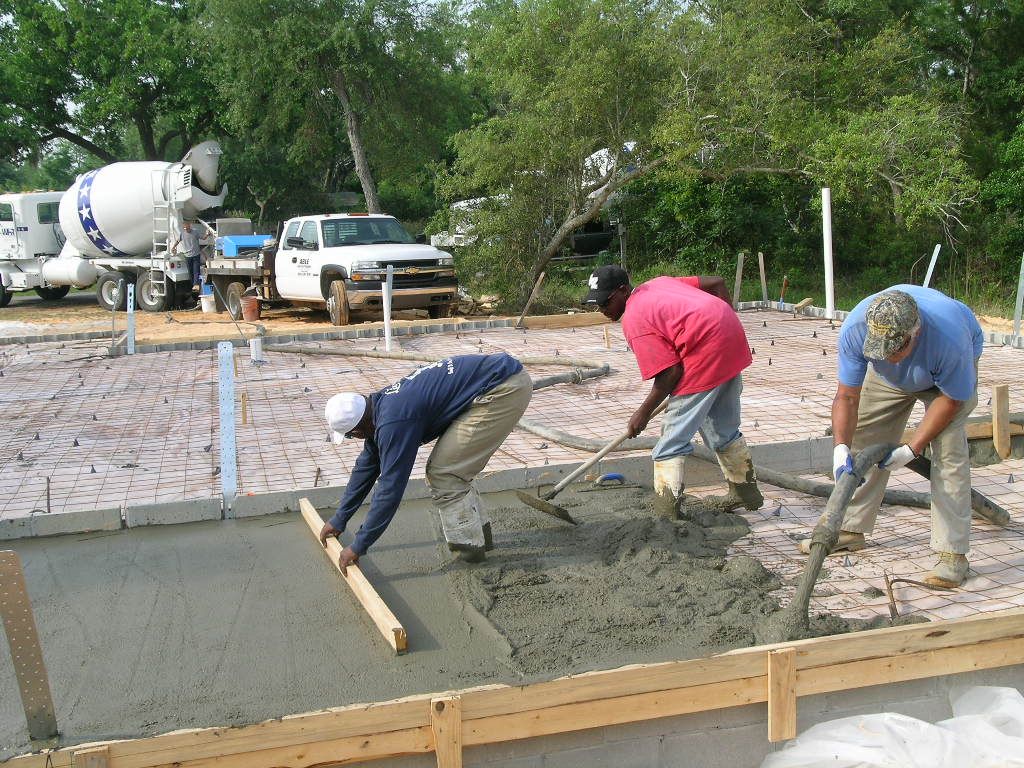
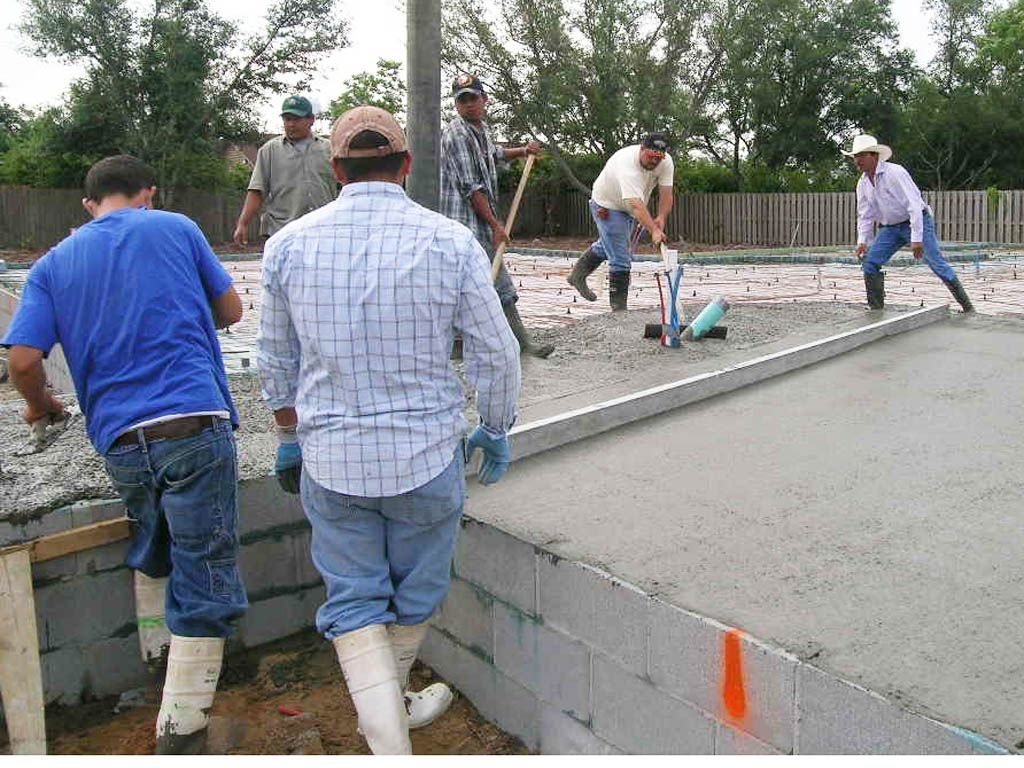
Pouring the slab.
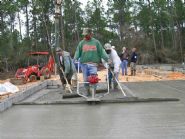
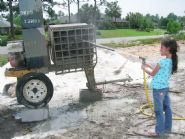
A line pump is used to pump the concrete through a hose to the back of the slab on a lot with limited access.
A boom pump truck is used for larger jobs that need higher volume delivery on lots with limited access.
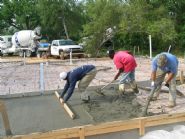
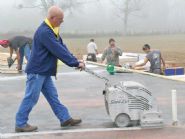
Screeding or leveling the concrete.
A bull float is used to push the aggregate (gravel) down and pull the cement up to the surface to create a smooth hard surface.
Setting the anchor bolts. I have marked their locations on the block so there's no guessing where they are supposed to go.
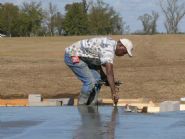
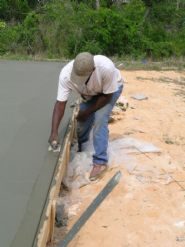
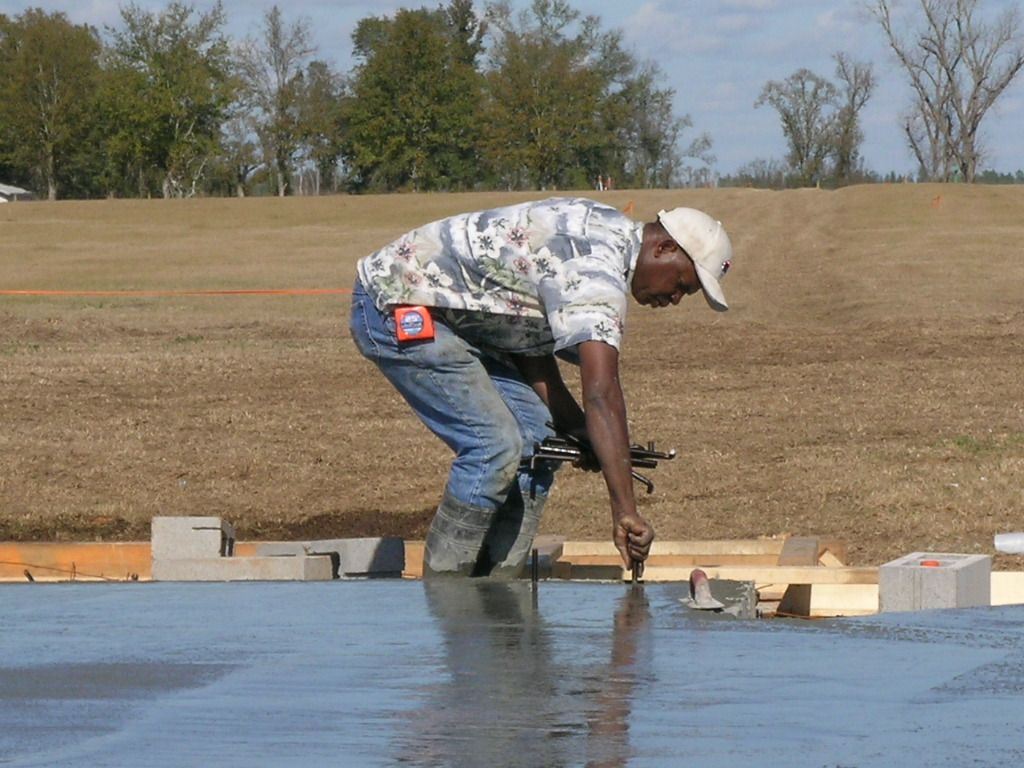
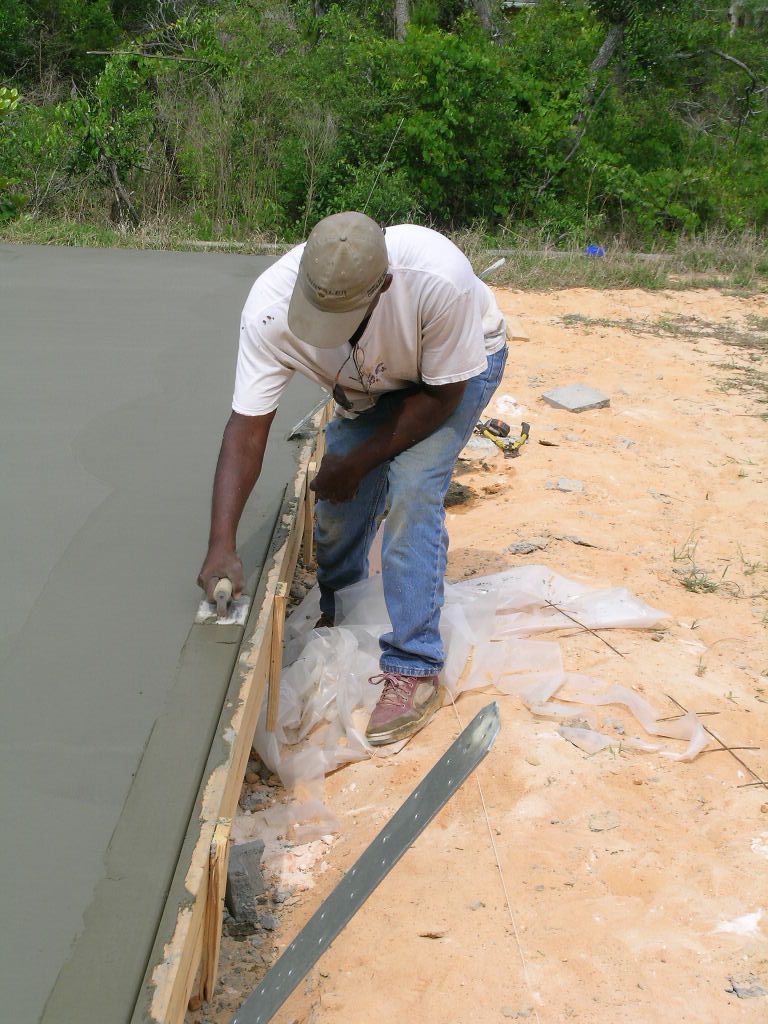
Tooling the concrete with an edge tool to create a rounded edge on the porch.
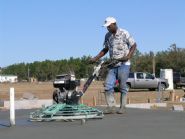
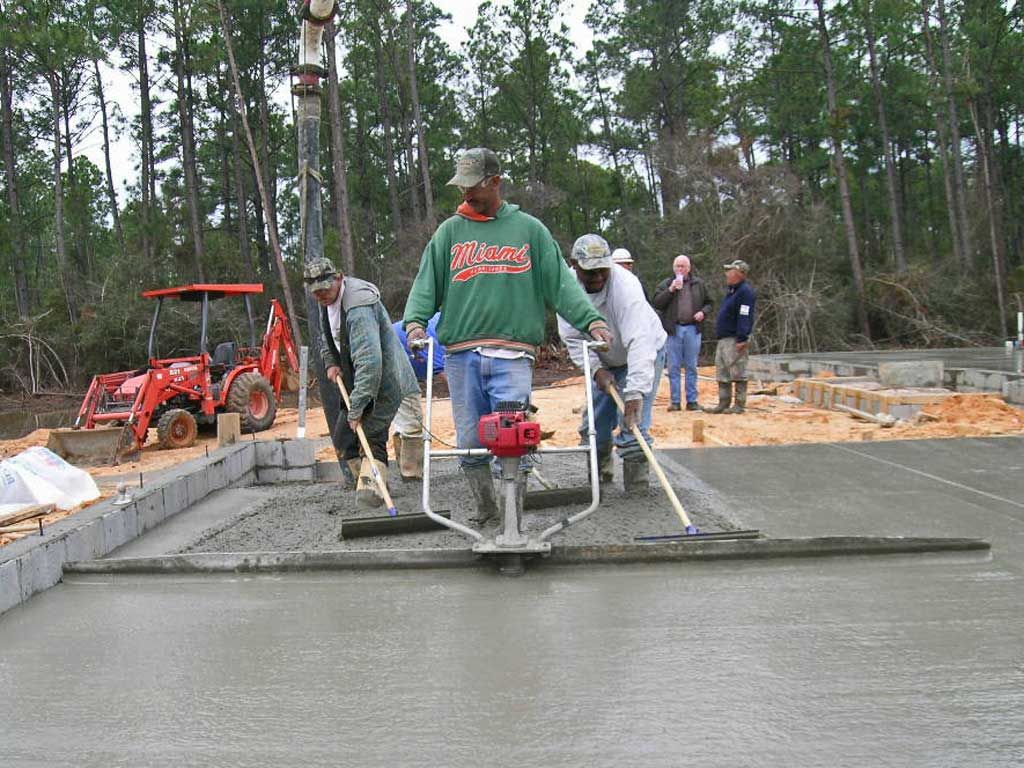
Willie works the trowel machine. I use 3000 psi concrete which has extra cement in it so there is more time to work the concrete to a smooth and harder surface.
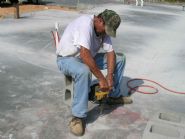
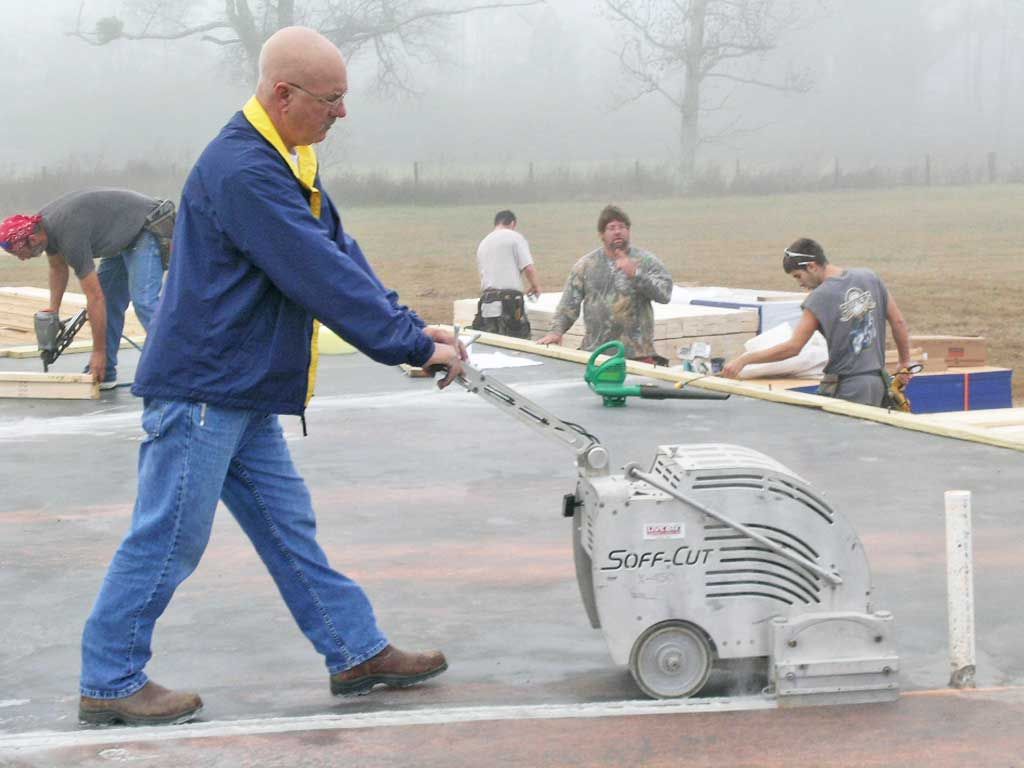
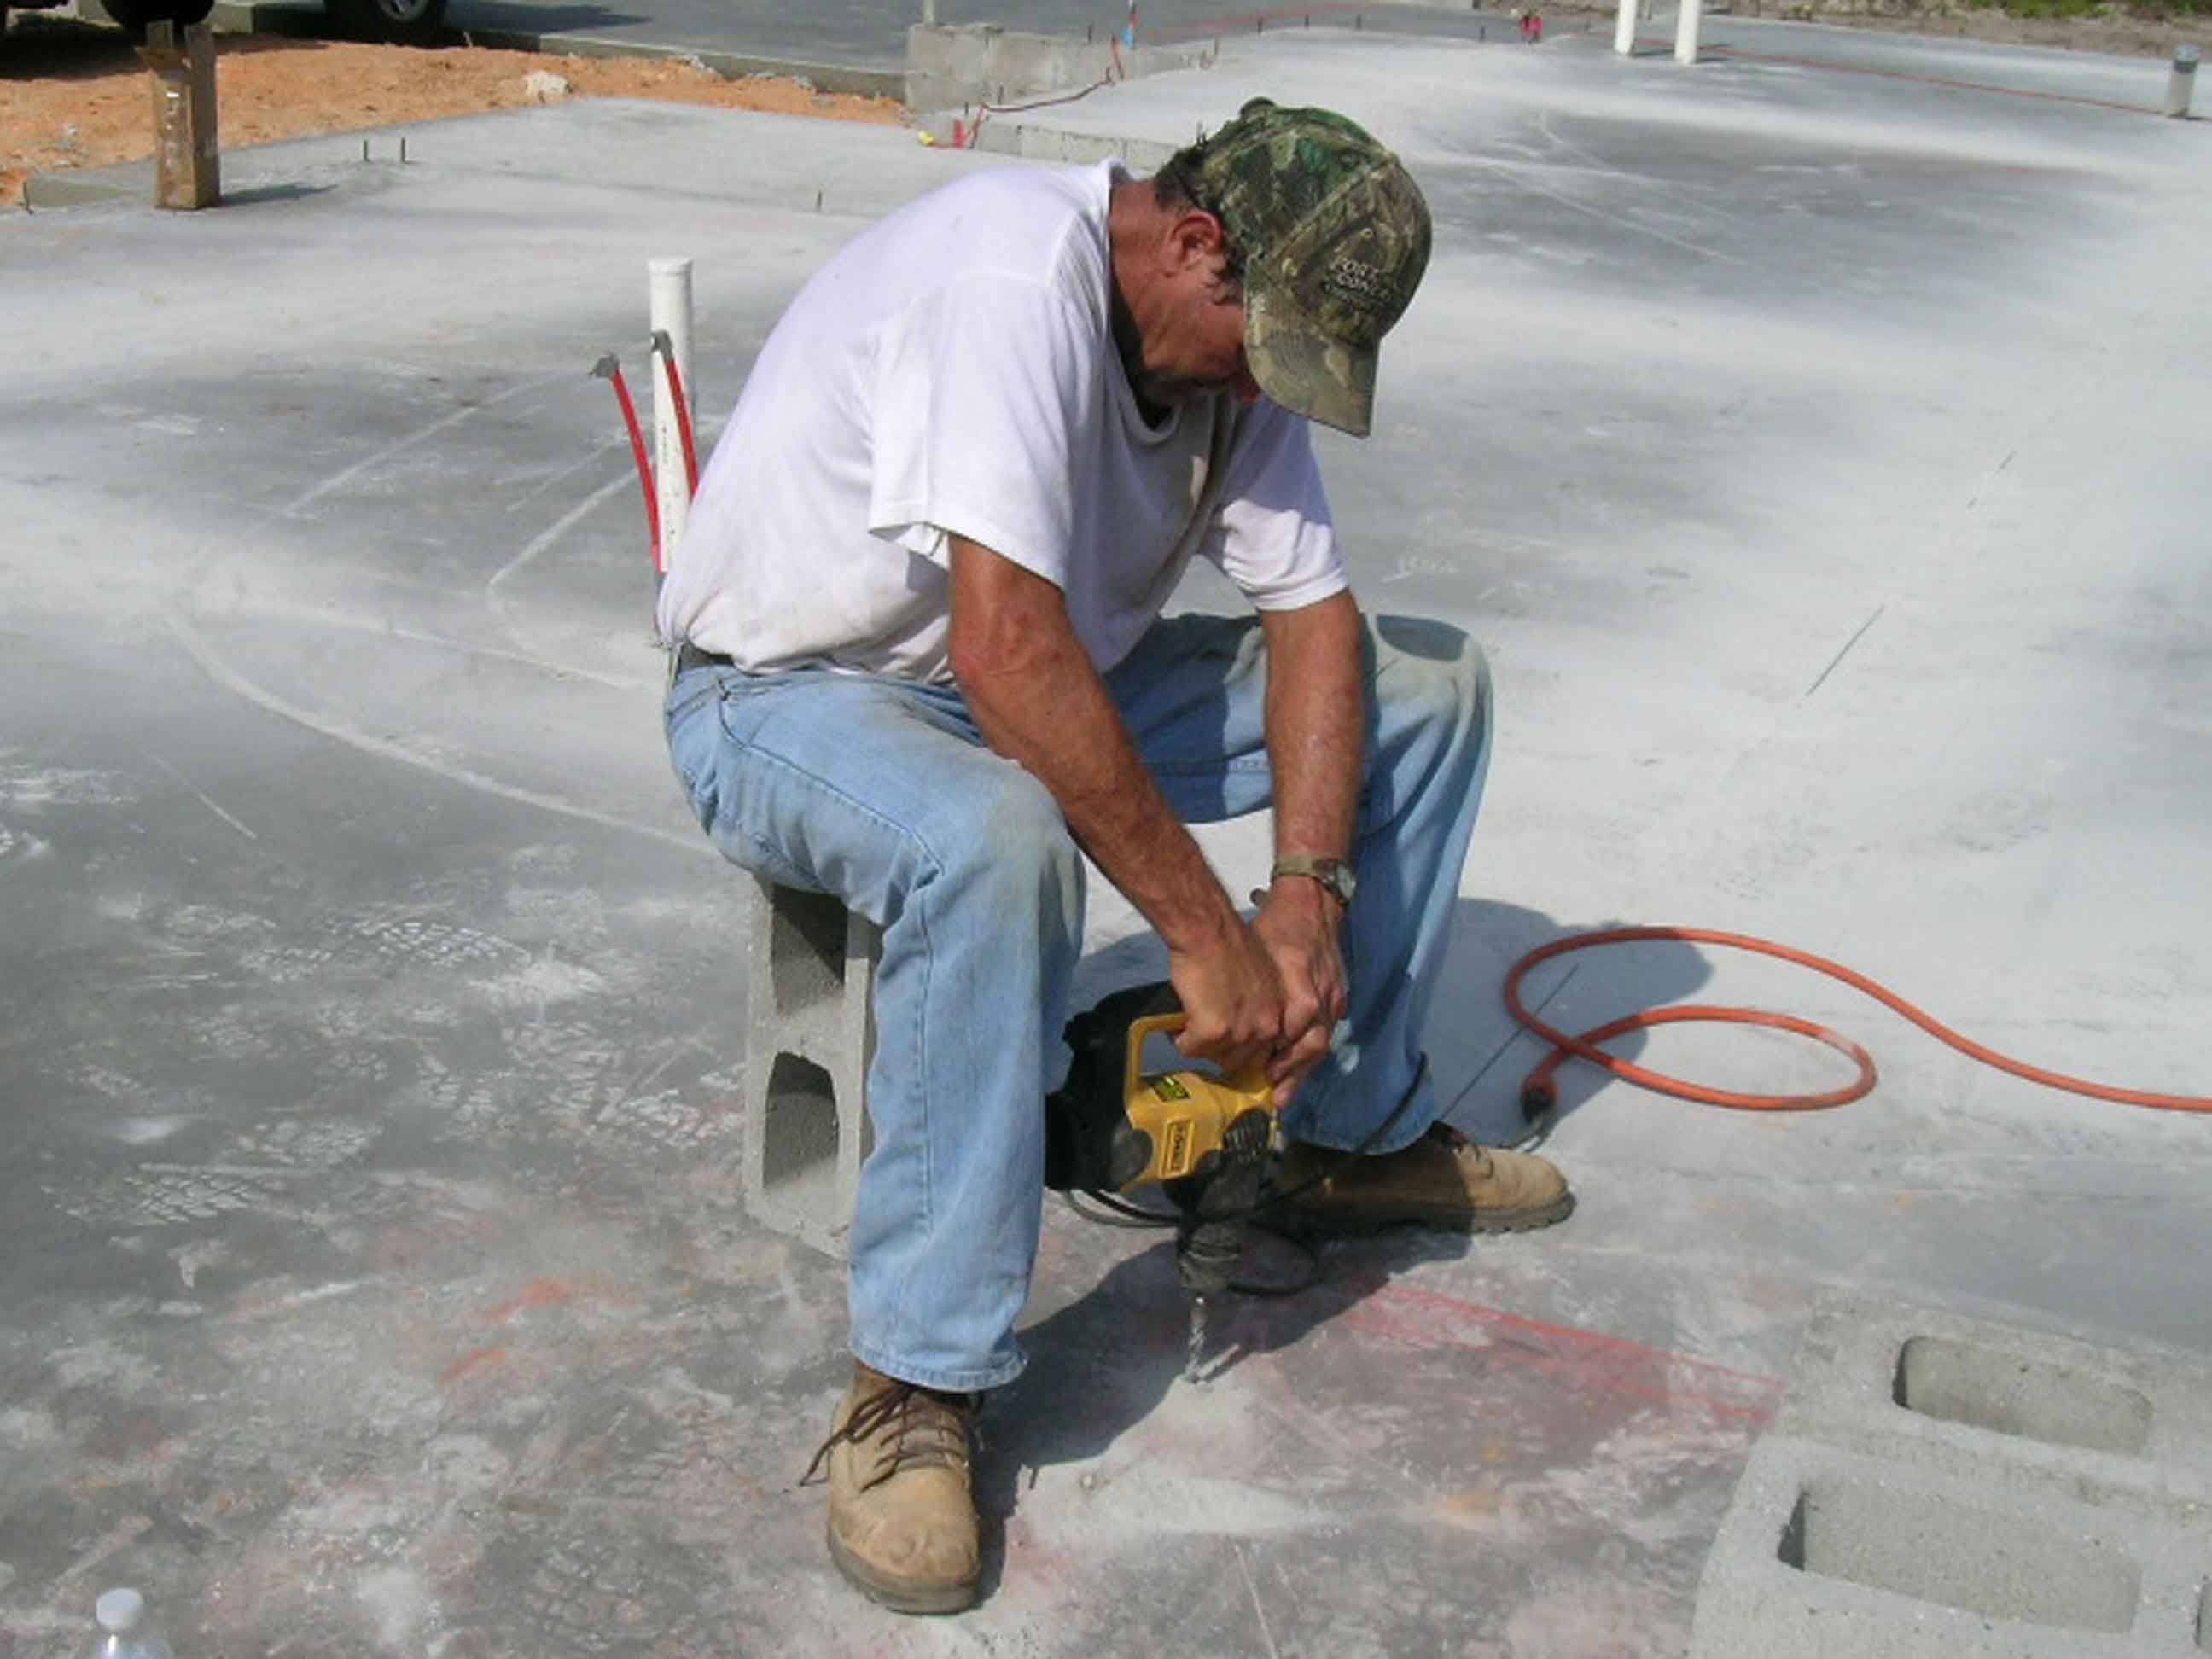
Cutting in the joints. All concrete cracks as it shrinks over time. 1" deep grooves cut into the concrete within 12 hours of pouring the slab encourage shrinkage cracks to develop in planned areas. This is an important step which prevents uncontrolled cracks in the slab from cracking through the tile floors as it ages.
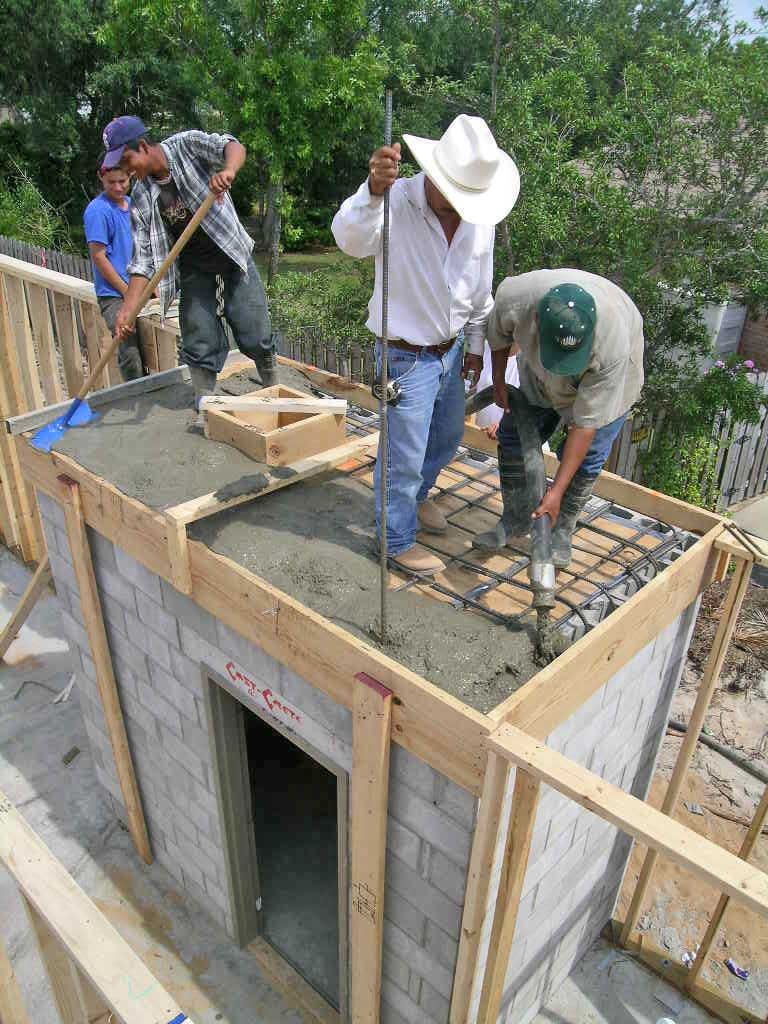
When the slab is complete we can finish building the safe room and tie it into the slab below much like a bank vault. The safe room is engineered to withstand 250 mph winds and 100 mph missile impacts. The armored door swings in just in case you have to crawl out of a pile of tornado debris that was your home. Learn more on the safe room page.
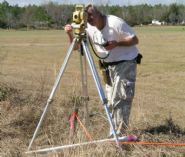
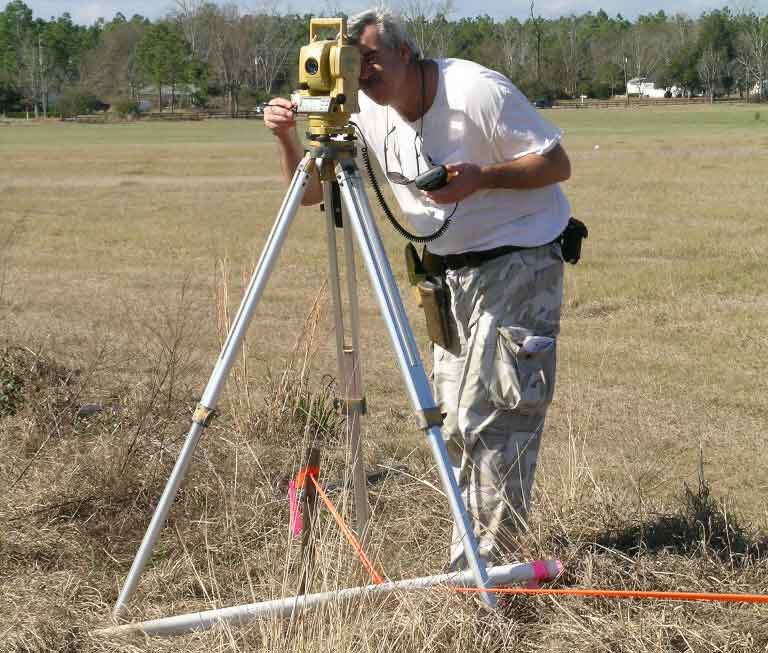
The surveyor plots the location of the slab on the lot. Lenders typically require a slab survey prior to disbursement of the first draw.